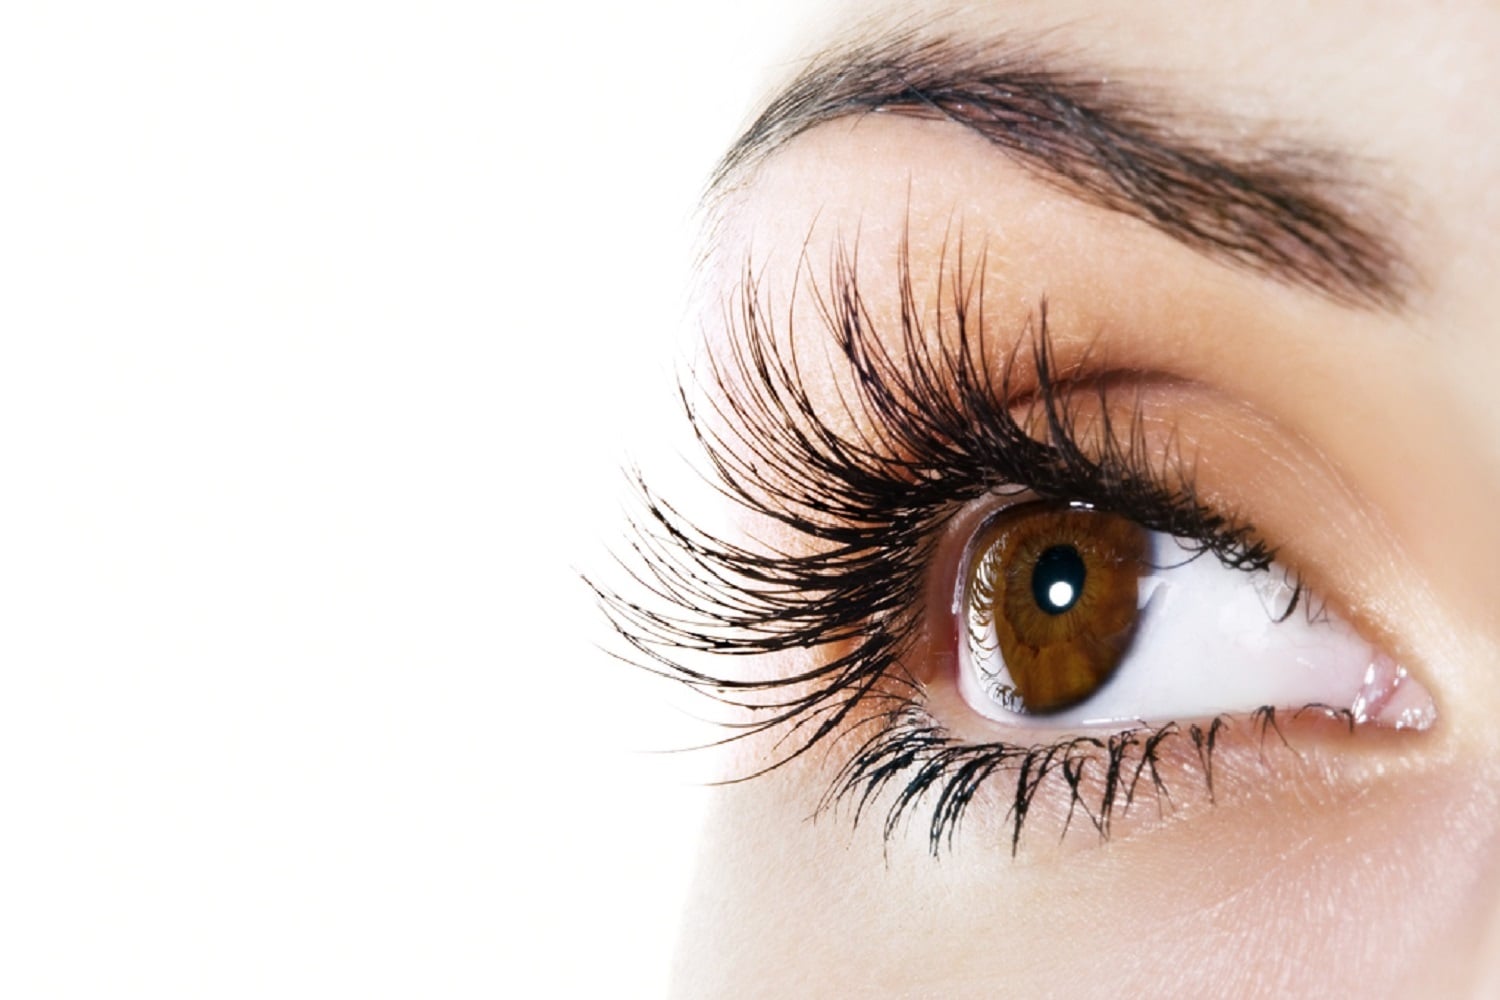
If you’re new to lash extensions and thinking of training in these lucrative treatments, it can be very confusing with all this lash terminology. We’re often asked what’s the difference between these different lash techniques? Classic Lash Extensions
Classic lashes involve the technique for isolating one natural lash using tweezers and then applying one individual false lash to it. This can add length and some limited extra volume to the natural lashes. Classic lashes usually give a very natural look, with greater definition to the eye area for an open-eyed, youthful look.
Russian Volume
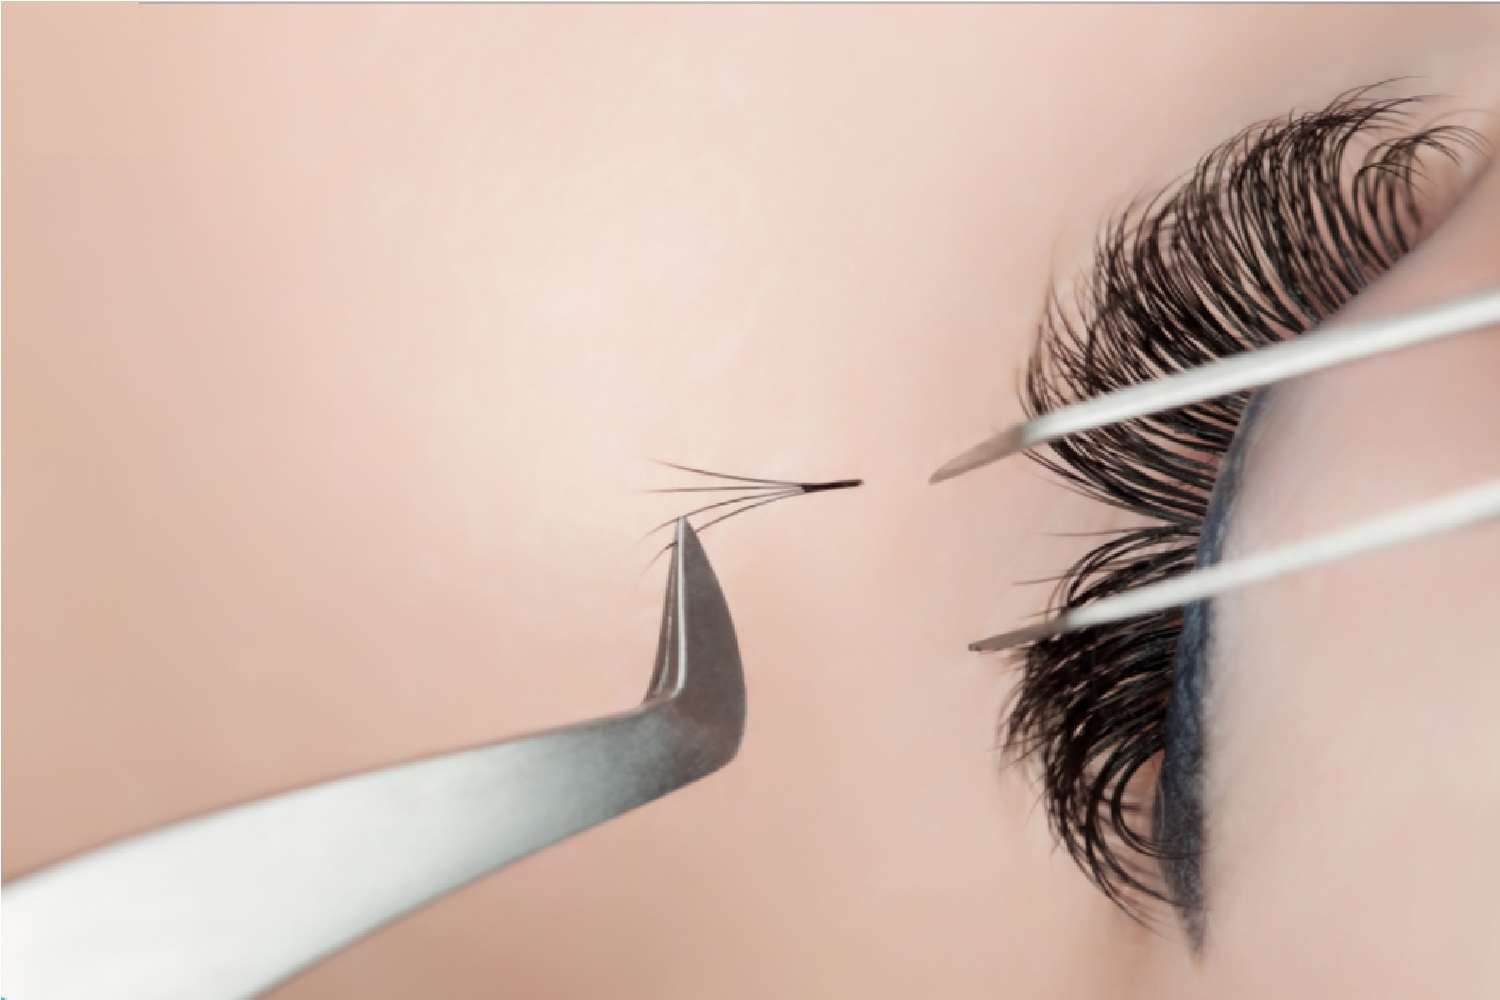
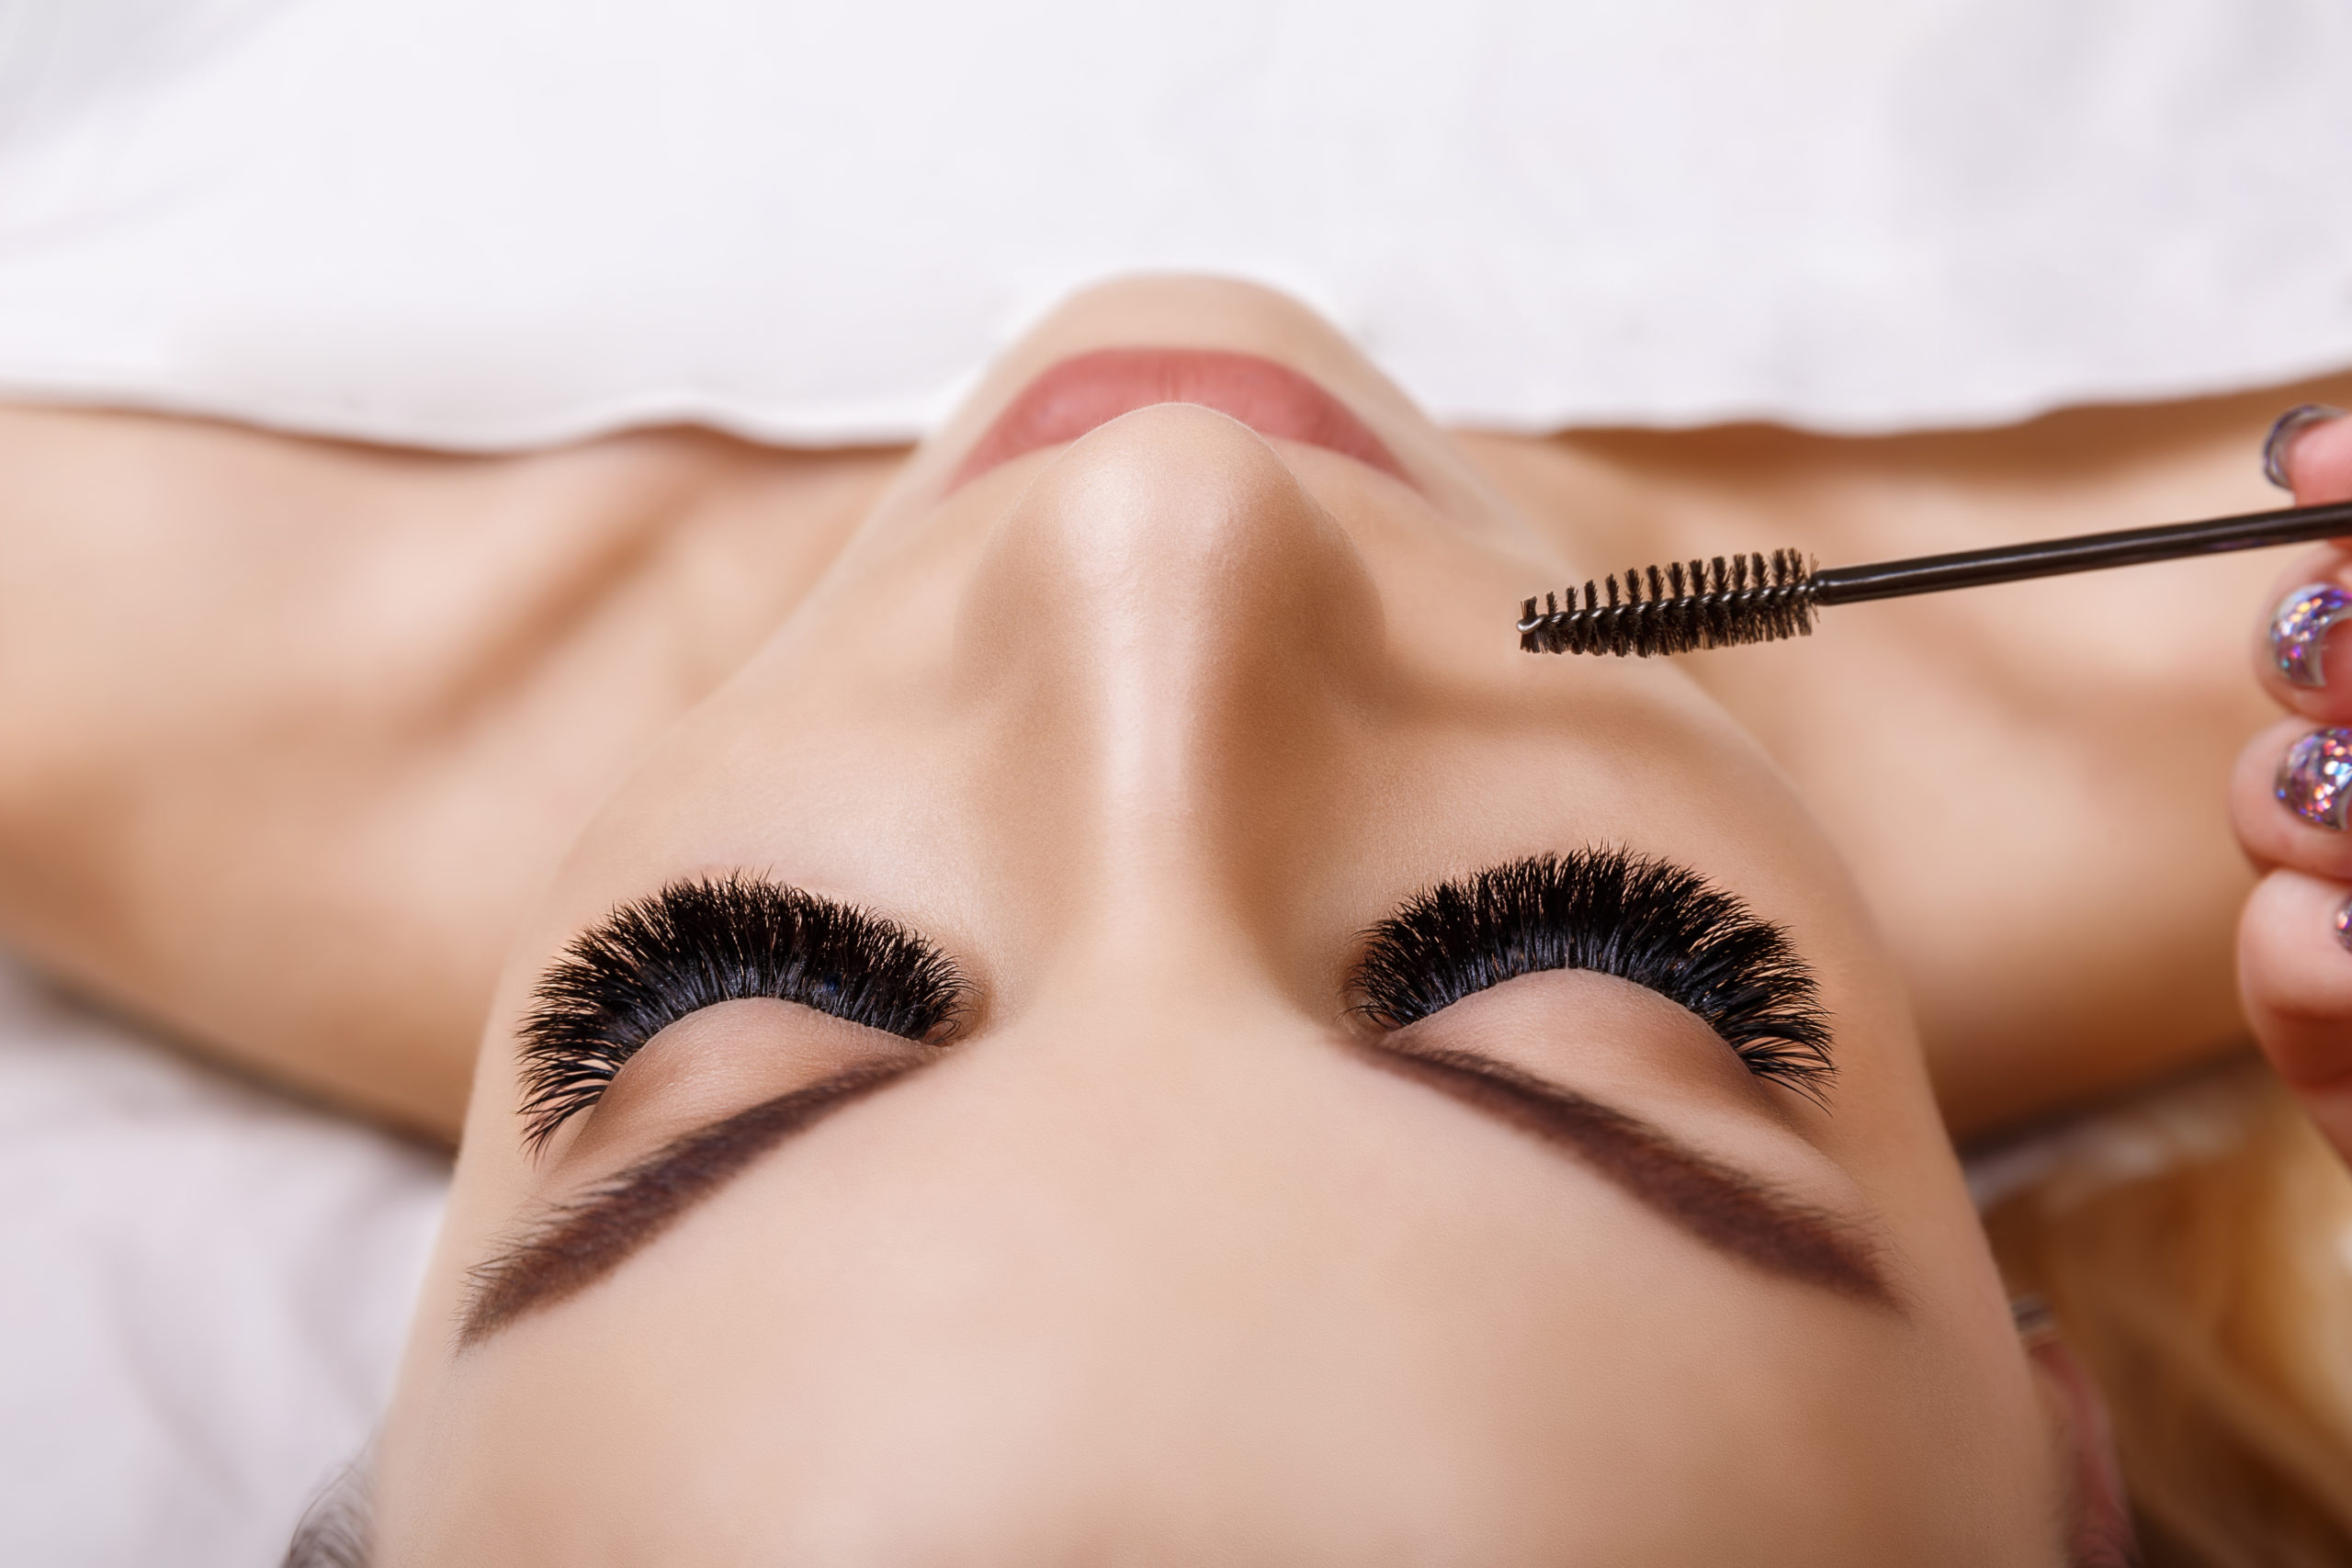
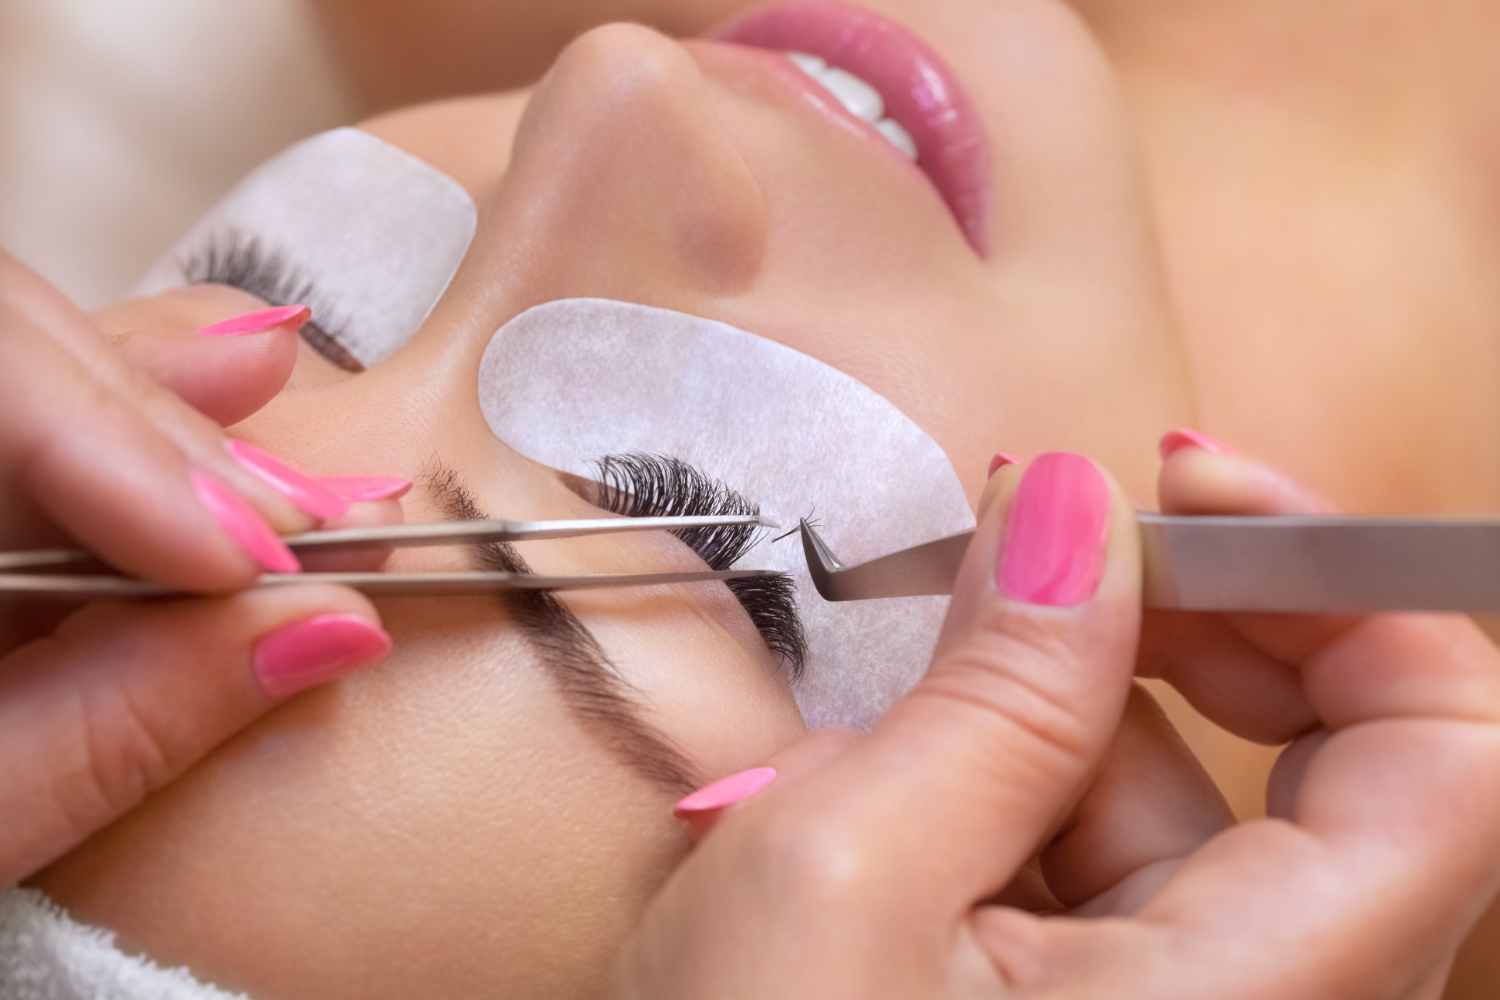
Russian volume lashes technique involves selecting a group of typically 2-8 individual false lashes to create a fan. The technician then isolates one natural lash using tweezers and applies this fan to the natural lash. This technique is repeated to create anything from a nice, fluffy lash to very dramatic volume. This technique adds volume and length to the lashes for a dramatic lash look.
Hybrid Lashes
Hybrid lashes combine the classic lash technique (one single false lash to one natural lash) and Russian volume technique (applying a lash fan to one natural lash) at a 70-30 ratio for a more defined, volume look that can look wispy, textured and more natural than a Russian volume lash look. The technician will first go in with the classic technique to create a framework in which to then fill with fans. This look gives the best of both worlds in terms of Classic and Russian volume – greater length, greater volume and more definition to the eye but still maintaining a natural looking balance to the lashes.
Given the benefits of each technique to help you meet the needs of your various clients, it makes sense to learn all 3 techniques.
Our 3 Day Complete Lash Technician Package provides training in all of these techniques. Achieve an ABT Accredited Diploma in each technique allowing you to gain insurance to start your own lash business!
If you’d prefer to learn conveniently online from home, we also offer an equivalent Online Complete Lash Technician Package which provides IPHM Accredited Certificates on completion to start your new lash career!
Lash Extensions are still on the of the most popular and lucrative beauty services to be offering right now. While DIY false lashes may have come a long way, there is nothing that can beat a professionally applied set of semi-permanent eyelash extensions for creating the WOW factor to your look. During lockdowns, many turned to stick-on strip lashes but many have learnt to their peril the damage poorly applied lashes can do to your natural lashes. With the festive party season nearly upon us too, there has never been a better time to get into offering eyelash extensions. But how do you get started?
How much will it cost to learn to offer lash extensions?
A lot less than you might think!
We have an accredited & insurable Online Classic Eyelash Extension Course for only £99, or if you prefer to learn face to face, our 1 Day Classic Eyelash Extension Course is only £199. You will need to start with Classic Lashes to ensure you master the basics and fundamental skills, isolating a natural lash, picking up a false lash and applying to the natural lashes – plus lots more, before you can progress to more advanced lash techniques. Starting with Classics lets you try out lashes, see if it is a good fit for you and you can always do further courses from there.
If you know you lash extensions is the career for you, we have packages to save you money allowing you to book your Classics and more advanced training in Russian Volume and Hybrid Lash Extensions all together. Choose from our 2 Day Pick & Mix Package (to combine Classics, Russian Volume or Hybrids) at £349 or our Complete Lash Technician 3 Day (Classics, Russians & Hybrid Lashes) Package at £449.
Flexible payment options are available to help spread the cost. Learn more here.
How do I get confident in Lash Extensions?
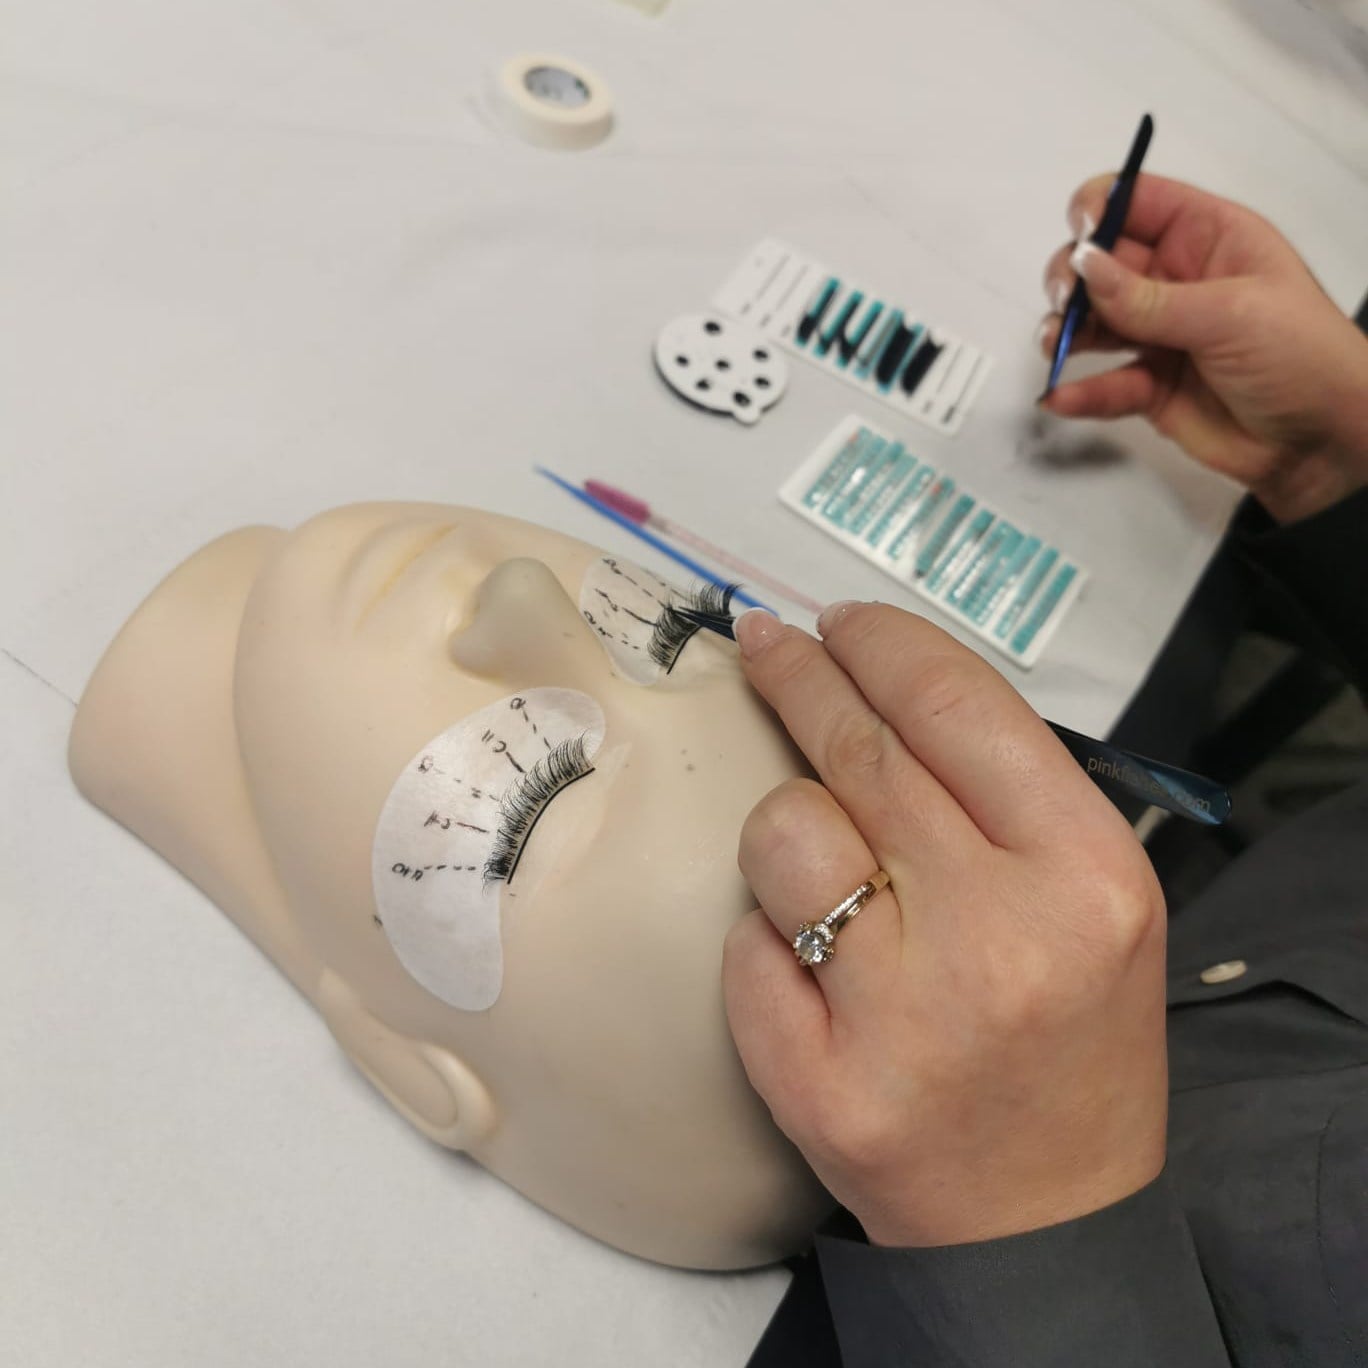
Completing your training is only the first step. Lashing will take time to master and get your treatment application times down. Initially it make take you around 2-2.5 hours to complete a full set with those first few attempts, but with patience and practice you’ll soon get this down to around 45-90 minutes depending on the look being created. You’ll also get used to your products and tools, working with two sets of tweezers at a time sure does take practice! We recommend working on a training head to begin with and then after 2-3 sets on the block, move onto live models. You could ask friends or family, or advertise on social media offering your first sets at cost price. Ensure you have at least student insurance in place while practising, you’ll need full therapist’s level (public liability) insurance in place once you begin charging for your treatments. Practice certainly makes perfect!
How much will my eyelash extension kits cost to get started?
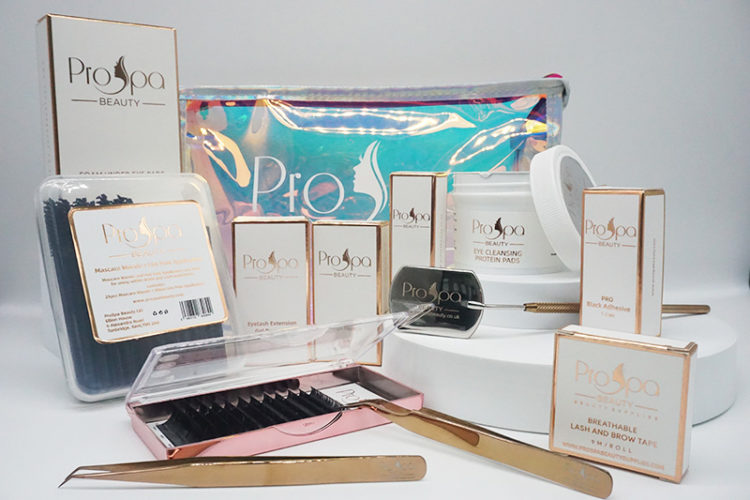
We do not tie you in to buying any expensive kits with our courses, our courses teach you the general techniques but are non-brand specific. Once you’re ready to begin practising or even offering your treatments, you’ll need products and tools to start lashing. We offer the following optional starter kits all from the ProSpa brand, available to purchase on our website. All are only £109!
We’d recommend starting with the Classic Eyelash Extensions kit to get you started with the fundamental skills. The main differences between the kits are the type of tweezers included and the lash curls/lengths/thicknesses depending on the lash look the kit is intended to create. Once you have your Classics kit with the essentials, you may wish to purchase additional lashes and tweezers separately from your preferred supplier to keep your start-up costs lower.
How much can I expect to earn as a lash technician?
How much you earn depends on how what basis you work, how many hours and how much you charge per lash treatment. If you rent a space within a beauty or hair salon for example, your footfall and potential clients may be greater but so will your business costs. Whereas, if you start out working mobile, while you have to factor in your travel and product costs, you’ll typically have lower costs and therefore earn more at least initially. You will need to research the competition in your local area to establish your pricing structure and costs for a full set, infill etc. Think about the product brands you’ll be using and take care with your kit to avoid unnecessary wastage to keep your margins high.
Consider that you can typically charge £35-£100 per lash set once you’ve gained a little experience, you can vary quickly earn back the cost of your training and kit within the first 10-15 treatments.
Once you’re confident in classic lashes, it is well worth learning more advanced skills like Russian and Hybrid Lashes so that you can create WOW lashes that really stand out on social media and word of mouth by clients, to promote your work. You can usually charge a much higher rate for advanced lash work such as Hybrid Lashes over a set of standard Classic Lashes. Volume Lashes and advanced lash mapped looks inspired by the celebrities are all the rage and will have your clients staying loyal to you and coming back time and time again for your expert level work.
You might also want to trial retail products to boost your earnings further and ensure clients maintain their lash results for healthier natural lashes and to avoid contra-actions occurring. Typical retail products include lash serums to help seal the extensions and nourish natural lashes.
Do I need to know how to run a business to be a successful lash technician?
The most important thing firstly is that you are confident and skilled in providing your lash services. The second most important thing is that you actively promote your new business. Social media – namely Facebook and Instagram are best for this. Set up a business page immediately, but do take time to consider your business name, logo and pricing. You want to project a professional image from the start so also consider your personal presentation. Our Online Starting a Business Course will equip you with useful information and opportunity to plan your brand before launching your business.
You’ll need to register with HMRC once you begin offering your services to paying clients. Make sure you keep accurate records of any money earnt and any money spent (receipts for products, traning etc.) as this will be essential for self-assessment purposes for tax. A basic ledger or excel spreadsheet will suffice initially.
Make sure you are completing client consultation forms and hold complete records of client contact details for future reference. These will need to be kept confidential at all times in a secure locked cabinet or on a password protected device. This is essential to meet insurance obligations and for data protection.
Set up an appointment diary and block out any times you don’t want to work or have other commitments. This will make it much easier to plan your working hours. Plan in at least 1 hour per week for business purposes including creating posts or promotions for social media, maintaining client records and day to day accounts etc. Encourage clients to book their next appointment before they leave their current appointment. Have a clear rescheduling / cancellations policy, perhaps included on your appointment cards for clients to keep. You may want to charge a deposit or cancellation fee (charged when rebooking) to help guarantee your earnings each week and build a regular, profitable client base.
Plan future marketing whether that is seasonal events in your beauty space / salon, discounts or promotions that you promote on social media and think about future proofing your business by adding on further treatments with time, based on client feedback of other services they are currently having elsewhere such as brow lamination and shaping. You always need to keep your business growing and fresh! Take time each appointment to do a before / after photo of your work (with client permission) and encourage clients to engage with this on social media to build your brand profile and help attract new clients.
Growing your own lash extensions business will take time and patience, but with hard work and determination is is a very real possibility to achieve your dreams whether that is financial freedom, a positive work/life balance or just doing a job that you are passionate about!
Ready to take your Russian lashes to the next level?
The Russian Volume lash technique was introduced by Russian lash artists approximately 7 years ago. This revolutionary method allowed multiple lashes to be applied safely to a single natural lash with the use of super fine, light weight lashes (0.05 – 0.07). The technique involves several different fanning techniques to create up to 9-dimension beautiful symmetrical fans.
Since then, Russian Volume lashes have been in high demand and all the while, fanning techniques and synthetic lashes have continued to evolve. Further ultra-thin, light weight lashes (0.03 – 0.04), optimised lash tools and enhanced lashing techniques have made way for Mega Volume Lashes; 10- dimension and upward fans and lash bouquets! The perfect solution to fulfil client demands for fuller light fluffy colossal lashes!
Eyelash extensions continue to be hugely popular and in-demand treatments but it is a competitive industry and it is vital to ensure you have the highest level of knowledge and skills to meet the needs of your clients. Lead by celebrities and fashion trends, mega volume lashes are the latest ‘next big thing’ and it is important you are able to provide these advanced services as a lash technician. This course will teach you to take your lash treatments further, covering all aspects to create stunning 10D+ lash looks that stand out from the competition and have your clients returning to you regularly to maintain their lashes.
Do I need prior experience to complete this course?
Our advanced Mega Volume lash course is suitable for lash technicians who have some experience of Russian volume lashes and would like to up their skills and expand their current lash designs. This course will guide you through the latest mega volume tips and techniques, covering the appropriate products and equipment required for mega volume lashing, different ways of calculating lash volume, lash styling including templates and fanning techniques to create 10D+ beautiful volume fans!
If you are beginner to eyelash extensions, we recommend you complete our courses in Classic & Russian volume lashes first (or alongside this Online course), to develop the knowledge of fundamental lash extension skills and techniques to enable you to learn these more advanced treatments.
What’s involved with an online course?
Our online course will teach you to perform mega volume lash eyelash extension treatments with confidence.
Guided by our comprehensive study materials and video tutorials, this online course will take you through the process to perform these hugely popular treatments, as well as learning the theoretical knowledge and safety procedures involved in practising these treatments to an industry-standard.
You will be required to complete test your knowledge questions and case studies of practical treatments.
Our online courses are fully accredited by IPHM to allow you to gain insurance to work from home or mobile upon completion!
What does the course cover?
Refresher on essential health, safety, anatomy & physiology related to lash treatments
Fundamental mega volume lash techniques & tips
Products & equipment for mega volume lashes
Calculating lash volume
Lash styling including templates & fanning techniques to create: Cat eye with L lashes, Open eye effect, Top lash line & Wispy look
Lash corrections using colour
Do I need a kit?
To enable you to make the most of this professional course, if you do not already have lash extension products; we advise that you purchase an optional starter kit to practice with and then for using on your first few clients.
How can I book this course?
Book securely online, by clicking below to learn more and enrol online. Got questions? Call on team on freephone 0800 999 2277 or message us using LiveChat on our website!
New to the world of lashes? Starting out as a Lash Tech can be a rewarding job and great income booster! It takes a while to perfect your skills which is why we always advise starting with Classic Individual Lash Extensions. If you’ve got the to the stage where you feel confident with individual lashes and want to take your lash artistry to the next level we’re here to help! In todays blog where looking at the benefits of incorporating Hybrid and Russian Volume lashes into your skill set!
Firstly, whats the difference?
Classics:
Classics are the most common type of extension and are perfect for creating a natural look, ideal for clients who are looking for a natural lengthen and volume without the drama.
They are applied in a 1:1 ratio, one lash applied to one lash. The other main difference is the thickness of the lash ranging from 0.10-0.15
Classics vary in price, lash techs on average will charge on average £40 for a set
Russian Volume
An advanced technique that requires lots of practice.. Russian lashes use fans created with individual lashes to apply to the natural lash.Typically, a volume lash uses 2 to 5 extensions per fan while a mega volume fan uses 6 to 16 artificial lashes.
This creates a very full, dramatic look. Ideal for clients that are looking for a fuller, less natural look.
A set of Russians range from £60-£70
Hybrids
One of the newest and most popular styles combines Classic and Russian volume styles, using a blend of individual lashes with fans to create a full, glamorous set!
Hybrids can still have a natural look and take some practice to perfect, these are the sets that take the most artistry to deliver.
Hybrids on average can set clients back £55 for a full set
What are the benefits of branching out into other lash styles?
Client base. It will allow you to tap into a new client base. Clients looking for fuller, bolder lashes will prefer Russian Volume and Hybrid lashes
New skills. If you’re now a master of Classics you might be looking for more of a challenge, starting to practice lash mapping, making fans and building your skills in lash artistry could be the challenge you’ve been looking for!
Business marketing. Russian Volume and Hybrid lashes are extremely popular, in regards to marketing your business they may be the treatments you need to start boosting your social presence, use before and after photos, videos and tutorials to build your social media using the hashtags #Russianvolume and #Hybridlashes
Increased revenue. You can charge more per set for Russians and Hybrid lashes, taking your average hourly income from £30 up to £70!
Where do I start?
Our one day Accredited Diploma courses are the perfect way to get you started with new skills, you’ll learn the theory relating to the lash treatments and the rest of the day will be getting hands on practical experience. On Russian Volume training you will learn how to make your own fans and apply them using Lash Mapping techniques and on the Hybrid course using pre-made fans along with Individual lashes to create new, bold looks. I addition to applying lashes, on the Hybrid course you will also learn the skill of lash tinting, a great add on service for your clients with natural lighter lashes.
The Kim K Lash look focusses on creating a wispy, spiked look. It’s a style that’s becoming increasingly popular with clients. This look is designed around applying longer lashes at equally distanced points along the map, this creates a fuller, fluffier look. Ideal for clients with smaller eyes and a high set brow, this map can create the illusion of larger eyes. This is a map that benefits from a lot of practice!
To create the perfect Kim K look the key to master a wispy lash map. You will need to determine which lengths and where to place the spiked lashes to create an even volumed lash. Let’s take a close look at the method..
Prepare your equipment: You will need your usual lash equipment such as eye pads and lash mapping pen in addition you may want to have some tape at hand for use during the application. An ideal tweezer would be a multifunctional tweezer that can be used with Classic and Volume extensions.
Before you begin your Kim K Map: Following your clients natural lashes lash line and evenly mark the areas you will be applying your spikes, start at the peak points to create a frame for your map. When creating your spikes it can work best to create various lengths for a more natural/wispy result. Once you have mapped where to apply your spikes we would suggest applying these first prior to filling in the gaps with the following lashes.
Filling in the gaps: Once you have applied your spikes, you’re ready to start filling in the lashes. The highest point of your lash map should be the middle or outer corner of the lash line, depending on whether you would like more of a foxy look! Professional recommendations would be to use 2 to 3mm shorter volume lashes to attach between spikes. If you choose to use 11 and 12mm for spikes in inner corners, the filling lashes in this area should be 9 and 10mm.
Remember that practice makes perfect and you may not create the perfect set to start with, stick with it and the more you do the more confident you will become! If you have a lash map you would like to share tag us on your socials @thebeautyacademyuk
As a Lash Tech we appreciate it can be frustrating having clients return for an infill only to find a few hairs have stuck around! Often these clients require additional information on how to promote the longevity of their lashes. Many of their skin care and make up products could be unknowingly causing their lashes to fall out sooner than expected due to their ingredients. In today’s blog we’re looking at the main ingredients to avoid to maintain the longevity of your clients lashes.
Waterproof make up
There are two issues with waterproof make up and Lash extensions, the first is that may long-stay or waterproof products contain oils which over time break down the bonds within the glue and cause the lashes to fall out. The second problem is that they are very hard to cleanse off, which would require the client to either use an alcohol or oil based product which can have a negative impact on lashes. It may also lead to clients picking and rubbing the product which will add to premature lash loss.
Instead of waterproof make up we suggest using a non-waterproof make up and a lash friendly cleanser and to always use a lash shampoo to maintain their lashes at home.
Oil based products
Oil based products are perhaps the biggest culprit for lash loss. Lash glues contain ingredients that are easily broken down when exposed to oils, oils break down the bonds needed to maintain the effectiveness of the glue. Encourage your clients to check their cleansers, moisturisers and serums for oil based ingredients and avoid using these around the eyes.
What about using oil to remove lashes? This is a question that comes up regularly and although oils dissolve the bonds of the glue we wouldn’t suggest using at home oils such as baby oil to remove lashes, this is because they aren’t affective enough to remove all of the adhesive. Always suggest that they have their lashes professionally removed to ensure all product is taken away.
Alcohol
Another common ingredient in the skin care industry, alcohol is extremely drying to the skin and lashes. It will often be listed as Isopropyl Alcohol or Isopropyl Myristate, encourage client to check their skincare products as the drier their natural lashes the less retention they will have.
Birds are singing, daffodils are sprouting and days our getting longer.. we are ready for spring! But are our lashes? You may start to notice your clients lash retention changes this time of year, this is down to the impact the seasons have on our natural hair cycles. In preparation for Winter and the cold temperatures we hold on to much more hair, this hair is in its final ‘Telogen’ phase or resting phase as its better know, ready for shedding! As the weather starts to warm up we no longer need this retention and we start to loose hair at a fast rate, not only on our heads but our lashes too! Don’t despair there are ways in which we can manage our clients lashes to ensure a smooth transition into the spring/summer months.
Client education
Share with your clients what is happening to their lashes, this will ensure that they have realistic expectations for their lash retention and when they should be returning for infills! It may be worth while sharing on your social media some ‘did you know?’ statements about seasonal lash changes.
Clients need to ensure that during this time more than ever they are cleansing their lashes, cleansing will reside the risk of impacted follicles. If follicles start to become impacted it may mean an even faster shed.
Scheduling Infills
Ideally we would like our clients returning to us every two weeks for their infills, if they notice their lashes becoming more spare they may need to reduce the time between their treatments. We recommended that they return with at least 30% of their previous lashes still intact to get the most out of their infill service.
What lashes shall I use?
As we are loosing lashes at a faster rate you may notice more shorter/baby hairs start to emerge. To look after these natural lashes we recommend using shorter and lighter lashes during the spring months, this will ensure no damage to the natural lashes take place.
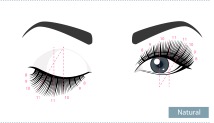
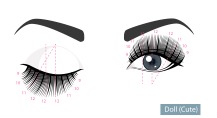
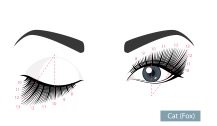
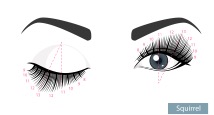
Firstly, what do we mean by lash mapping? Lash mapping is the art of dividing the lashes into sections to create a desired look using different lash lengths. Lash mapping is the perfect way to enhance your client’s natural eye and face shape. It’s a skill that is developed over time and like all treatments takes a while to perfect! In this blog we’ll review the most common Lash looks and their maps to give your insight into the types of eyes and face shapes that would benefit from them the most.
Classic or Natural
This is the style that we all start off learning, applying lashes in a 1-1 ratio. This classic technique suits clients who are looking for more of a natural look with added length. Ideal for first time clients that are new to Lash Extensions.
Doll Eye
Ideal for opening up eyes and making them appear larger. Map shorter lashes at either corner of the eye, gradually becoming longer until you reach the longest length in the middle section. The Doll eye map is perfect for almond shape or hooded eyes.
Cat/Fox Eye
These maps are becoming more and more popular with clients for its ability to add some drama! Ideal for round or droopy eyes.
Squirrel Eye
Squirrel can be a tricky one to start with so is reserved for the more seasoned of lash techs, as you will need more zones and lash lengths to achieve this look. A relatively natural looking map this is ideal for opening up client’s eye.
The Kim K Eye
The Kim K Eye is another map that is becoming increasingly popular with clients. This look is designed around applying longer lashes at equally distanced points along the map, this creates a fuller, fluffier look. Ideal for clients with smaller eyes and a high set brow, this map can create the illusion of larger eyes. This is another map that benefits from a lot of practice!
Make those eyes POP this Christmas with coloured lashes!
If Christmas isn’t the time to try something out there than when is? Coloured lashes are becoming increasing popular for creating dramatic looks around the festive season. Here are some top tips for using colour within your lash treatments…
Complement the clients natural eye colour. Complimentary colours:
Green eyes: Layering purple lashes will intensify green eyes
Hazel/Brown eyes: Green lashes will enhance brown eyes and make them appear bigger
Blue eyes: Layer blue lashes with black will create a dramatic affect
Allow extra time
Adding coloured lashes is an art. Chances are you won’t be doing a full set of colour, rather using them with black to create a desired look. It’s vital to create symmetry with colour so allow an extra half an hour of treatment time to ensure you’re creating the perfect set!
Choosing your glue
Black glue can create an eyeliner effect with coloured lashes, creating a more dramatic look. If you’re looking for a more subtle, natural look clear glue would be best.
Work with the natural lash layers
Applying coloured lashes to the bottom layer of lashes will make them stand out the most, giving an instant pop of colour. For more of a layered subtle look apply them to the top layer of lashes or mix them in with black lashes will create more of a day look.
Choosing the right adhesive is vital when it comes to the retention of lashes, what works well for some lash techs may not work as well for others. This is because the adhesive that you use needs to work with you, your skills and your environment.
If you’ve just started out with extensions choosing an adhesive that has a longer drying time (2-3 seconds) will give you the time needed to precisely apply the lash. When storing your adhesive ensure that it is stored in an airtight container and used within 3 months of opening, the longer the adhesive is exposed to air the faster it will oxidise.
Consider your environment
Your environment places a crucial role, ingredients within adhesive are sensitive to both temperature and humidity. The ideal room temperature should be between 16 and 24°C and humidity levels between 40-70%. Using humidifiers and house plants may be the perfect solution for creating the right environment!
Failing to prepare is preparing to fail
Investing in a prep routine can increase adhesion and retention. Firstly, ensure all make up and oils are removed from the lashes. Most professional lash brands supply prep products, lash shampoos are a great way of preparing the lashes, they also make great link sell products to maintain the clients lashes at home in between visits!
Check your angles
When applying the lash ensure that it is placed parallel with the client’s natural lashes, if the lash is applied at an angle it may mean that it is not fully connected. Lashes that are applied incorrectly are at a much greater risk of catching and being removed.
It’s also important to work with the clients natural lash, choosing the right width and length for the clients lashes will ensure that they aren’t under too much pressure. This can lead to drooping, lash loss and ultimately damage to the natural lashes.
Aftercare
How your client is treating their lashes between treatments can either support or be detrimental to their retention.
Here’s our top tips for maintaining lashes at home:
Avoid water within the first 24hrs (showers, swimming and saunas)
Stay clear of oil based products and make up (oil will start to breakdown the adhesions!)
Lightly shampooing the lashes can help to keep them clean and clear of oils, this is recommended every 2-3 days using a shampoo lightly with a soft application brush.
Brush the lashes daily using a lash wand
Avoid excessive friction to the eyes. Laying on your face when you sleep or rubbing/picking the lashes will make them drop off faster!
“All of your dreams can come true, if you have the power to pursue them’’ – Walt Disney.
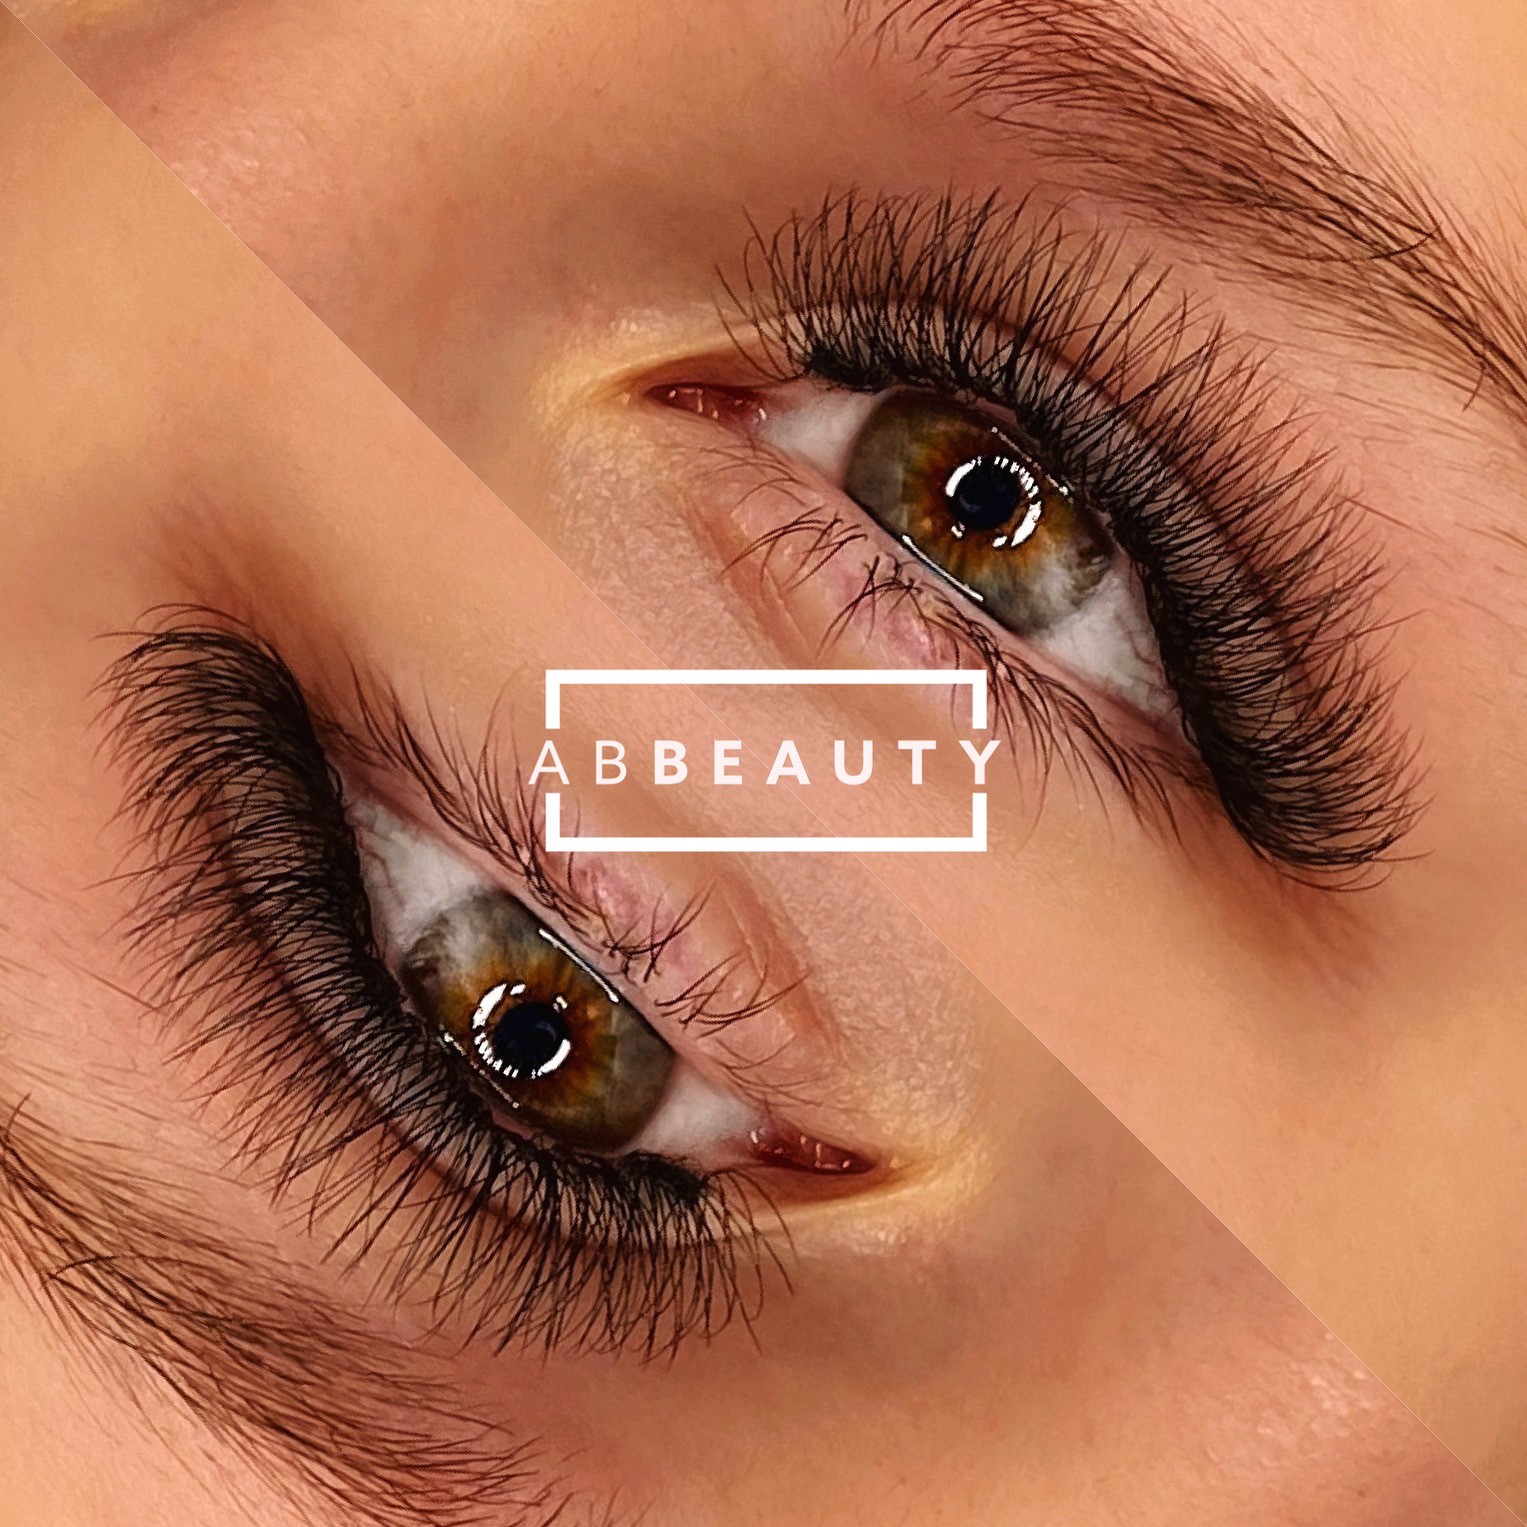
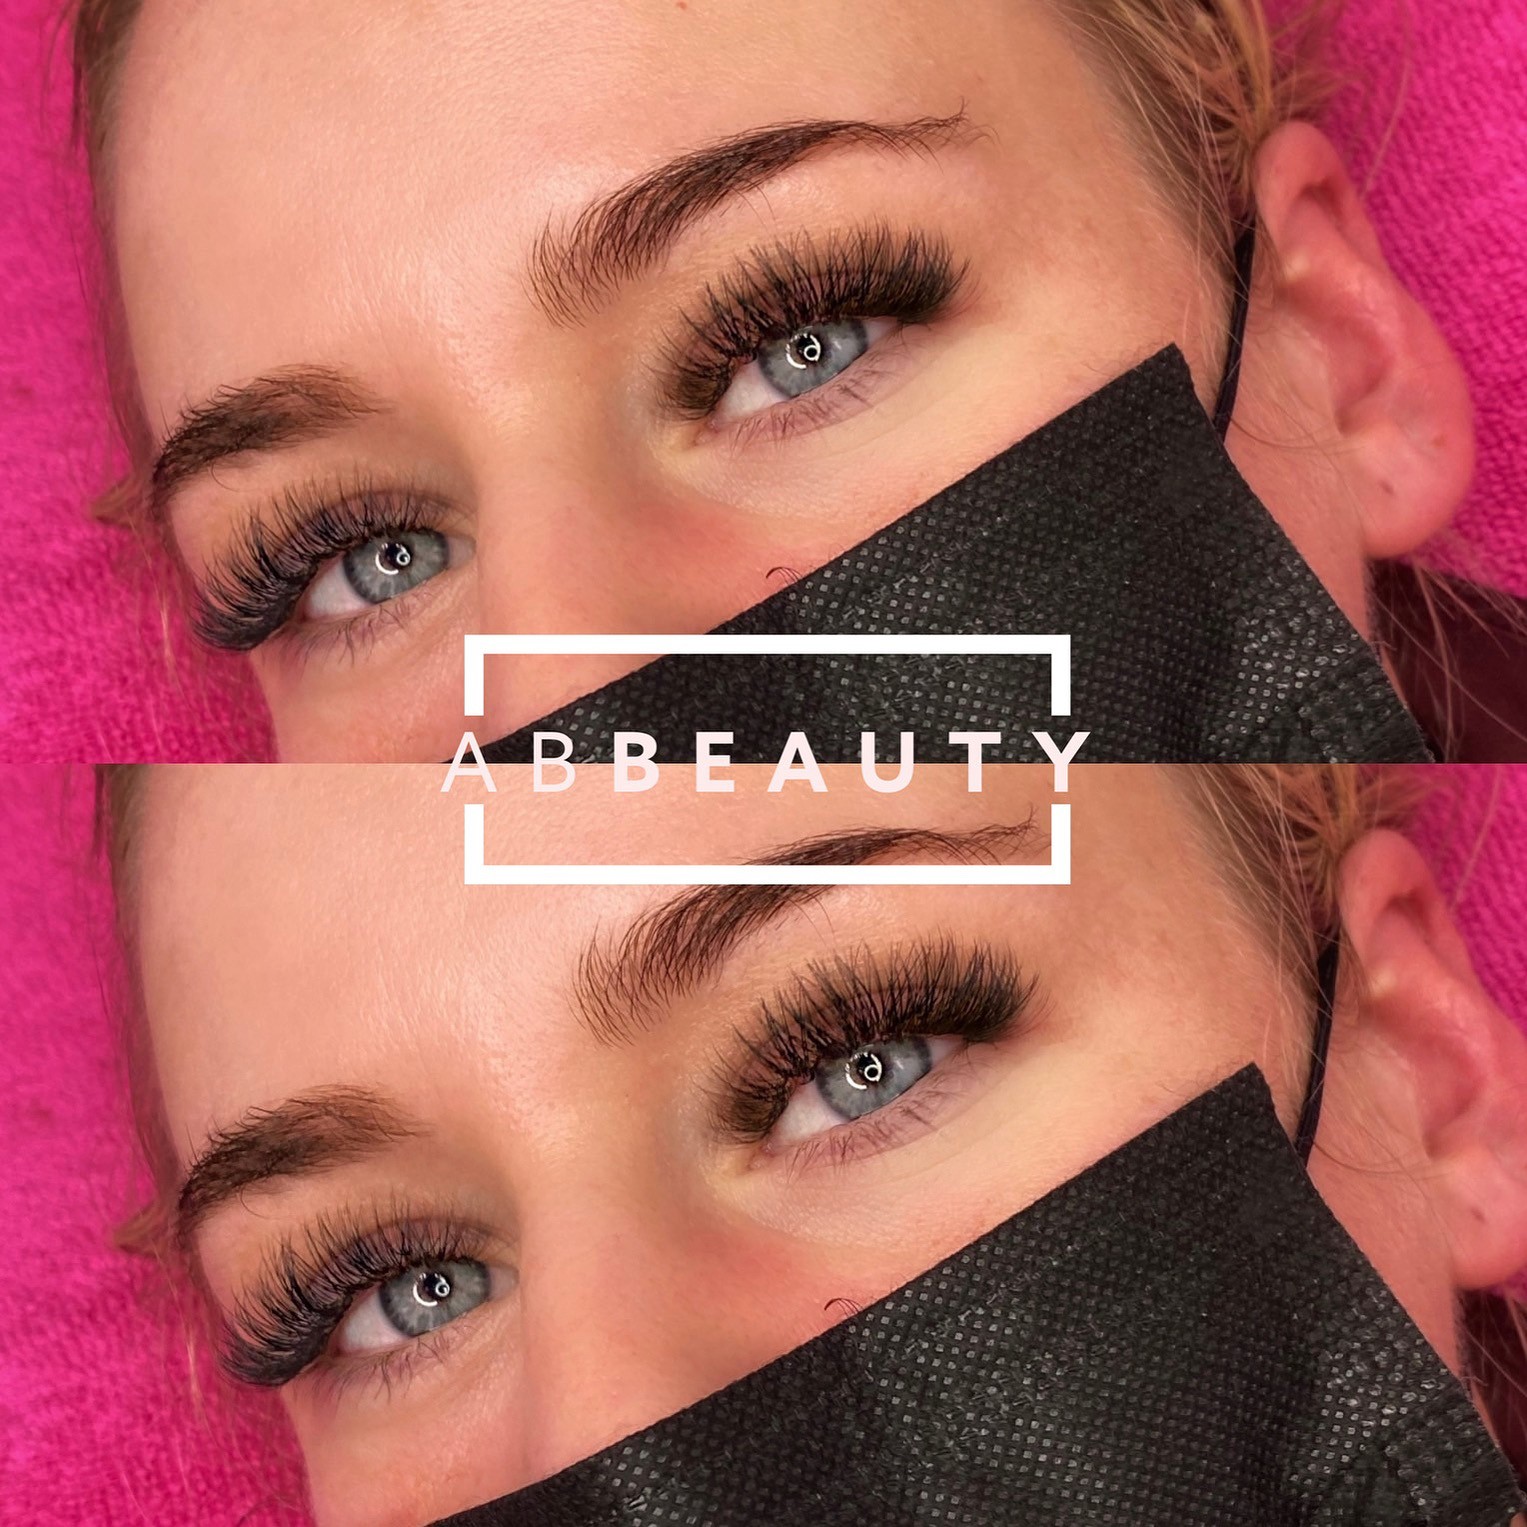
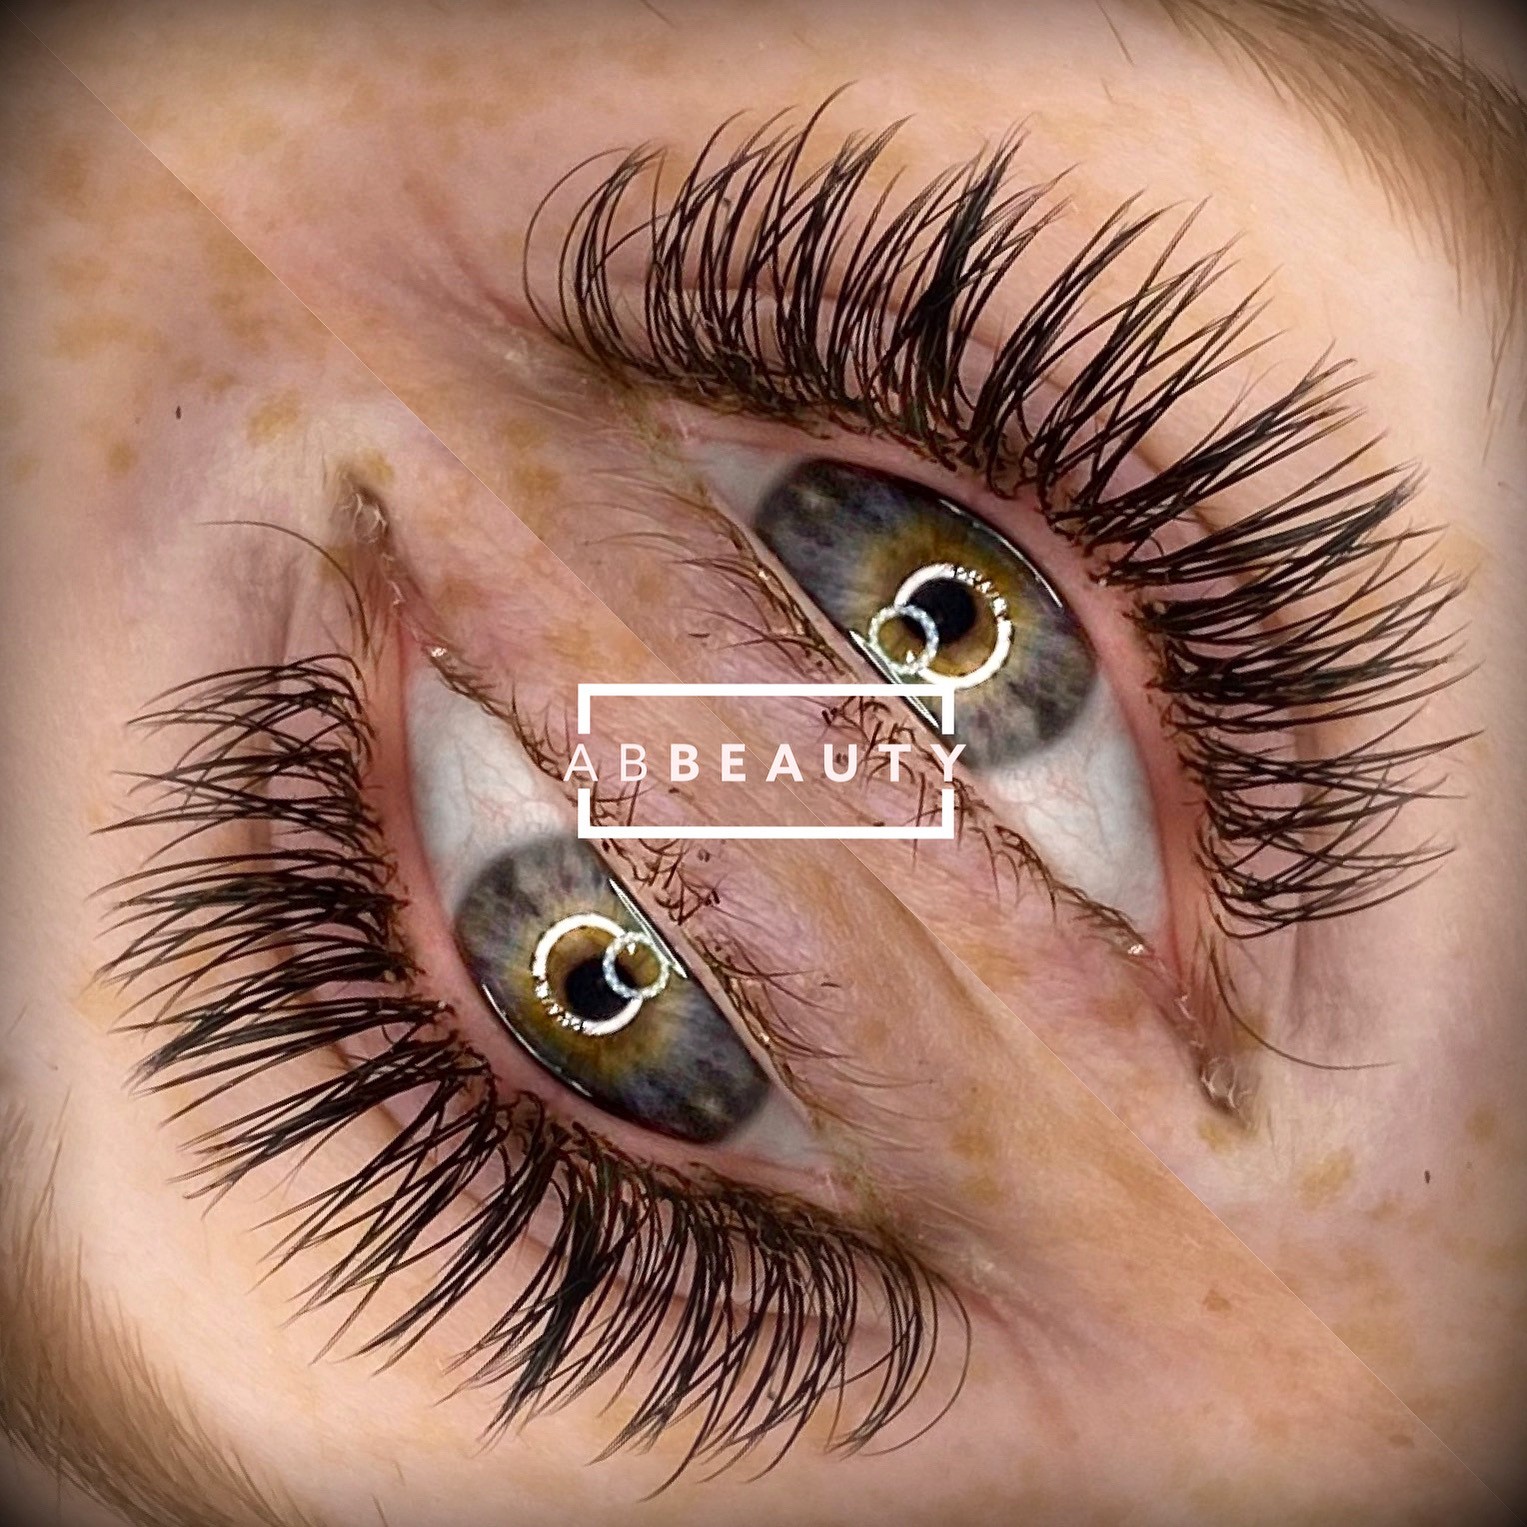
Never has this quote been truer than in Abbie Stretton’s career journey. Abbie had the courage to overcome her challenges and make the jump into the beauty sector and hasn’t looked back. In the last two years Abbie has grown a successful business and received award nominations for her work.
We first met Abbie back in 2019 when she attended her very first eyelash training course with us. Back then she was on a different path. Having graduated from University, Abbie found herself in a job that she hated and feeling depressed. She knew she wanted a change but was unsure of the path to take. Beauty had always been a passion of hers, she decided to take the leap and hasn’t looked back since.
Now busy with regular clientele, her own website and looking into creating her own lash brand.
A huge well done to you Abbie from all of us at the Beauty Academy. Follow Abbie’s success on Instagram @abbeauty_xo
‘’This course changed my perspective of myself, I had this burst of confidence. I was so intrigued by The Beauty Academy, it looked so professional from the website. I thought this is the training place for me. I’m so glad I made that decision!’’ – Abbie
If you’d like to share a success story please email us at [email protected]
Lash Lift is certainly one of our most popular courses and highly lucrative earning you around £30-£45 per treatment. Many clients are moving away from the continued maintenance cost of lash extensions seeking a more natural option as the minimalism trend comes into make up and skincare this year. Lots of students complete our Accredited Courses to learn Lash Lift Skills but one tricky aspect to master is selecting the correct lash shield size and how to correctly fit the lash shield as it certainly takes time and practise to do this with confidence. Our blog covers best practice on selecting the correct size shield plus top tips for a successful lash shield application…
Lash lifting shields are usually created from flexible silicone shields created with a special shape to sit comfortably on the upper eye lid purposely for lash lift treatments. Lash lift treatments work a llittle like the lash perming treatments of the past, except rather than creating curly, fluffy lashes; the aim is to instead lift lashes to create the illusion of greater lash length with a soft curl upwards for a youthful, open-eyed look.
Lash shields are usually available in various sizes from small, medium up to large with some brands offering sizes in-between to give a more tailored fit for your clients.
Selecting the correct lash shield size is essential to achieving the perfect lifted result your clients desire. Too large a shield and the lashes may not lift, too small and the lashes may become too deeply curled or the ends of lashes may be distorted in shape with a kink. Usually the smaller the shield size, to greater the lift and the more dramatic the result. That said, achieving the result is down to ensuring the client’s natural lashes sit correcty on the lash shield working with their natural lash length to help determine the most suitable shield size.
When sizing up the shield, it helps to first apply an under eye pad and secure lower lashes down out the way. Then measure the shield up against the natural lashes before you get to applying adhesive.
Hold the clean shield against the upper lashes and look at how far up the natural lashes will sit on the shield. You’re ideally aiming for the natural lashes to reach all the way across the shield to the top of the shield but you don’t want lashes poking off the end.
If lashes are too long for the shield, go up a size. If lashes are only sitting halfway up the shield, go down a shield size. As a general rule of thumb, most clients will use either a small or medium shield as most clients have natural lashes around 8-11mm in maximum length. Most client’s also want the most dramatic of results which are usually yielded by a smaller shield size, although you should discuss this fully with your client to ensure you understand their expectations of treatment.
It certainly takes time and practice to perfect applying the lash shields. You want to get them as close to the lash line (it might almost feel like you’re on top of the lashes but with the adhesive when you pull them up you’ll get used to seeing the gentle pull lifting them up and over the shield so lashes won’t be trapped). It can take up to 10-20 sets before you feel totally confident with the application of the shields, feeling all fingers and thumbs at first.
A good tip is to curl your hands and gently nudge your client at the temples using your gathered knuckles each time you ‘go on’ to work on your clients eyes so they don’t jump everytime you come on and off as they will have their eyes closed throughout and it can help application of the shields if they are a little nervous.
Often clients are nervous on their first treatment also and you’ll find it much easier to apply on their follow up treatments as they start to feel more relaxed as they get familiar with the treatment process. It is worth practising application of shields just on friends and family (without necessarily then doing the full treatment), just to get the hang of it.
Common issues when lash lifting…
The lashes have a kink of the ends of the lashes
You have used too small a lash shield. Next time size up to the next shield size or if you want a tighter lift still, don’t apply the product all the way to the ends of the lashes although this won’t allow the lashes to curl back inwards to give a more natural lash shape, so bear that in mind for those clients with larger, more prominent eyes where the ends of lashes are more naturally more apparent and on show.
The lashes have gone frizzy or too deeply curled
This could suggest the lashes are overprocessed. This can occur when not all of the lash lift product has been removed so essentially the lashes continue to process lifting somewhat beyond the initial treatment (usually up until the client fully washes their face or until all product has processed). it can also occur when the development time was too long either in error or for the client’s lashes due to poor lash condition or having a previous lash lift/perm treatment too recently. It can also occur if you use too small a shield giving too tight a curl for the result the client expressed they desired. Some client’s want a more natural looking lift (more like a J curl if you think in terms of false lash shapes) so may be better with a medium or large shield depending on their natural lash length. Size up to the next lash shield size next time.
The lashes haven’t lifted
This can occur for several reasons. It may be that if you removed eye make up before the treatment, that lashes were too wet and so the product could not work correctly to break down the bonds holding the natural lash shape. It may be that you removed the products too soon stopping them from processing correctly or it may be that the lash shield size selected was too large, size down next time.
The lash shield lifts up at the corners
You may need to trim the lash shield at the outer corner side to achieve a better fit for your client. You might also like to consider use of a small amount of micro-pore tape to help hold the shield down better but ensuring none of the lashes are trapped in the tape, of course!
The shield is slipping
You might like to consider using a small strip of micro-pore tape along the lash line on the upper lid as the shield adheres much better to the tape rather than skin for some clients. It is makes it much easier to clean up following treatment as you don’t need to worry about removing lash adhesive from the client’s upper eye lid skin, it will come away simply when you remove the small strip of tape. You can also use two small strips of micro-pore tape applied vertically to help ‘lift’ and hold any looser skin on the eye lid such as for mature clients making it much easier to get the shield positioned on the lash line.
The client doesn’t like the result
Communication is the key both before and after the treatment. Most disatisfaction comes from client’s not understanding the realistic treatment outcome for their own lashes so always take time to have a thorough consultation and to visually and manually assess your client’s natural lashes prior to treatment. You must manage a client’s expectations of the treatment and how long results will last. Ensure they are well versed in the correct homecare before they leave you to avoid lash mishaps after treatment or short longevity to the results.
If the lift is too strong, unfortunately clients just have to wait for this to drop naturally although allowing lashes to get wet earlier than the recommended so for the client to take a shower after the treatment. This may help restore the original keratin bonds of the lash hairs to reverse or reduce the treatment result, although this is not guaranteed. Lash results that are too strong are usually due to issues of overprocessing of lashes or too small a lash shield used, all things you can note on their record card and ensure you consider for any future treatment.
Use of lash serums or castor oil are great to help nourish the lashes, maintain results, help restore natural keratin bonds s the result drops more naturally and improve the lash condition ahead of any future treatments also.
First published 7th January 2021. Updated 3rd August 2023.






 Russian Volume