Lashes

  • Add Some Colour to Your Lashes

    Add Some Colour to Your Lashes

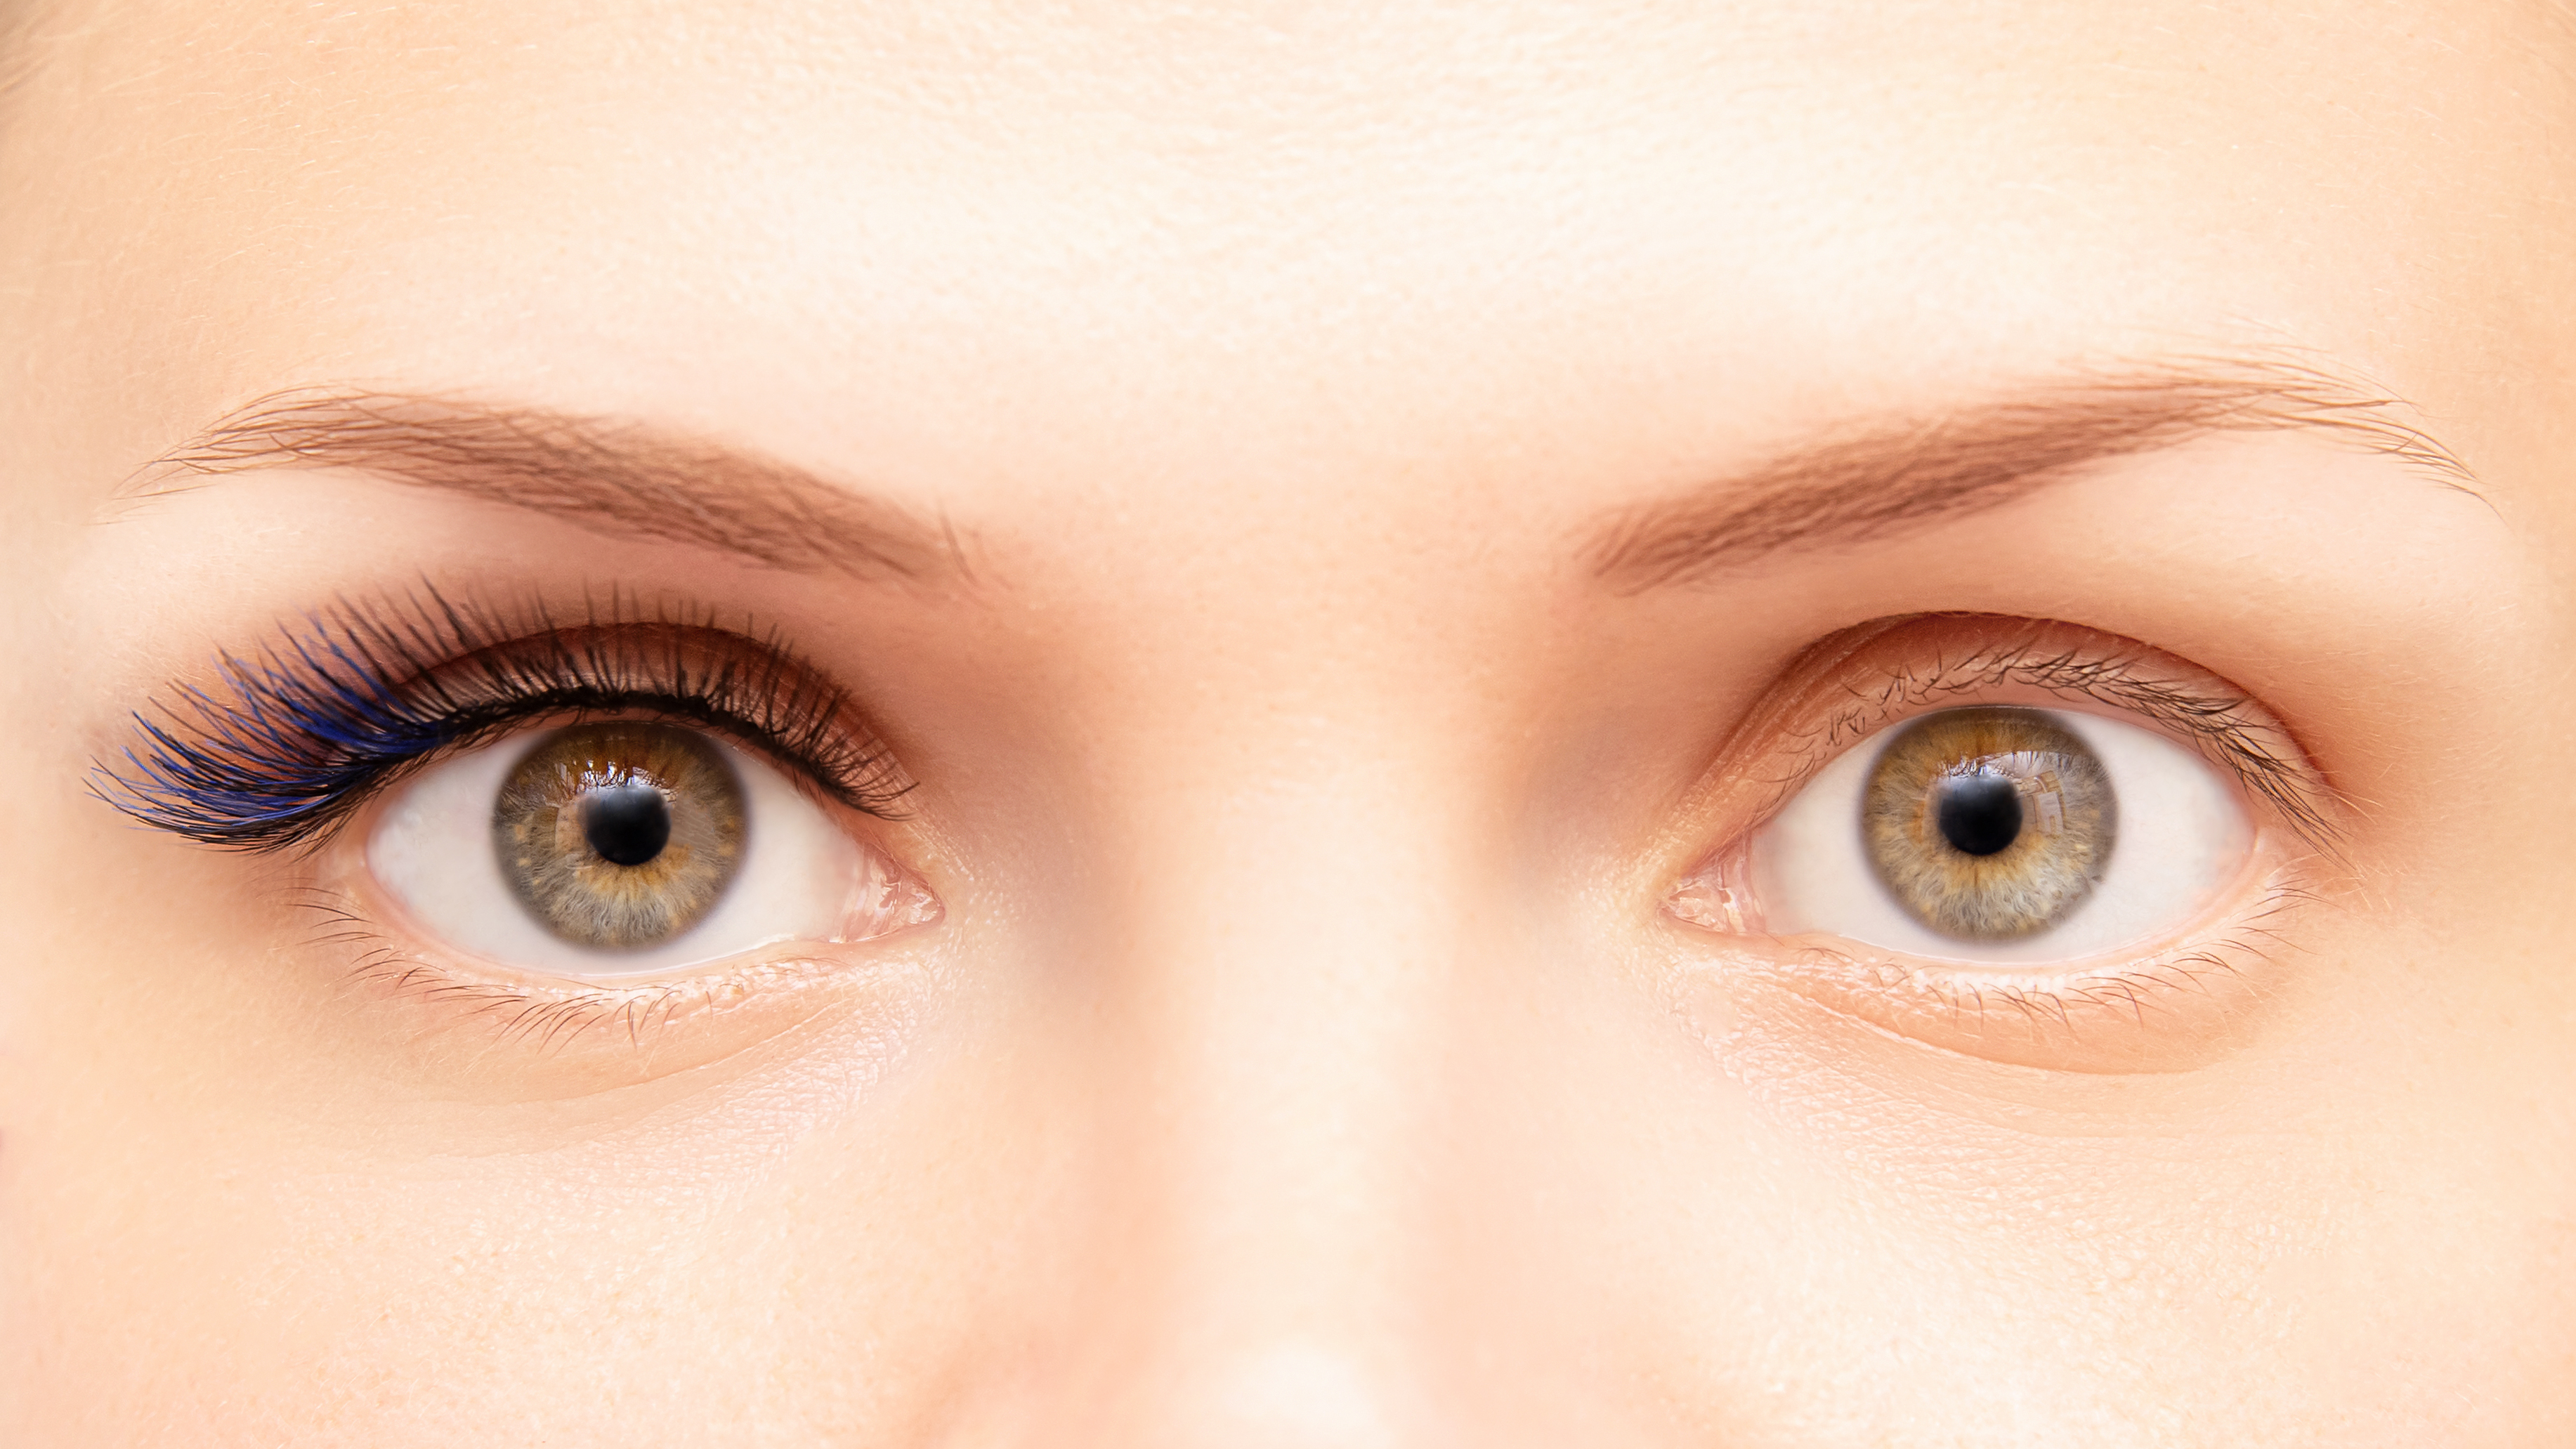
    Coloured mascara has been around for decades, flash back to the 80’s and blue mascara was all the rage. Fast forward 40 years and coloured lashes are back! As more people invest in lash extensions, the classic black lashes are pretty standard but coloured lashes are gaining serious popularity as more clients seek something different to their standard lash enhancement. Fashion dictates bolder lash looks and coloured lashes are the perfect way to stand out from the crowd…  

    Clients may want to accentuate their eye colour, match an outfit or occasion, or just make a fashion statement.

    The effects can be subtle such as a few carefully weaved in blue lashes to get that blue-black look many of us are already familiar with through tinting. Or you can go for a bright rainbow effect with ombre lashes. Our new Rapid Lashes, Tinting & Brow Shaping Course covers not only the quick lash extension application process suitable for beginners (and taking only 20-30 minutes for a full set); but also introduces the use of coloured lashes which you can incorporate across all lash extension services.

    What are coloured lashes?

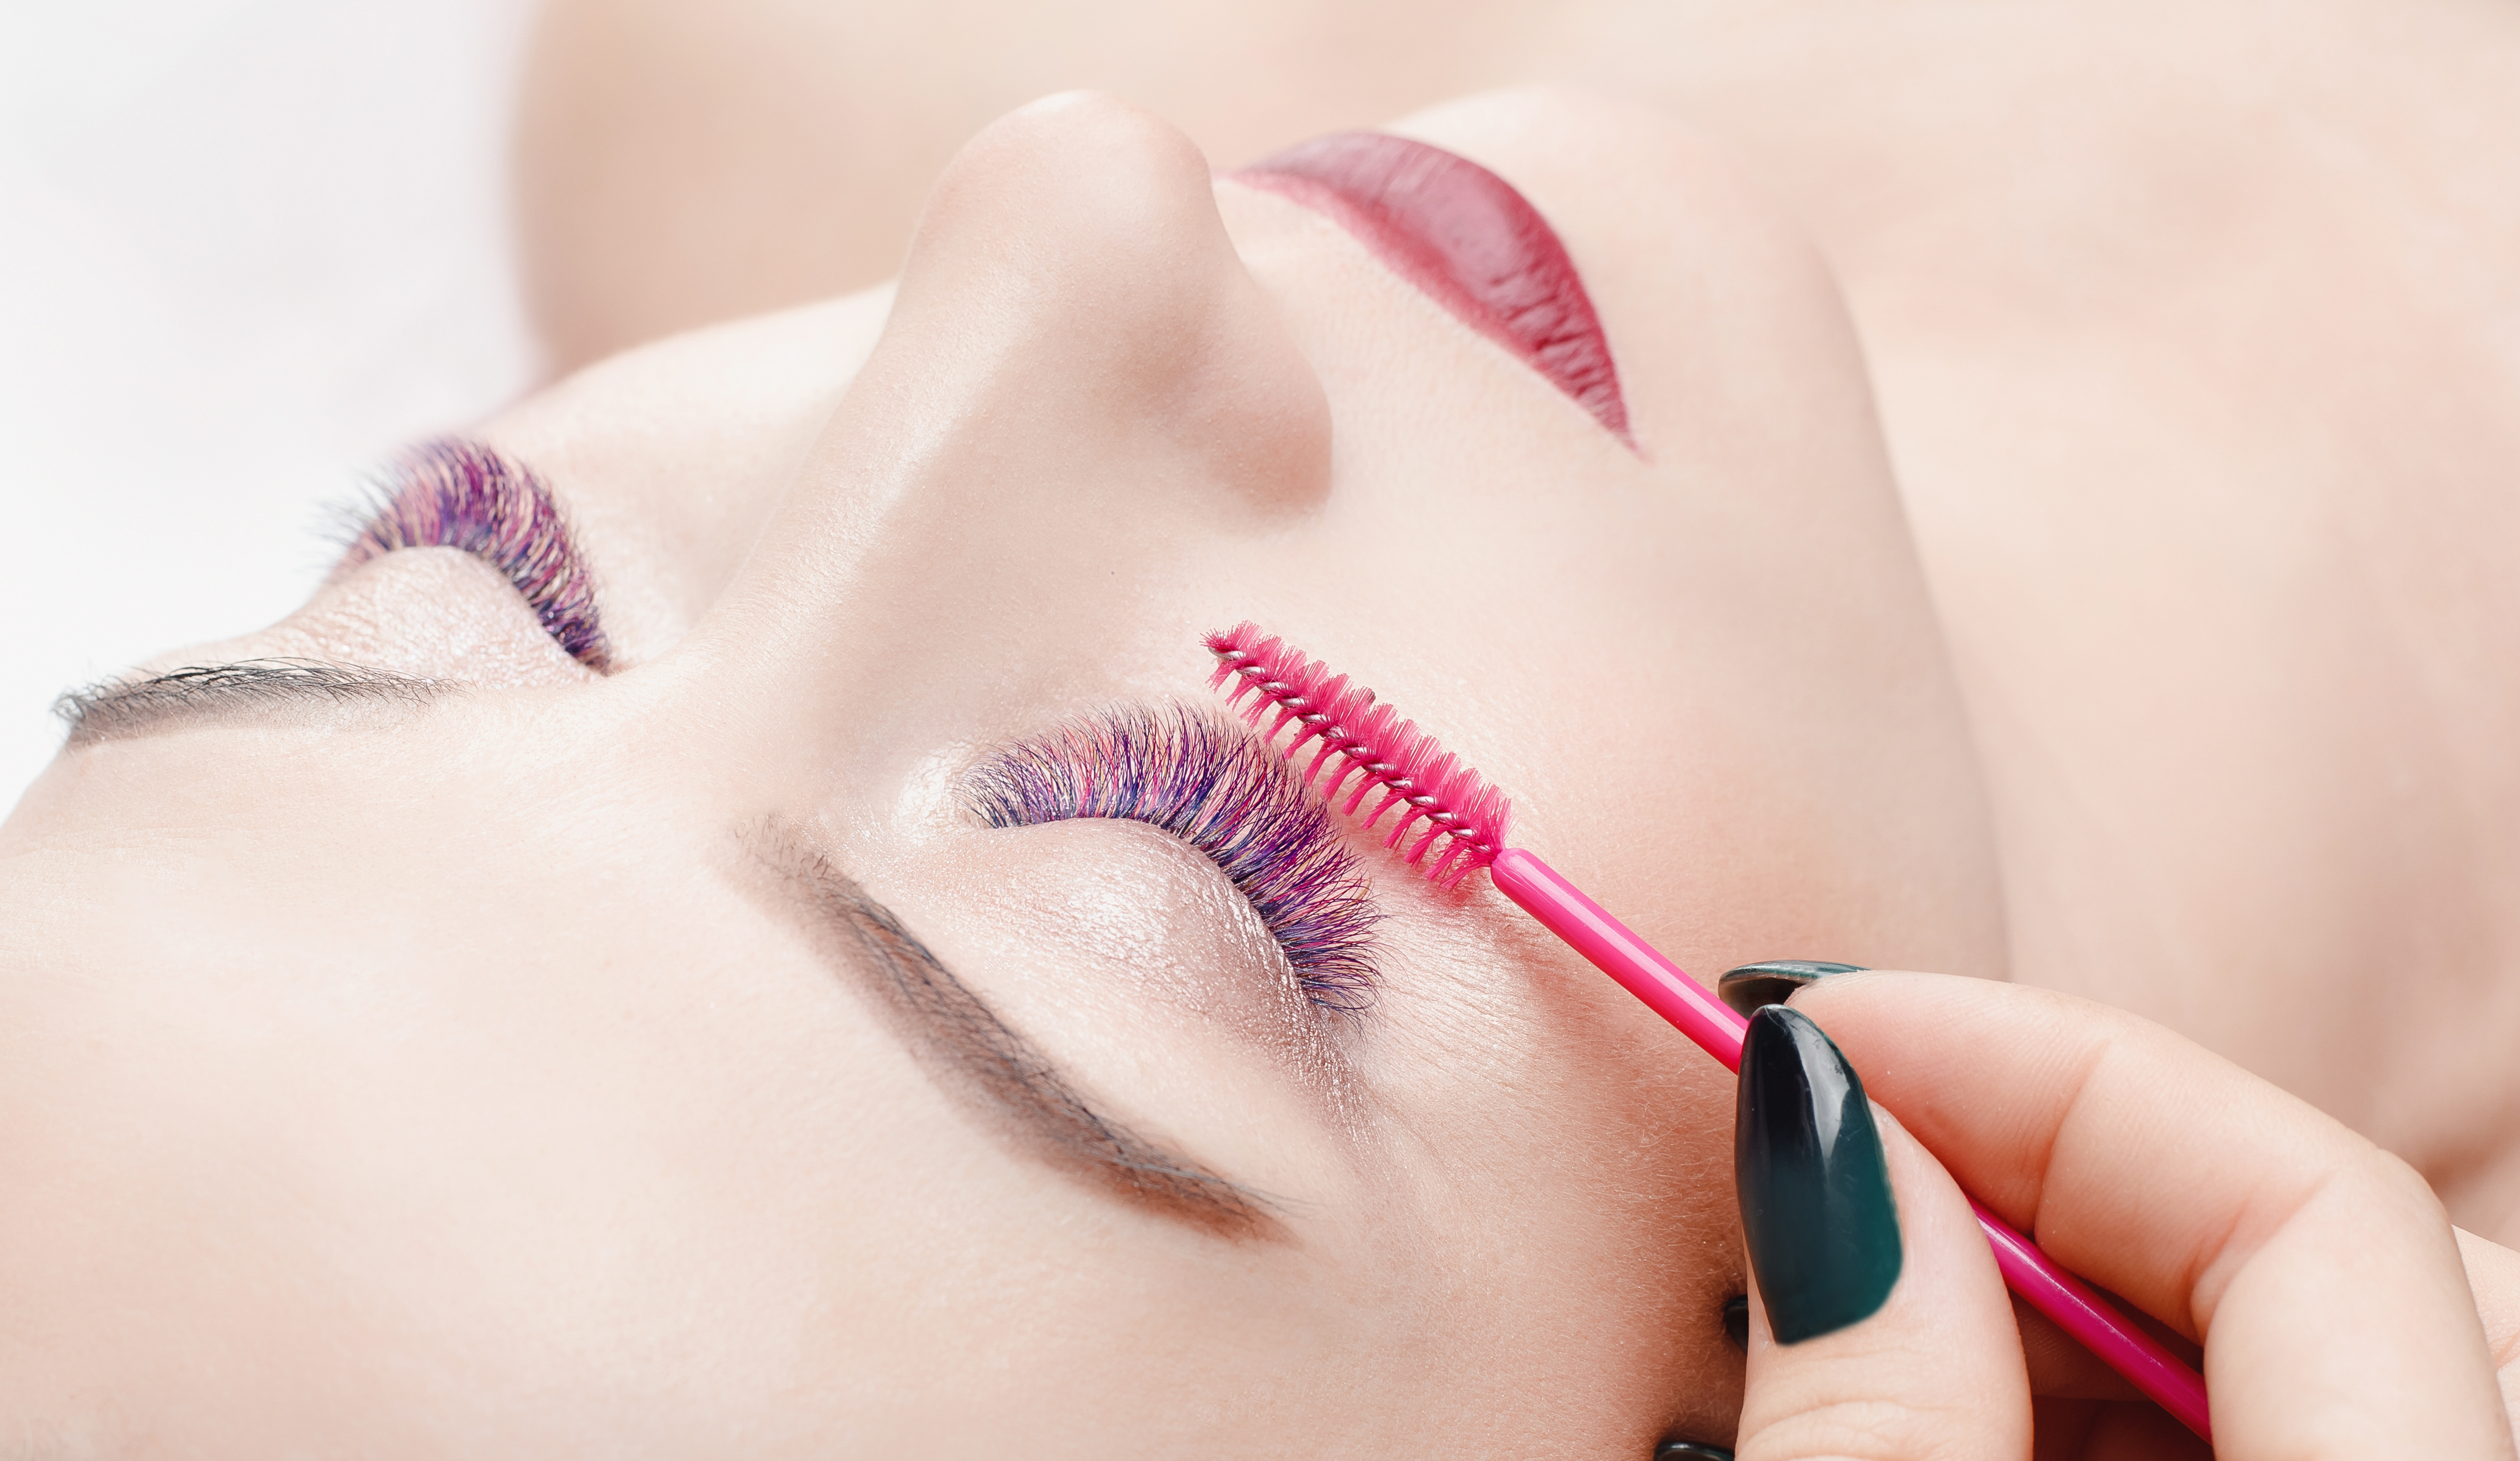
    Lash extensions come in a range of curls, lengths and thicknesses, but now they are also more readily available in a wide range of colours too. Black lashes remain the standard lash but coloured lashes can be mixed with black lashes for a subtle effect, come in ombre options that allow you to apply a pre-selected complementary range of colours or selected in a chosen hue like blue or pink for desired effects. Every colour you can imagine is now available as a lash from subtle shades of brown to neon bright pinks and blues.

    What are the benefits of coloured lash extensions?

    • Create the perfect graduated ombre look that can be as subtle or dramatic as desired, simply apply more or less coloured lashes. That isn’t possible with a coloured mascara which just applies uniformly to all lashes.
    • A quick, easy way to get ‘look at me’ lashes that stand out and get your work as a Lash Tech talked about.
    • Easy word of mouth and new client recommendations guaranteed once you introduce coloured lashes!
    • Coloured eye lash extensions can enhance natural eye colour.
    How toโ€ฆ

    To enhance eye colour:

    Go for shades which complement their natural eye colouring or provide a contrast. Applied as an outwards flick from a third of the way inwards all the way to the outer corner of the eye. Keep the inner third of the lash line to dark lashes to give definition and open up the eye area.

    • Green eyes are great with purple lashes.
    • Blue eyes really glow with blue lashes.
    • Brown / hazel eyes look great with most shades but especially purple, green or blue lashes.

    To create a fashion statement:

    Bright shades to match an outfit or occasion make a bold statement. Applied either interspersed through a full set of black lashes or entirely in place of black extensions. You can create some bright, beautiful looks with extra time and creativity.

    Top Tips for Coloured Lashes

    1. Remember to factor in some extra time if considering coloured lashes both for the consultation stage to agree the look and for application. Let your client know this will add a little time to their appointment but is well worth it for the results!
    2. Careful lash mapping is key โ€“ decide where youโ€™re going to apply the coloured lashes, how many etc. and make sure you work evenly acros both eyes in stages to get a professional, symmetrical look.
    3. Consider using a clear lash adhesive. Typically lash extensions have a black colour to them to optimally help blending of standard black lash extensions but when going to the effort of using coloured lashes, this may be spoiled through use of a standard black adhesive. Clear adhesive is perfect when using lighter coloured lashes or when applying only coloured lashes; but can sometimes be less effective or most costly due to the thinner formulation. It may also take a little getting used to in terms of different glue drying times. Black adhesive will still work well for darker coloured lashes applied among standard black lashes. Remember if using a different adhesive, the client will need to have been patch tested with it 24-48 hours prior.
    4. Charge extra for coloured lashes to reflect the artistry involved in their application. This will cover your additional treatment time and some possible extra cost for materials. It will also stand the service out ahead of your competition as many lash techs are not yet up to speed with coloured lashes and signal a premium service to your clients.
    5. Advertise the option well on your social media, website and price lists so that clients know it is available and can let you know they want this when booking so you can factor in sufficient time and theyโ€™ll know the treatment cost ahead of the appointment. Also whether they need a patch test for a clear adhesive, you might want to start patch testing with both glues as standard anyway.

    Book your place now on our Rapid Lashes, Tinting & Brow Shaping Course. Click below to Book Online, or have questions? Call our friendly team on Freephone 0800 999 2277.

  • Lashings of Maturity

    Lashings of Maturity

    Lash techs in the industry don’t want you to discover the benefits of working with mature clients, who typically have more disposable income and can become some of your most loyal, regular clients. Techs circulate ideas that lashing mature clients is difficult or even near impossible and yet with the right know-how it can be profitable and an enjoyable challenge.

    Mature clients can have hooded eyelids which make application of the lashes more difficult. However correct placement of your lash tape to the upper lids to help โ€˜liftโ€™ the lid to give better access to the lashes will help with application. Use two thin strips of tape applied vertically from above lash line to brow area, sitting approximately 0.5cm from the inner and outer corners of the eyes to get this lift and improve ease of lash application.

    Mature clients may have naturally more sparse or even thinning lashes due to many reasons including hormonal changes brought about by menopause. Using the Russian Volume technique can help to build the appearance of greater lash thickness and disguise any gaps in growth although care should be taken with the size of fan utilised. Stick with 3D lashes, no greater or the effect will not be optimally flattering and will look unnatural. If using pre-made, stick with short root styles or keep the base shorter if creating your own.

    Top tip: combining both the classic individual and Russian volume techniques to create a โ€˜hybridโ€™ lash look is ideal for mature clients. The individual lashes will give a framework to help give definition and open up the eye area, while fans will help give fullness and youth to the lash line.

    Avoid use of D curl lashes which give a very dramatic look, stick with C or CC curls for a flattering look which most mature clients will prefer.

    Donโ€™t be tempted to go overboard and apply too many lashes. Select shorter lash lengths to compliment the natural lashes, longer does not mean thicker and using shorter lengths will detract from spareness and avoid over-defining the lash line. Avoid long lash lengths to outer corners too which will make the eyes appear to droop, a few shorter lengths to outer corners will lift the eyes and give a more open-eyed, youthful look. The same goes for lash thickness, using thicker lashes will not create fullness but over-emphasise any gaps.

    Top tip: Using a lash that is too thick will be poorly supported by the natural lashes and lead to premature lash loss or even breakage and damage. 0.10mm lashes are usually best for mature clients

    Ensure your mature clients, in particular, are rigorous with the lash care. Suggest a lash safe serum to help improve natural lash growth and strength and ensure they return every 2-3 weeks for infills to ensure lashes remain looking their best. Lost lash extensions will only exaggerate any sparsity to lashes so it is key they upkeep their infills.

    Expand your skills today with our Fast track, Accredited Courses or benefit from our recognised Online training coursesโ€ฆ

    We highly recommend the following courses for those looking to offer lash extension treatments. If you need any advice on the best course for you, give our friendly Advisors a call on 0800 999 2277 or connect through Live Chat now.

  • Keeping your Kit Tip Top – Storing Lash & Brow Tools…

    Keeping your Kit Tip Top – Storing Lash & Brow Tools…

    As any amazing lash and brow tech knows, youโ€™re only as good as your products and tools will allow you to be. Not storing these correctly, not only shortens the lifespan of these causing wastage and extra costs but also limiting the results you can achieve. Here we discuss how you should be storing your kitโ€ฆ

    Wax Pot

    It goes without saying that your wax pot should be wiped over after each use to remove any stray wax. There is nothing worse than going for a treatment and seeing a gunky looking wax pot and wondering just where your wax will be dribbled. Where possible use wax pots with an insert to allow you to remove the wax from the heater and reseal with the tub lid, but the wax heater lid should be on when not in use at the very least. If working mobile, ensure the wax heater remains upright if wax is to be left inside the heater to avoid spillage. Allow wax to cool down sufficiently before moving the heater so for mobile therapists, turn off the heater as soon as it is no longer required. Wax is typically good for 6-12 months from date of opening โ€“ check your product for the specific use by.

    Tint & Oxidant

    Always used and disposed of in line with COSHH, you should only mix your tint once ready for use and never before your client arrives as it will not be effective by the time it is used. Always replace the lids tightly immediately once decant particularly as products will react with the air on contact and overexposure will reduce its efficacy.

    Lash Adhesive

    Only ever decant as much as you need to avoid wastage. Replace lids tightly once decanted to avoid the adhesive reacting with the air and setting hard. Keep adhesive stored upright at stable room temperature. Some adhesive brands suggest storing in the fridge but this can cause moisture to develop inside the product bottle causing it to be ineffective. You can purchase vacuum storage bags or jars which help to prolong the life of your lash adhesive once opened and also protect them from falling over and spilling in transit for those who work mobile. If products must be stored in a cooler or hotter area than where you are working, allowing up to an hour for the product to return to ambient temperature before using for best results. Working environment temperature will affect the current viscosity (thickness) of your product so consider this when deciding where to offer your treatments, for

    Tweezers

    Always ensure tweezers are thoroughly wiped after use to remove any stray hair or wax/lash adhesive residue before sterilising. Avoid leaving tools standing in barbicide continuously as this will corrode tools over time. Sterilise for the recommended time then remove. Store in a sealed plastic case or bag taking care to protect the tweezer tips, never store points down in a jar. Then simply place back in sterilising fluid prior to use once setting up for your client. Take care never to drop your tweezers as this could blunt the points. Replace tweezers roughly every 3-6 months depending on how often used. Keep lash tweezers separate from those used for brow treatments to avoid misusing these and always keep a spare pair handy just in case.

    best results. Also ambient environmental humidity will affect the drying times of your adhesive. Lash adhesive is usually good for 3-6 months dependent on the brand once opened (usually for up to 12 months prior to opening) but check product packaging to confirm as it does vary depending on the formulation.

    Brow Powder Compacts

    Always store these where they will be safe from knocks or dropping to avoid gut wrenching moments where your palette crumbles. Ensure you decant powder onto a spatula using a make up scraper or only ever use a clean applicator / brush (never double dipping) or use a special make sanitiser spray for powder compacts between each client to keep products hygienic. Many brands now offer refills for powder palettes to allow you to replace the shade you use up quickest, rather than having to replace the entire palette so it is worth considering this when buying your products to avoid having to have multiple part used palettes or powders at any one time.

    By following the above advice, you will ensure you are not only working safely and hygienically but also reducing your costs (boosting your profits) and getting the very best results from your products and tools for the longest time possible.

    Discover our optional starter kits todayโ€ฆ

  • Know your lashes, know your options…

    Know your lashes, know your options…

    With so many lash treatment options now pinging up in the beauty sector, it’s hard to keep up with what the differences are. But having a good understanding will ensure you can give the best advice to your clients and maximise your treatment sales…

    The six main lash enhancement treatments are…

    • Classic Lash Extensions
    • Russian Volume Lash Extensions
    • Hybrid Lashes
    • Lash Lift & Tinting
    • Strip or Flare Lashes
    • Express (Party) Lashes
    • Classic Lash Extensions:

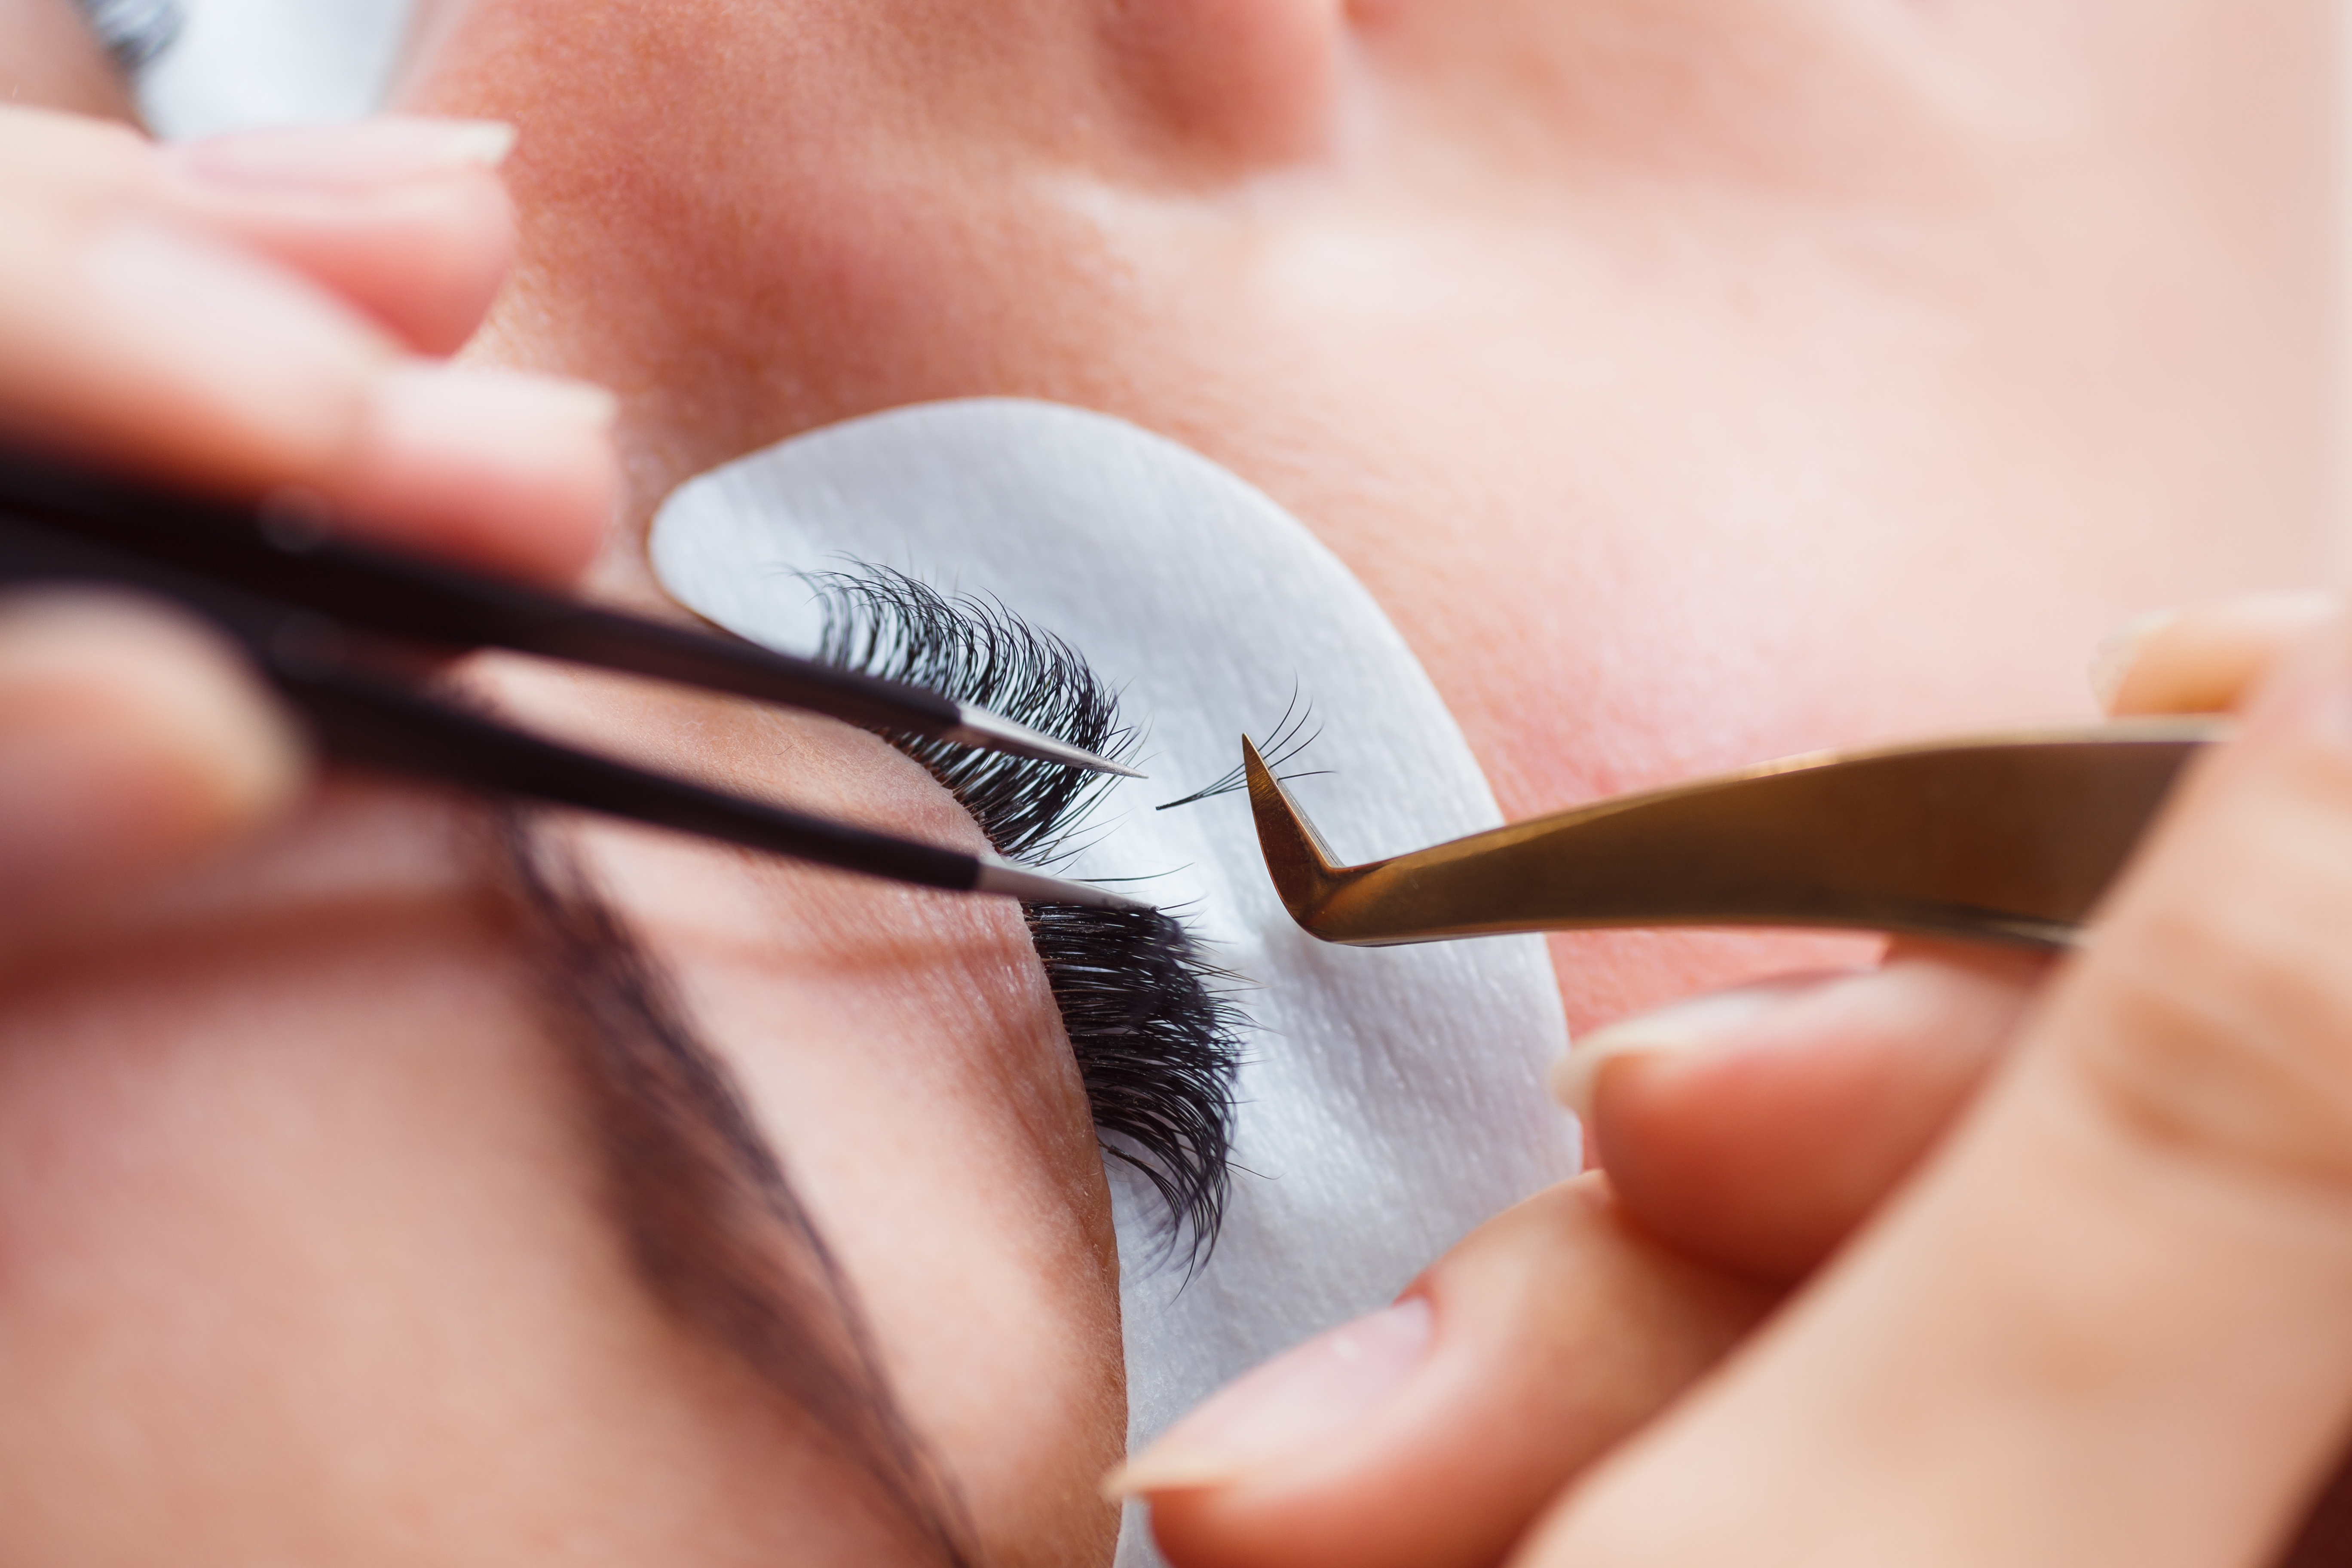
    Most clients are now familiar with these โ€“ simply put youโ€™ll be applying one false lash to one natural lash to extend the lash length and give greater lash definition.

    • Russian Volume Lash Extensions:

    Many clients confuse the effects of these with strip lashes or even classics. Youโ€™ll be applying anything from 2-6 false lashes to one natural lash, applied by picking these up to form a fan of lashes. Give natural lashes more volume (thickness) and length for a more dramatic lash look.

    • Hybrid Lashes:

    A way of combining both the classic and Russian volume techniques to achieve a dramatic but structured and defined look to the lashes. You will set up a framework to work within which to extend the natural lashes by applying the classic individual extension technique to every 3-4 natural lashes along the lash line. You then apply fans of Russian volume lashes between these individual lashes to boost volume.

    • Lash Lift & Tinting:

    Working on the natural lashes only, with no false lashes applied. A way of lifting and opening the eye area by straightening and lifting the natural lashes to give the appearance of greater natural length. Tinting darkens the lashes from root to tip giving further enhancement in the appearance of lash length. Also gives superb definition but without the commitment of having to maintain false lashes i.e. infills. Also great for those unsuitable for lash extensions e.g. those allergic to lash adhesive, who swim regularly etc.

    • Strip or flare lashes:

    Temporary lashes applied using a temporary lash adhesive (different to that used for lash extensions). Typically last from 1-7 days and are easy to remove. Applied either as small bunches of false lashes attached to a bulb (flare) or as a full or part strip of false lashes. Great for those who want to enhance the benefits of a make up treatment for example, for special occasions and canโ€™t or donโ€™t want to commit to long term care or cost of lash extensions. Another good option also for those with more sensitive eyes.

    • Express or โ€˜partyโ€™ lashes

    Often confused with Russian volume lashes, these give a quick but effective lash extension treatment but are applied using pre-made lash fans rather than using individual lashes applied as a fan which the lash tech must form. Speeds up the treatment allowing you to charge less and fit in more clients, shorter time on the treatment bed needed for clients and no infills (simply remove and apply a new full set each time). Great for those who want a dramatic lash look without the cost of a premium lash service such as Russian volume or hybrid lashes.

    The Beauty Academy are excited to offer training options within all of these in-demand lash treatments ranging from accredited fast track 1 day courses up to recognised online courses allowing you to learn from home, online at your own pace. Discover our courses TODAY and begin earning up to ยฃ50 an hour!

  • Get the Lighting Right

    Get the Lighting Right

    With the nights drawing into the afternoon as the winter arrives and the busy festive period approaches, it is more important than ever to ensure you have the right lighting on hand as a lash technician to not only ensure your work remains to the highest standard, avoid strain on your eyes but also maximise your working hours to fit in just as many clients. But many lash techs have no clue when it comes to selecting the best lighting set up for their working space. Our blog highlights just what you need…

    Benefits of Great Lighting:

    1. Easier on the eye โ€“ less risk of eye strain when working on back to back lash clients
    2. Extend your working hours into the afternoons and evenings, even with darkness falling earlier
    3. Achieve better lash results as you can work more precisely and better check your work
    4. Get better photos of your work for sharing on social media
    5. Look and feel more professional

    What to look forโ€ฆ You are looking for a light which provides;

    • Daylight quality lighting using LEDs to mimic that working by a window feel
    • Flexibility to adjust the light by height or angle to suit your way of working. Goose necked style lamp stems of a reasonable length are best for this.
    • Avoids creating shadows by lighting the whole face, with a suitably sized light splay
    • Functionality to adjust the light level intensity and with easy on/off controls within reach when working
    • Portability if you intend to work mobile, ideally one with a folding or collapsible stand. Always look for one with a travel bag option for safety and ease of carrying.
    • Ring lights with a great splay of light but can be bulky to work beneath and difficult to correctly position to fully light the face. Make up lights tend to be better for upright, static use and often lack the functionality to alter the intensity of light for different working conditions. This is where GlamCor lights or similar come into their own.

    Our Recommendationsโ€ฆ

    GlamCor lighting has always been hard to beat in terms of the incredible quality and their reputation amongst lash techs. Their lights come in at around ยฃ175 for the most popular Classic Elite light. As another great rival, we absolutely love the lights provided by Lash Base. Two great options are their Lash Pro Light or Lash Pro Ring Light. Both coming in at around ยฃ140, they may not be the cheapest on the market however they are well made, will last you far longer than a cheaper alternative and will allow you to achieve excellent results.

    Not already living the dream and working as a lash technician? (Why ever notโ€ฆ?) An existing technician and want to further develop your lashing skills? Our fully insurable lash courses start from only ยฃ99 and allow you to begin earning up to ยฃ50 an hour as a Lash Technician. Discover the options belowโ€ฆ