Are you currently a salon business owner? Or renting a room somewhere? Looking at new treatments to add to your menu but feeling overwhelmed and at a loose end? Why not try something different and become a tutor! Gain a qualification in teaching, get your courses accredited, and be insured as a teacher. Start teaching the subjects you love, to inspire the next generation of Beauty Therapists.
There are many benefits to becoming a Beauty Tutor, these benefits include: a better work-life balance, improved IT and marketing skills and setting your own schedule. This option is also less physically demanding on the body, if you are a therapist looking to reduce your treatments. There is always a huge demand for these training courses within the beauty industry. You can start your own training business, design your accredited courses and move completely online!
Running a profitable beauty business can be a rewarding yet daunting task! there are so many things to think about when running your own business. This can be challenging when the majority of your day is focussed on delivering treatments. If you’re struggling to find the time to generate new ideas for boosting income you’ve come to the right place! We’ve collated some of our best advice for therapists to maximise profits.
Increase your client base
Whether you are just starting up or have been going a while there may be opportunities to grow your client base. There’s the obvious promotional platforms such as social media/ local magazines, however many marketing experts agree that the networking is an avenue that can be the most beneficial when targeting new clients. For example, there may be the option to have a mutually beneficial partnership with local businesses in your area that compliment the work you do such as Bridal shops or Hairdressers. A ‘you scratch my back, I’ll scratch yours’ scenario of promoting each others businesses can boost both businesses profits. If you already have a loyal client base, you can also enrol the support of these clients to grow. Offering refer a friend rewards or hosting launch events within the salon whereby clients can bring a friend/family member along. These events work well along side the launch of a new treatment or product where you can offer taster treatments/demonstrations/product trials or spread out at various times of the year to mark events i.e Valentines day/Christmas.
Increase spend per visit
If you’re serious about increasing your profit then one clear winning strategy is to encourage your client to spend more when they are with you. Use each treatment booking to your advantage to promote the add on services and retail that you offer within the salon. This doesn’t have to be a hard sell as remember your client is there for a reason, they may have come in to get amazing lashes.. their lashes will stay amazing for longer if they use a lash shampoo between infills! If you’re not retailing product in your salon you’re not only limiting your revenue but you may also be disadvantaging your client by not providing them with a full service which includes education and aftercare on how to maintain their treatment at home.
When up-selling services, consider the treatments that compliment each other the most. This could be adding additional massage onto treatments, adding additional LED therapy onto facials or tinting with Lash extension services. Also consider the benefits of courses of treatments, offering incentives can be an easy way to reward clients for booking courses such as by 6 get one free.
Top tips for retailing product:
Only recommend products that you genuinely believe will benefit the client, link these back to their main concerns or objectives. For example you may have a facial client concerned with acne so share why you think a spot treatment would work best for them or a Gel polish client who always has dry cuticles, why would this nail oil help?
Let the client explore the product. Give them the chance to try the product on their skin as most people prefer to try before they buy!
Review your treatment menu
A lot can be said for less is more, its important to focus on what you do and do it well vs offering too many services. Think about your niche and what makes you different, why should your clients come to you? It’s these unique differences that you should be promoting at every available opportunity. It may also be time to consider your pricing, when was the last time you increased your prices? Complete some market research into your local area to ensure you remain competitive and avoid underselling your skills!
Looking to start your own beauty business this year? Call our team on freephone 0800 999 2277 (option 1) to tailor a beauty training package for your business start-up. Already trained in beauty and need more business know-how? Our Online Starting a Business in Beauty Course is the ideal starting point to plan, market, brand and launch your own beauty business.
This article was first published on 18th May 2016 & was updated on 17th February 2022
When it comes to creating the perfect nail extension, there is more to consider than simply your technique. Good technique is essential but the right tools will help you to create better results, more easily and more quickly.
Generally speaking, as you begin to practice you will usually be using the brush that came included within the starter kit you may have purchased. We always recommend using a brush that is from within the same brand or range as the acrylic or gel products you intend to use as these have been designed and tested for best results using those specific products. However as you become more experienced and knowledgeable, you may have a preference for a different brush which works best for you and your way of working.
Brushes for UV Gel (builder gel) Application
UV Gel will usually require the use of a standard size 4 or 5 flat brush (for the creation of nail extensions). These are often designed for use specifically with UV Gel and are optimally shaped and sized for easy product pick up and application. These are often made with synthetic bristles to provide an easy to clean, long lasting and affordable brush which picks up the product without encouraging it to sink into the brush which could cause product wastage and make it harder to glide the product from brush to nail. Gel Polish is usually applied with the brush that came enclosed within the product lid and there is no need to use any alternative brush.
Brushes for Poly Gel Application
Poly Gel is a new system that has become hugely popular over the last 3-5 years as the products come packaged in an easy to dispense tube that can help to reduce product wastage and risk of cross-contamination. Your product will usually come supplied with a metal flat edged tool for ‘slicing’ some of the gel product from the tube ready for use. You then apply this ‘bead’ of sliced product direct to the prepped natural nail and work the product using a flat gel brush. Poly Gel products are applied very similarly to standard builder gel products (that come in tubs and jars) and so a standard gel application brush will be suitable, however you will need to ensure you use the ‘slip solution’ product supplied with your poly gel to avoid the product sticking to your brush. Rather than brushing the product on as you would with standard builder gels, you simply pat the bead applied to the nail into shape using your gel brush. It is important to clean your poly gel brush after use using a lint free wipe to remove excess product and soak in gel brush cleaner if required to remove any hardened product and help reshaping of your brush bristles. Always stand the brush in a cup to dry with bristles facing up to avoid the brush drying misshapen.
Where it gets more tricky is when considering the best brush for use with acrylic products…
Brushes for Acrylic Application
Natural vs Synthetic Bristles
There are several factors that must be understood about brushes before you can begin to select a brush. Firstly it is important to understand why brushes for use with acrylic are usually made from kolinsky, sometimes called sable hair. Kolinsky is the hair gathered from a type of weasel found in the cold regions of Russia & China. Natural hair is used as it has an advantage of providing natural thickness towards the belly of the brush which allows it to hold liquid effectively (as in acrylic liquid). The strength and flexibility allows the brush to return to a point when wet. All hair has a structure known as the medulla which allows moisture to be absorbed. This acts as a reservoir to hold the acrylic liquid in nail brushes and releases in a controlled manner as pressure is applied with the brush by the nail technician. Kolinsky hair is far better in quality (sometimes known as golden sable) than the hair gathered from other weasels (sometimes known as red sable or just ‘sable’). If a brush states kolinsky, you can be sure you are buying the best quality brush bristles possible.
With any natural hair brush, it is essential to maintain the brush with correct cleaning after every acrylic application to avoid the brush becoming stiff and damaged. You can purchase brand specific brush cleaners (designed to remove your specific acrylic product) and these often contain conditioners within them to keep the bristles smooth, flexible and keep the brush shape for longer. Natural brushes can be cleaned within acetone but this is not recommended as it can dry and damage the bristles over time.
With improved technology, some manufacturer’s are beginning to use synthetic bristles for acrylic brushes. This is also in response to those who want a ‘vegan’ option. Modern technology now allows many synthetic bristles to effectively mimic the properties of natural brushes to a degree. Synthetic bristle brushes are more durable as they are less effected by contact with the monomer (acrylic) liquid than natural hair. Many nail techs prefer natural hair however as synthetic brushes will struggle to hold the acrylic liquid as effectively. Synthetic bristle brushes are usually used more for nail art and gel application. Care must be taken when cleaning such brushes as they are often made with nylon or polyester which can be damaged if left to soak in acetone. Most brush cleaners are acetone free for use with UV Gel brushes.
Choosing the Right Size
When you first begin to practice your application of acrylic, you will usually make use of a smaller brush which could be a size 6 or 8. These brushes are great to begin with as they effectively lift a smaller bead of acrylic (powder with liquid) allowing you to master your application technique with the 3 zones. They also allow you to learn the ability to get your ratio of liquid to powder correct with more control. This smaller brush size of 6 or 8 is usually included within starter kits for this reason.
However as you begin to advance in your experience and skills, you may find smaller brushes make your application slower and your treatment time longer. When working in the salon or as a mobile therapist where timing is key to ensure you can maximise your earnings, it is important that you can begin to reduce your treatment timings. One way to do so is to look to use a larger acrylic brush. Larger brushes allow you to effectively pick up a larger bead of product which means you can cover a larger area of the nail with less strokes. You will still be using your 3 zone process but will not require the use of up to 3 smaller beads to cover each zone, instead you may be able to achieve coverage of an entire zone in just one large bead. This does of course take much practice and good technique to ensure you are getting your ratio of powder to liquid correct to avoid flooding the nail or creating poor adhesion through too little powder/product too thin.
When first starting out in nail extensions working with a smaller brush, there is a tendency to need to file the nails into shape at the end of application. This is because when you are applying numerous small beads, there can be a tendency for areas of the nail extension to become lumpy or too thick (of course some products self-settle better than others). This extra filing also increases your treatment timing. An advantage of using a larger brush is that you apply less beads and so there is less likelihood for areas of the nail extension to have thicker areas (where two beads/layers have overlapped) and less chance of the extension becoming too thick assuming you are confident with your product ratio. It is also said that reduced filing helps to create stronger, more stable nail extensions and the process is more comfortable for clients. With experience, a larger brush can enable you to create more professional looking nail extensions in less time.
Due to the nature of having more bristles within a larger brush, this enables them to keep a better shape at the belly of the brush which also can make the larger brush easier to work with when laying down your bead onto the nail or tip. This can quite simply be seen by the fact that the larger the brush, the more structured the shape with a distinct pointed end rather when dry, rather than the more round or flatter shape of smaller brushes. It allows the brush to be more flexible and glide the bead more easily. Smaller brushes have a tendency to go much flatter with less pressure which can flatten the bead or trap it within the bristles making application more tricky.
While working with a larger brush, it does not limit your ability to still pick up a smaller bead which you may use when infilling or rebalancing the nail as with experience you will learn to utilise the point of the brush for fine detail work. As you grow in confidence and more importantly, experience of creating the correct ratio of liquid to powder; you can begin to gradually increase the size of brush you are working with going from a 6-8 to a 10 then 12. You may even work up to a size 14 or 16 although many nail techs typically prefer working with a size 10 or 12 depending on the brand of products they are working with.
Remember to stay working with a brush from within your product brand when working on nails for clients. When initially practising with a larger brush however you may wish to pick up an inexpensive artist’s supply brush from any stationery store or online (as these are often very similar in style but cheaper as they are unbranded). It is a great way to trial a brush size without a big spend but should not be used for client’s nails as you cannot guarantee good results as such brushes are not tested for best results with your brand of products.
Once you have invested in a good brush, you may want to buy a brush case or cover (some brands come with a brush cap) to protect your bristles and also a brush cleaner that is recommended for use with your brush.
“All of your dreams can come true, if you have the power to pursue them’’ – Walt Disney.
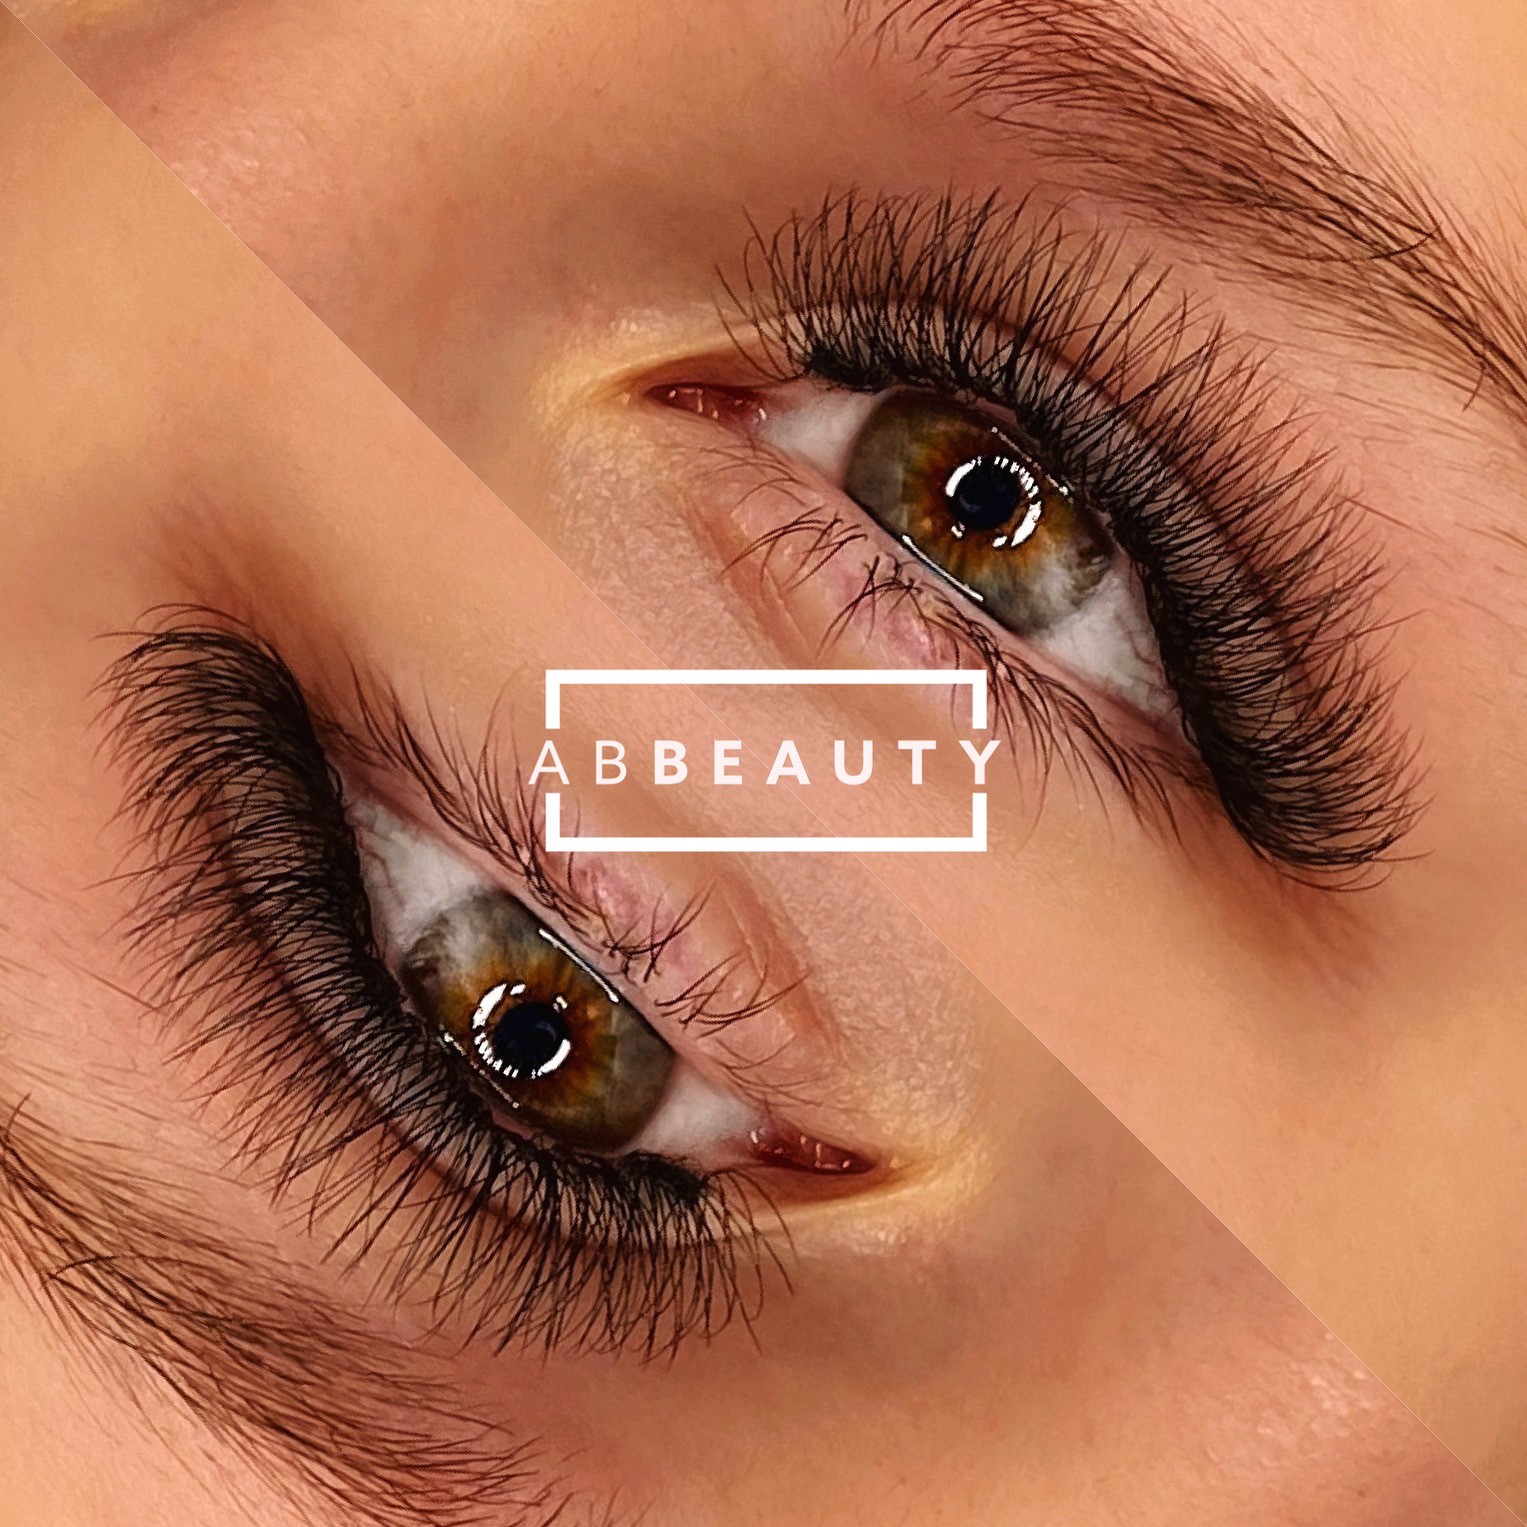
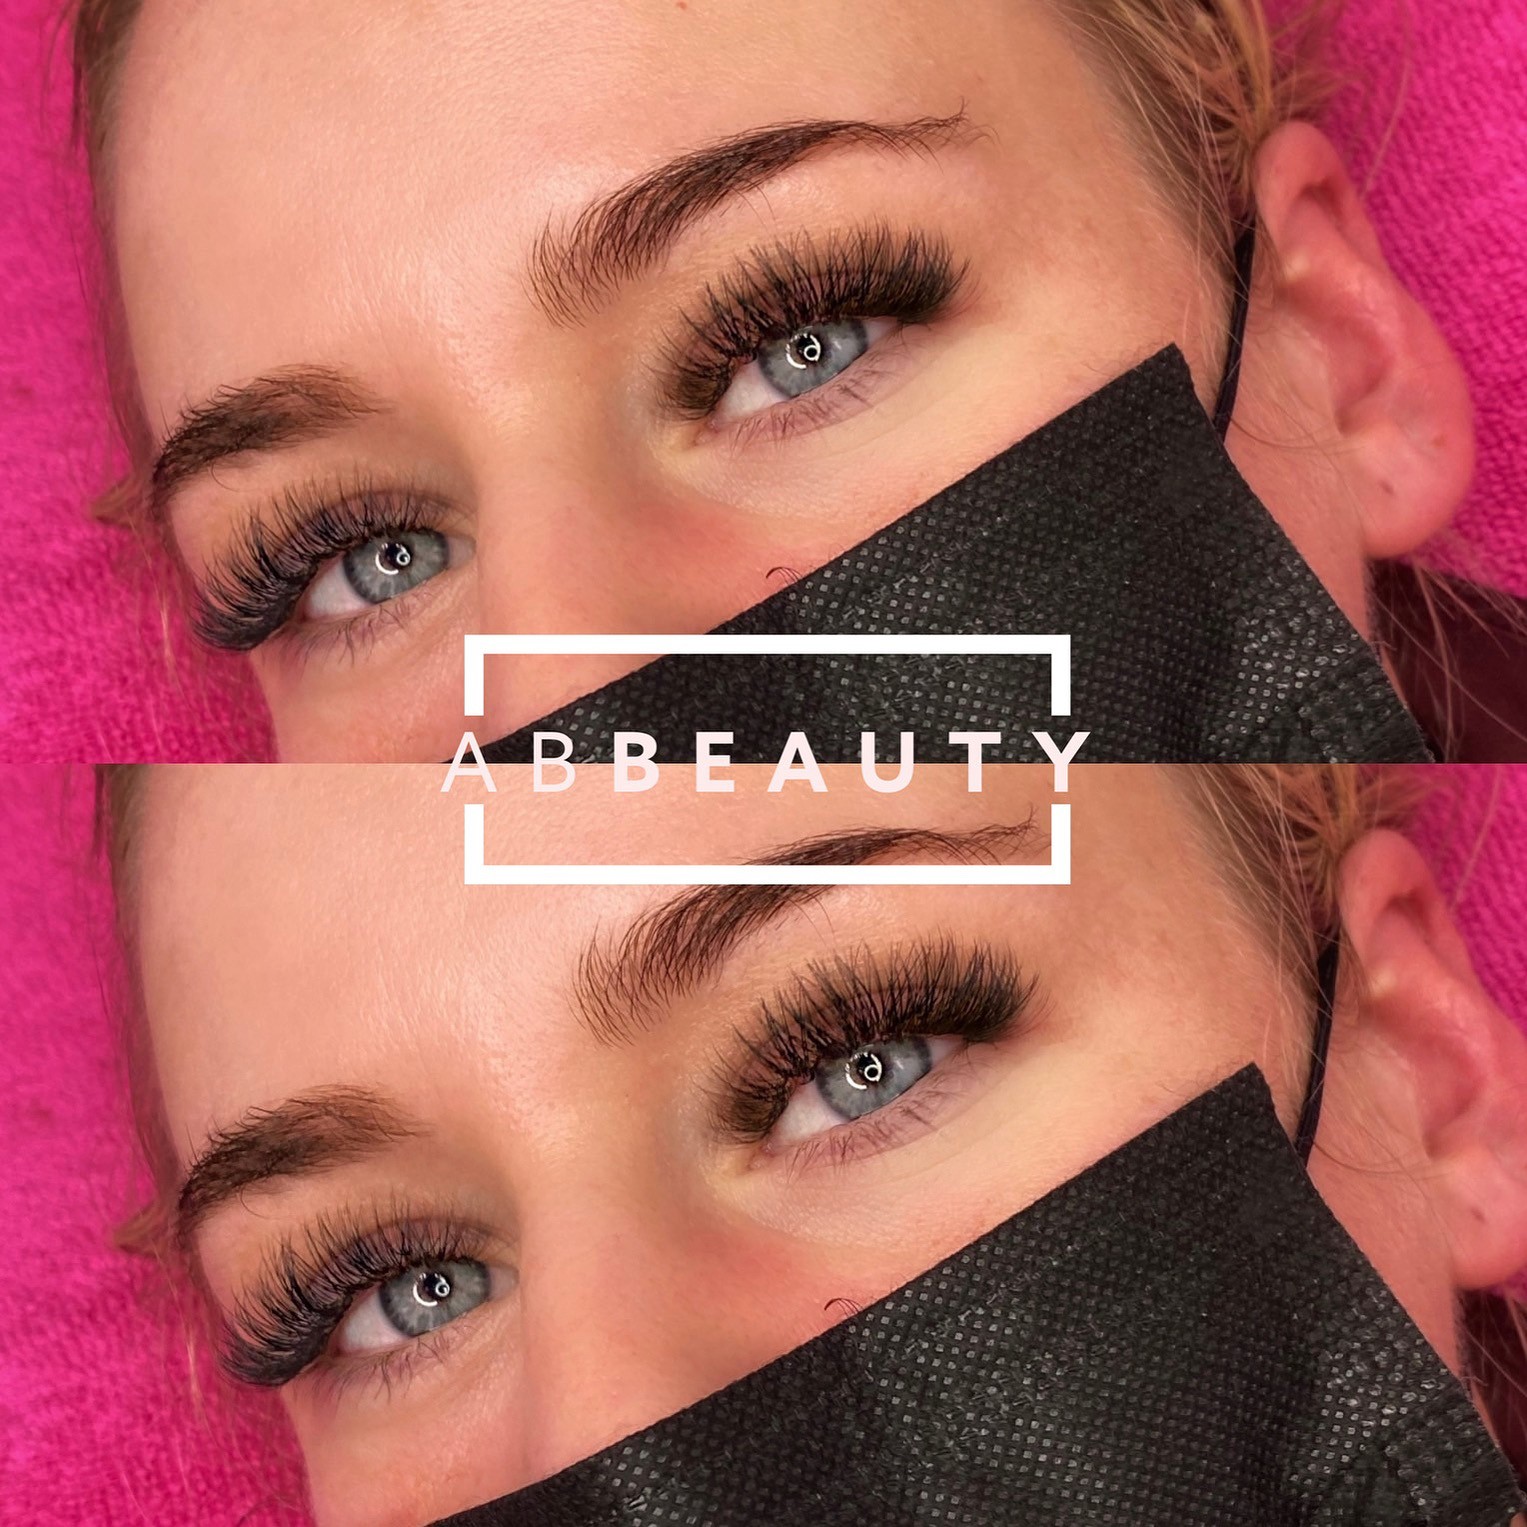
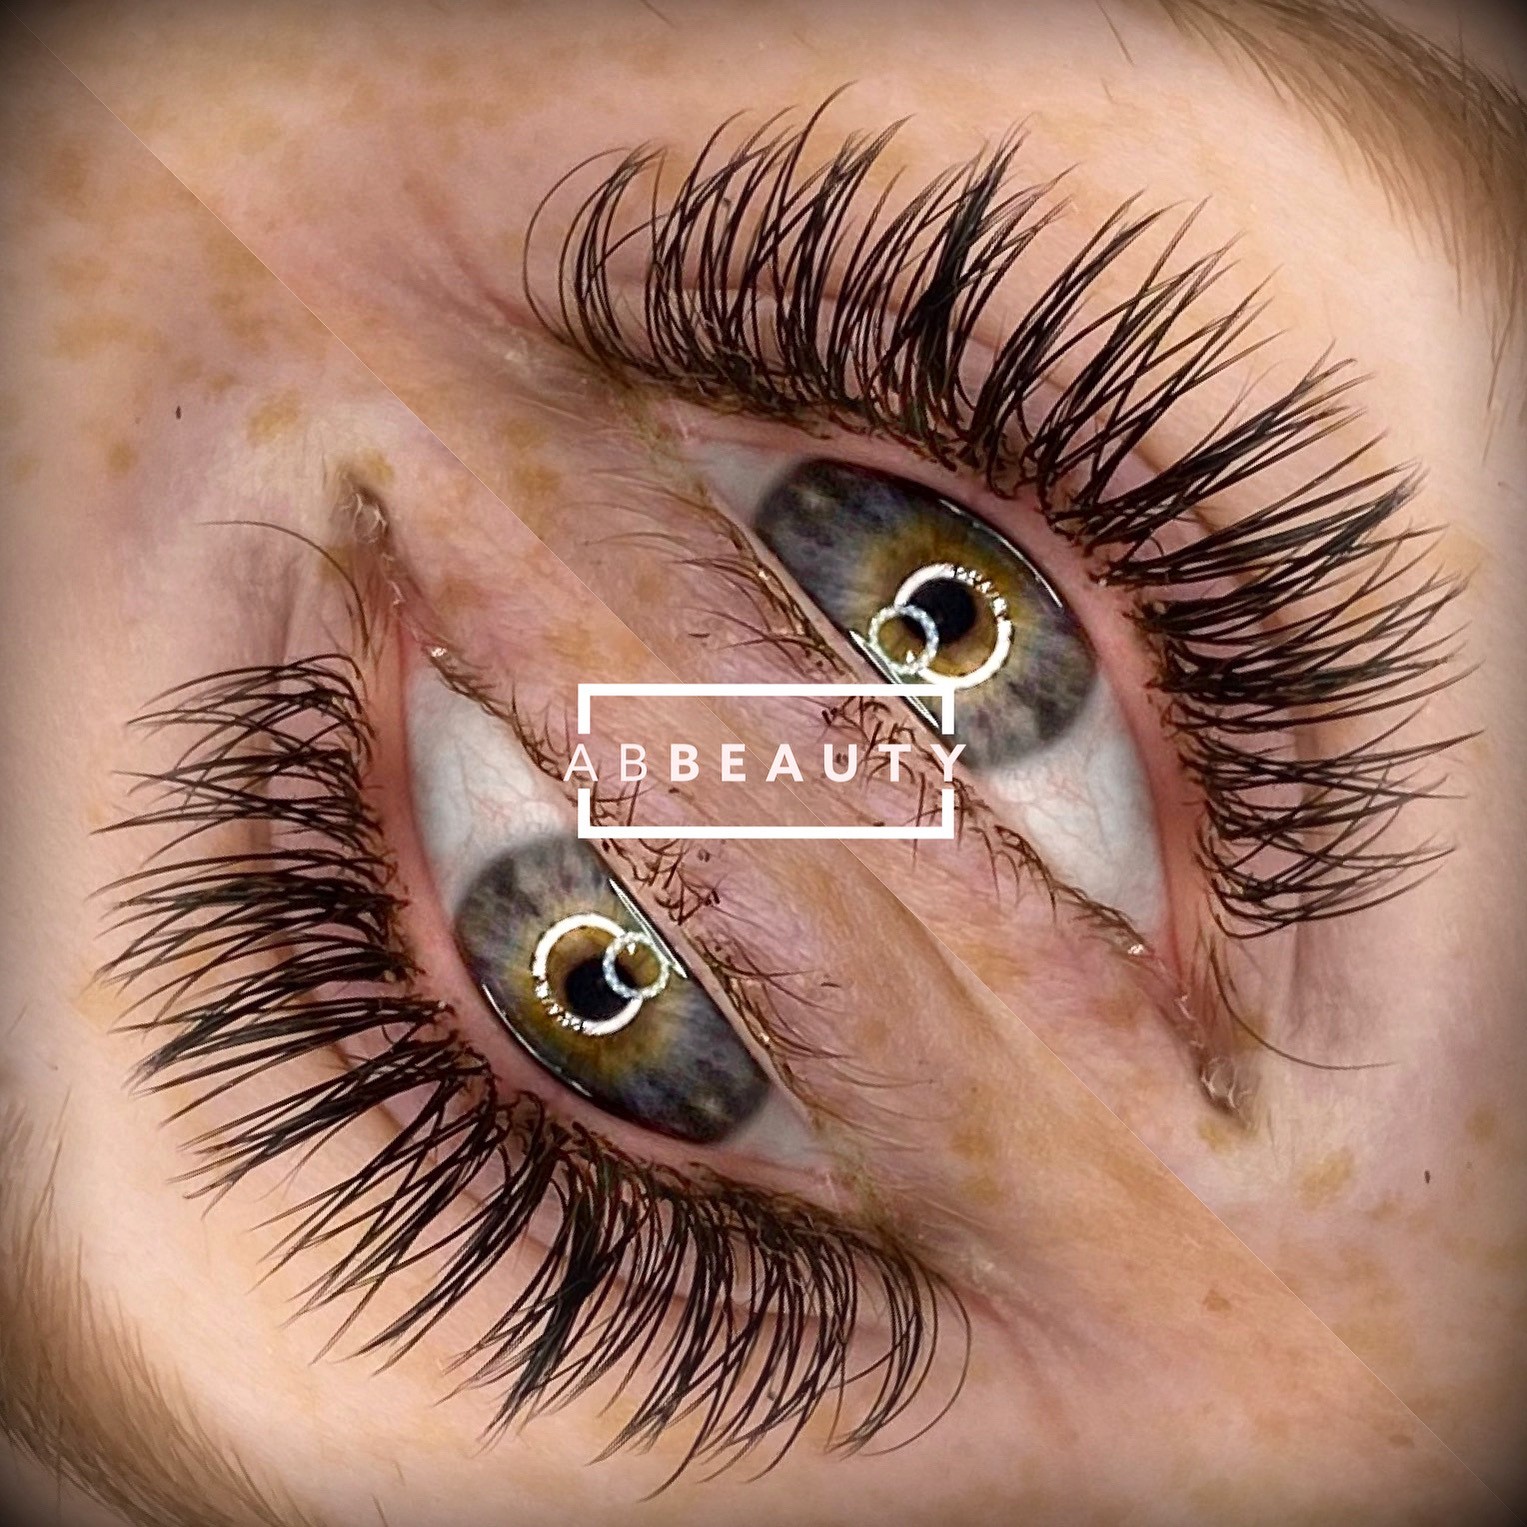
Never has this quote been truer than in Abbie Stretton’s career journey. Abbie had the courage to overcome her challenges and make the jump into the beauty sector and hasn’t looked back. In the last two years Abbie has grown a successful business and received award nominations for her work.
We first met Abbie back in 2019 when she attended her very first eyelash training course with us. Back then she was on a different path. Having graduated from University, Abbie found herself in a job that she hated and feeling depressed. She knew she wanted a change but was unsure of the path to take. Beauty had always been a passion of hers, she decided to take the leap and hasn’t looked back since.
Now busy with regular clientele, her own website and looking into creating her own lash brand.
A huge well done to you Abbie from all of us at the Beauty Academy. Follow Abbie’s success on Instagram @abbeauty_xo
‘’This course changed my perspective of myself, I had this burst of confidence. I was so intrigued by The Beauty Academy, it looked so professional from the website. I thought this is the training place for me. I’m so glad I made that decision!’’ – Abbie
If you’d like to share a success story please email us at [email protected]
The Beauty Academy offer a full range of VTCT Qualifications in all aspects of beauty therapy ranging from single units for those looking to specialise in one professional skill such as Facial Skincare to a full diploma at level 2 or 3 suitable for those looking to gain full time employment in the industry. Our VTCT qualifications are delivered on a ‘blended’ learning basis giving you optimum flexibility with your learning, while still providing full support and expert face to face tuition on a fast track basis.
Much of the study is completed on a distance learning basis, online from home including your theory coursework. Students have access to a wealth of learning resources on our online portal including training videos, manuals and support documents. Attend for 1-5 training days (depending on qualification) to learn your practical skills at one of our 10 conveniently located training centres, across England. Practice your treatments to build a portfolio and then once ready, book your assessments.
Most students complete within 4-6 months, studying on a part time basis at home beyond their initial training days, learning around other commitments. All students have up to 12 months to complete the qualification, should you need to learn at a slower pace.
Full access to our expert in-house Support team by phone or email throughout. We offer the most flexible, fast track way to achieve your VTCT beauty qualification and start your new career, ideal for those who need to learn around their existing work or commitments such as childcare that make attendance of year long face to face courses unsuitable for their needs. Most learners are aged 25 or over, as those looking to either change career or start something new; although their are no age limits.
What are VTCT Qualifications?
Vocational Training Charitable Trust (VTCT) is a specialist awarding and assessment organisation offering vocational and technical qualifications in a range of service sectors. With more than 2,000 approved centres worldwide, VTCT has an ever-expanding list of centres throughout the UK and Ireland, with a growing international presence. VTCT have been providing qualifications since 1962 and in 2016 expanded to take over iTEC adding to its specialist worldwide training offer.
If you are looking to embark upon a new career in beauty therapy or take your existing role in beauty further, VTCT qualifications will set you ahead of the competition and open up a wealth of career opportunities whether that is employed in the salon, spa, nail bar, cruise liner, opening your own salon or working as a beauty trainer in a further education college or for private beauty training provider.
Achieving a prestigious and internationally recognised VTCT Qualifications will demonstrate you have an assessed high standard of competence within your treatment skills; giving both employers, insurers, industry bodies, advanced training providers & potential clients confidence within your abilities as a beauty professional.
Which VTCT Courses are available?
We offer a full range of VTCT awards in Beauty Therapy and also VTCT Level 3 Award in Education & Training for those looking to take their beauty career into a teaching capacity. We offer Level 2 qualifications ideal for complete beginners, along with Level 3 in Nail Technology and Massage Therapy which are advanced awards which can also be started as a complete beginner. We have single unit qualifications in individual treatments such as Facial Skincare for those wanting to specialise in a specific treatment, although we generally recommend the full Level 2 or 3 Diploma courses for those looking to gain an all-rounder set of skills most sought by employers within the beauty sector. Discover our VTCT courses by clicking below or for more guidance on the best course for you, select one of the options below to get in touch. All VTCT qualifications can be booked securely through our website or by calling our team on Freephone 0800 999 2277.
Where could a VTCT Qualification take my career?
The vast majority of our students achieve their VTCT qualification within 4-6 months and upon completion, enter the beauty industry either on an employed basis within a salon or spa, or start their own beauty business. We often have students who travel the world while working in beauty, working aboard cruise liners offering luxurious spa treatments. Many students enter professional competitions and gain recognition within the industry for their high level skills and flair for beauty. Once you have a VTCT Level 2 and/or Level 3 in beauty, you can then go onto learn further beauty treatments to expand your knowledge and boost your opportunities or could even take the VTCT Level 3 Award in Education & Training to begin offering beauty training courses yourself, work for a further education college or as a trainer for a private beauty training company to share your knowledge and inspire a passion for beauty in others. Click below to read the success story of one of our past students. You can see also Reviewsfrom past students to assure you of the quality of our training.
If windows are the eyes to the soul then surely brows are the frames? A great pair of eyebrows can really give a face structure. They can also help correct an unbalanced face shape or give the appearance of a more desireable face shape. When so many clients are investing in lash extensions right now, it would be wrong not to have the know-how to create flawless brows to finish the look. We give you the top 10 ways to make brows look fuller and groomed…
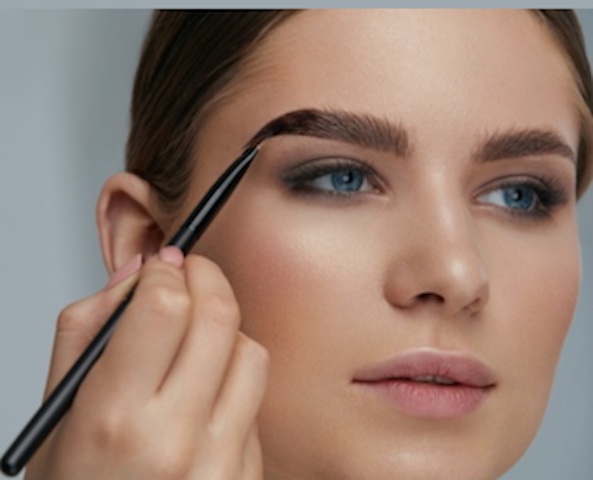
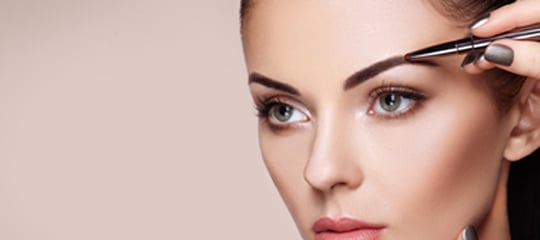
Use a brow pencil to fill in gaps and create better definition to the brow shape such as using short pencil strokes to create high points above the brows making them appear more arched and refined. Choose a brow pencil close to your natural hair colour and if between two shades, go for the lighter option.
Use a brow powder to give a softer, fuller brow look. If you only want to achieve more fullness but more definition, opt for a brow powder. Generally brow pencils last longer on the skin but can look harsher on mature skin and accentuate fine lines and wrinkles. Brow powders are a softer option and can be sealed with brow gels or wax.
Considering brow tinting – if daily touch ups aren’t working for you, say if you swim or work in hot, humid environments, tinting may be a better option. Tinting can last 2-3 weeks. Treatments typically take only 15-20 minutes so easy to fit in alongside other beauty treatments. A longer lasting option is Henna brows which can last for up to 4-6 weeks instead. Henna brow products have great depth of colour and are naturally formulated so can be kinder to the skin. Tinting or henna can bring out the natural shape of your brows, especially for those with naturally fair or grey brows. This can make the eyes look brighter as the whites of the eyes contrast with the darker tones.
Encourage better hair growth by using a naturally formulated brow oil or serum. The massaging in of products daily can also help boost blood flow to the area which in itself encourages better hair growth and improved hair condition and strength. There are many purposely designed serums on the market or just good quality castor, coconut or extra virgin olive oils will also do a great job of nourishing the hair and skin.
Pluck in the right light and at the right level of zoom – ensure you pluck your brows using suitably sharp tweezers to avoid hair breakage. Try to pluck in natural daylight to better help you see the new, finer hairs coming through and ensure you are following the right line for shaping. Avoid using magnifying mirrors as they force you to focus in on one hair at a time causing you to lose sight of the overall brow shape and you can get too pluck-happy resulting in uneven brow results or overthinning the brows.
Brows are sisters, not twins. Whenever tinting or shaping brows, ensure you work across both brows equally and check across both brows throughout for an even result. That said, brows are never identical so don’t try to force them to be or you could end up damaging the natural line of hair growth and having overly thin brows which is both aging and unflattering. Overplucking can lead to permanent damage so take care or best still, leave it to the professionals.
Have patiencewhen brow shaping – don’t be tempted to pluck a clump of hairs at a time. Work on just removing one at a time. Avoid removing longer brow hairs as these are often the leading hairs which define how the rest of the brows sit and removal can leave unsightly gaps or loss of definition. Slanted tweezers are great for helping to select the right hair. Go slow and use patience when removing odd stray hairs between brow services or if attempting some home pampering. You can always go back and take another out but you can’t put a leading hair back in again if removed incorrectly.
Embrace other methods of hair removal such as hot wax or threading. Both offer a quick but accurate hair removal option that take out all the hard work of tweezers. Check reviews of any therapist you are considering booking with and ideally seek out photos of their recent work on their social media to ensure you will get the result you desire. Generally speaking waxing is more readily available and hot wax is great in small areas like brows to give clean results. Hot wax is also less likely to irritate sensitive skin. Threading is great for anyone wanting a more linear, angled look due to the way the thread moves. It is great for those with naturally thick unruly brows that need some serious attention.
Don’t lose patience with those long unruly hairs. Use a brow gel to brush and seal them into shape. If you really must improve them, don’t pluck them out but use short handled, sharp scissors to gently trim them so they sit better in place. Those long hairs often need to sit flat to provide the overall shape for your brows that all other hairs follow so take care not to be too snippy, particularly for the first few hairs at the start near the eyes as these can look bushy if trimmed too short.
If you really can’t get those unruly brows to sit correctly, consider a brow lamination treatment. Not only will they help give the appearance of thicker, fuller and more youthful brows; but it is a quick and relaxing treatment to receive. Typically taking around 30 minutes, results can last up to 6 weeks and when combined with a basic brow shape and tint, it can give you maintenance free, hassle free natural brows for over a month! Well worth investing in. The treatment uses similar products to lash lift (perming) products, but applied to the brows in a specific way that fixes and sets the brows in the desired direction as dictated by the brow technician.
Want to learn to create the perfect brows, explore just some of the many brow course options we have by clicking below. Can’t see the course for you or interested in a package? Give our friendly team a call on Freephone 0800 999 2277 and we can guide you to the right option!
Updated 30th October 2024
The key to business start-up success is careful planning. Considering the direction you want your business to take, the scale and the target market. Setting realistic goals with realistic timescales is vital to ensure you stay on track but also stay motivated. It can be challenging starting a new beauty business but also incredibly rewarding when you see the return on your investment in terms of a regular client base building, your treatment results gaining word of mouth or indeed just making a profit! We give you the lowdown on how to get up and running for success…
Have a business plan
Set yourself clear SMART goals. These are specific, measurable, achievable and time bound. So think about where you want your business to be and to take you in say 6 months, a year, 2 years and 5 years. Be realistic and take baby steps. Nothing is more demotivating than setting a goal impossible to achieve. Small, measurable goals are what you need so that with every milestone achieved, whether that is your first regular client, first client referral, tenth client booked etc. you have positive steps towards those bigger, long term goals.
You also need to do the maths and have a fixed budget for starting your own business to cover the cost of insurance, tools and products, business cards / price lists, transport costs such as if you need a bigger car, interest on any business related loans, rent and bills if having a salon space etc. and then also if this is going to be your only source of income, work out how much you need to earn each day/week so you can keep track of your income versus outgoings. Initially you may need to have a buffer and expect it may take a month or more to start breaking even and into profit as you build up your client base.
Have a brand
Think about your branding. What is your company name and logo? Is it obvious what you do from that to stand you apart from others? Is it catchy and memorable? If you’ll be using it online as part of a website address, on social media etc., and your clients will be searching for your business online; it must be easy to spell and not similar to existing company names or website addresses. Think about how you will present yourself – will you wear a beauty tunic and if so, will this have your logo on it?
Get your brand online as soon as possible so a basic website will do to start. Platforms such as wix.com offer free or low cost hosted websites, ideal for web beginners. Social media is also vital – set up a Facebook, Instagram and Tiktok profile for your business so you can showcase what you do, start building a following and start reaching out to your existing contacts to provide them an easy way to share what you do with their contacts too.
You’ll also want to register your business on Google Business listings so you appear on Google Maps, great when clients are searching the local area for your services (or indeed discover you accidentally when planning a journey). This will only work for those with premises or working from home, so is more tricky for those working mobile.
Have realistic expectations
If you are working your beauty business alongside another job, be realistic as to how much time you can give to the business and let it build gradually rather than trying to do too much, too soon and burning yourself out. You don’t want to lose love for what you do so make sure you still take time for yourself. If you’re going to go full time on your business, be realistic about how long it may take to build a large enough, regular client base to provide you with a solid monthly income. Don’t be disheartened if it takes some months to build up, just keep active in promoting what you do locally and with your contacts. Encourage clients to recommend you through word of mouth and speak with other related local businesses such as hairdressers, florists etc. to help build up clients and contacts. Build a steady projection of income too by always getting your clients booked in for their next appointment, before they’ve even finished their current one. This allows you to manage your appointment diary, always give a sense of urgency to them booking in and that you’re already getting booked up! You never want to give the impression you’re always free, create the sense you’re in demand!
If things are slower than hoped to start, stay proactive and think about what you could do to boost business such as a launch event hosted in a local hair salon or coffee store where you do mini treatments, pampering evening in connection with a local charity or school, advertising in local press, handing out price lists at the school drop off etc. And don’t underestimate the importance of social media and your website to help business find you. Plan marketing strategy so promotions you run throughout the year, retail products you could sell to boost sales, treatment packages for wedding or holiday season etc. The key is stay busy but stay positive. Most beauty businesses take around 6-9 months to become well established but once you are, your earning potential is uncapped so it’s definitely worth investing the time and effort.
Cover the legalities
Make sure you have beauty insurance in place and that it ideally covers your beauty kit. We recommend Balens, Radius, Insync or ABT for insurance. You can purchase a policy directly from your preferred insurer.
Check your car insurance policy will cover you for business related mileage and also any car contents in the event of damage or loss/theft. Make sure you are working safely and hygienically at all times. Think about waste disposal and if you need to apply for yellow bins or commercial waste collection.
If you are working from a room in your home, check your home insurance and mortgage / rental agreement permits this. If you are converting part of your home into permanent salon premises, you may wish to consult with your local council regarding planning restrictions, change of use and if business rates would be applicable. When inviting clients into your home, check if you need insurance in the event of accident/injury unrelated to treatments. You may also wish to take a first aid course and have a first aid kit and fire extinguisher or blanket on site for emergencies.
If you are renting a room in a salon or even your own premises, you may need to consider any additional insurance for the business premises such as employee or third party insurance to protect visitors and clients at your premises in the event of an accident/injury. If employing other therapists, take legal advice in regards to contracts and qualifications / insurance they must hold. Some local authorities require special treatments licensing in some areas for salons so this must be checked out before committing to premises. If you are working alongside another job, check your employment contract to make sure there are no clauses against this.
Finally don’t forget your safety. Make sure if you are working mobile that someone knows where you are at all times and check in with someone when arriving and leaving a client’s home having given an indication of how long you will be there so that you always remain safe. Finally don’t forget to register with HMRC for tax purposes if working self-employed. You will usually need to submit an annual self assessment to declare your earnings and to correctly pay tax and NI contributions so make sure you register in a timely manner online and keep adequate records of your income and outgoings in relation to your business.
There is a lot to consider when running your own business but with careful planning, you can ensure you are always one step ahead with no surprises. Having written down goals that you can regularly review against is great for staying on track with progress and also helping stay motivated. Don’t forget it is important to keep learning as a beauty therapist so that you can stay ahead of the competition and offer something new to delight your regular clientele. There are huge rewards to running your own business including flexibility to work around your children or other dependents, pride of owning your own business, opportunity to have uncapped earnings and the chance to earn doing something you are truly passionate about.
Want to learn more about starting your own beauty business? Need more help to break your planning down? Our Online Starting a Business in Beauty Course is for you! Completed entirely online through our Student Portal which can be accessed from mobile devices 24/7, study at your own pace and receive support from our expert team throughout. Click below to find out more…
When looking to start a new career in the beauty industry, it can be so easy to fall into the trap of thinking you MUST train in every single treatment on the market from the get-go. But the cost of this and also just knowing how then to launch your business without any particular unique selling features or areas of specialism can be really difficult when coming to an industry with a lot of competition already. Our blog highlights why it can actually be great to start small, focusing on particular treatments, building your brand and then moving on to other treatments as your client base actually wants, rather than what you think they will want…
Our offers this month are all about helping you to focus on learning a particular set of beauty skills so that you have a ready to launch business. Whether that is focusing on being a lash and brow artist, make up artist also offering lash treatments, a nail technician or a beauty therapist offering the Big 4 (facials, waxing, manicures and pedicures). This is because we know the industry well and we know what works.
Be a Specialist in your Chosen Field
While having a diverse range of beauty skills from the off is great for those looking to gain employment in a salon (where they will be expecting you to be able to offer treatment to every client that may walk through the door); when starting your own business this is not always feasible and rarely necessary. Most beauty start-ups will focus on a niche within beauty so that they can be offering treatments that are their passion, work to their best natural talents but also ensure they are 6specialists in what they have to offer through having day to day, in-depth knowledge and practice of offering those treatments. It also allows you to focus on learning all you can within the industry around those specific treatments, whether that is through taking advanced courses or reading up on industry expert blogs and publications.
More Affordable and Profitable
It also makes starting your own business much more affordable. You can focus on booking onto the best training courses within the treatments you want to learn and then commit remaining funds to getting started with insurance, kits, products and tools as you need to start building your client base. If you try to learn everything, it can be very costly both in training and kit requirements meaning you may not then be able to afford the best products or tools to work with once you start working with clients which can make your treatments less attractive versus competitors’. It also puts a huge pressure on you in the first year to have to make too much money to reclaim your costs and before you get to enjoythe boost of being in a profit.
Your Business is Focused
Starting with treatments you know are popular in your area, which you enjoy offering and you know you have knowledge of (whether from having previous treatments yourself or through beauty magazines you read for example); really is the best way to getting your business started on the best foot forward. It allows you to focus your marketing whether that is a website, Facebook business page or adverts in local press to really shout about what you do. You can have a very clear branding message too on your price list and business card, rather than being confused by trying to offer too many services too soon. The greatest advantage is that you start with a popular service, start establishing clients and from there you can ask your target market what else they like receiving and would like you to offer so you can be sure to enrol for further courses that allow you to capitalise on this. Once you get working in the industry you can see what you enjoy too. So many therapists have fallen into doing treatments they don’t really enjoy, simply because they feel they must, to justify training within them. Start with what inspires and excites you and you can’t go far wrong in building a business and a career you truly love.
Be More Competitive
By training in specific treatments to begin with, you can keep your costs down which allows you to launch with very competitive prices versus your local competition. Once you have experience under your belt, you can raise your prices to become a premium service but having that initial competitive edge really does help to springboard you into a thriving business very quickly. Also focusing your treatment offer allows you to put together lucrative packages (both for you and your clients e.g. offering a brow service alongside lashes to frame those windows to the soul; or indeed waxing alongside pedicures to help with those fluffy toes!). Having a specialist business within beauty also allows you to have less kit lying around unused, taking up your precious workspace and minimising the amount of kit you have to take around with you if working mobile.
You Can Always Diversify Later
Remember by taking a couple of specific courses or indeed a package which focuses on a niche of the beauty industry, you are in no way limiting yourself. You can always take additional courses, whether further 1 day fast track, accredited courses or indeed our flexible, online, recognised learning courses. You could even upgrade to an internationally recognised qualification such as the VTCT awards in order to gain employment in a salon or spa, once you have gained experience or should a further opportunity arise beyond self-employment. You might even go on to training to teach beyond a VTCT award, so there really are huge options ahead.
All you have to do is take the first step, decide which 1-3 treatments you love the most and give us a call on Freephone 0800 999 2277 to arrange booking onto the best training course option for you. It’s no obligation and our course advisors are all fully qualified beauty therapists with vast experience of the industry, so can certainly point you in the right direction.
Lash techs in the industry don’t want you to discover the benefits of working with mature clients, who typically have more disposable income and can become some of your most loyal, regular clients. Techs circulate ideas that lashing mature clients is difficult or even near impossible and yet with the right know-how it can be profitable and an enjoyable challenge.
Mature clients can have hooded eyelids which make application of the lashes more difficult. However correct placement of your lash tape to the upper lids to help ‘lift’ the lid to give better access to the lashes will help with application. Use two thin strips of tape applied vertically from above lash line to brow area, sitting approximately 0.5cm from the inner and outer corners of the eyes to get this lift and improve ease of lash application.
Mature clients may have naturally more sparse or even thinning lashes due to many reasons including hormonal changes brought about by menopause. Using the Russian Volume technique can help to build the appearance of greater lash thickness and disguise any gaps in growth although care should be taken with the size of fan utilised. Stick with 3D lashes, no greater or the effect will not be optimally flattering and will look unnatural. If using pre-made, stick with short root styles or keep the base shorter if creating your own.
Top tip: combining both the classic individual and Russian volume techniques to create a ‘hybrid’ lash look is ideal for mature clients. The individual lashes will give a framework to help give definition and open up the eye area, while fans will help give fullness and youth to the lash line.
Avoid use of D curl lashes which give a very dramatic look, stick with C or CC curls for a flattering look which most mature clients will prefer.
Don’t be tempted to go overboard and apply too many lashes. Select shorter lash lengths to compliment the natural lashes, longer does not mean thicker and using shorter lengths will detract from spareness and avoid over-defining the lash line. Avoid long lash lengths to outer corners too which will make the eyes appear to droop, a few shorter lengths to outer corners will lift the eyes and give a more open-eyed, youthful look. The same goes for lash thickness, using thicker lashes will not create fullness but over-emphasise any gaps.
Top tip: Using a lash that is too thick will be poorly supported by the natural lashes and lead to premature lash loss or even breakage and damage. 0.10mm lashes are usually best for mature clients
Ensure your mature clients, in particular, are rigorous with the lash care. Suggest a lash safe serum to help improve natural lash growth and strength and ensure they return every 2-3 weeks for infills to ensure lashes remain looking their best. Lost lash extensions will only exaggerate any sparsity to lashes so it is key they upkeep their infills.
Expand your skills today with our Fast track, Accredited Courses or benefit from our recognised Online training courses…
We highly recommend the following courses for those looking to offer lash extension treatments. If you need any advice on the best course for you, give our friendly Advisors a call on 0800 999 2277 or connect through Live Chat now.
Henna brows is fast becoming one of the most popular brow treatments, as a more natural way of giving greater definition to natural brows. Formulated to give longer lasting results than traditional tinting products and with a wide range of colours available to suit all clients, it’s important to know the benefits of offering this in demand brow service.
Henna has been used for centuries to provide colouring the hair and has recently has a resurgence in popularity as clients seek more natural beauty options. Henna has many benefits including its ability to better ‘tint’ the skin so is great at helping to disguise gaps or sparse hair growth within the brows (more so than a traditional tint product) and also to give a deeper, more natural enhanced brow colouring. Naturally sourced from the leaves of the henna shrub, it contains a substance called Lawsone which is effective in staining the hair and skin. To boost the speed at which the product works, often synthetic dye agents are included, sometimes known as PPD. Some clients are concerned about the use of PPD, however provided you are using products sourced from reputable suppliers, the volume and strength of PPD used will ensure the product is very safe for professional use. As with any tinting product, it is important you carry out a patch test 24-48 hours prior to use and record this on the client’s record card, patch testing in line with the manufacturer’s and your insurer’s guidelines.
Henna is applied in much the same way as traditional tinting products, however its formulation is easy to work with and using a suitable brush, application can be precise to give a more sculpted, almost microbladed looking result. It can also be applied to improve the natural arch of the brows with hair removal techniques such as threading or waxing to improve the brows overall shape. It is also gaining popularity for use alongside Brow Lamination treatments as clients follow a course of treatments to regrow their brows to their former, fuller and more youthful glory.
Henna brow treatments can typically earn you anything from £10-£25 per treatment and usually take as little as 20-30 minutes to carry out! Results last for around 4-8 weeks depending on the client and homecare adherence, quickly providing you with a loyal, regular client base.
Top Selling Brow Treatments (based upon feedback from the many thousands of beauty therapists who have successfully trained with us over the last 29 years) are currently:
Brow Lamination (now one of our best selling courses)
Henna Brows
Brow Shaping (waxing, threading or indeed the hugely popular Highly Defined Brows treatment)
Brow Tinting
“More clients than ever are now investing in their brows and lashes. Offering the most in demand brow treatments is essential for any beauty therapist, make up artist or lash technician to ensure you aren’t losing your clients to other therapists who are more diverse. Packages that combine lash and brow treatments are hugely successful, with many clients starting out with a simple brow shaping treatment and then getting the ‘beauty bug’ and soon become regular clients for a wide range of services.”
Gain recognised training within these lucrative brow treatments with our courses from only £99. Choose to learn either at your own pace, online from the comfort of home or attend one of our 10 well located, exclusive training centres to learn face to face with our highly qualified, experienced tutors. Learn more about our Brow Course options below or call us Free on 0800 999 2277 to discover the best option for you….
With the nights drawing into the afternoon as the winter arrives and the busy festive period approaches, it is more important than ever to ensure you have the right lighting on hand as a lash technician to not only ensure your work remains to the highest standard, avoid strain on your eyes but also maximise your working hours to fit in just as many clients. But many lash techs have no clue when it comes to selecting the best lighting set up for their working space. Our blog highlights just what you need…
Benefits of Great Lighting:
Easier on the eye – less risk of eye strain when working on back to back lash clients
Extend your working hours into the afternoons and evenings, even with darkness falling earlier
Achieve better lash results as you can work more precisely and better check your work
Get better photos of your work for sharing on social media
Look and feel more professional
What to look for… You are looking for a light which provides;
Daylight quality lighting using LEDs to mimic that working by a window feel
Flexibility to adjust the light by height or angle to suit your way of working. Goose necked style lamp stems of a reasonable length are best for this.
Avoids creating shadows by lighting the whole face, with a suitably sized light splay
Functionality to adjust the light level intensity and with easy on/off controls within reach when working
Portability if you intend to work mobile, ideally one with a folding or collapsible stand. Always look for one with a travel bag option for safety and ease of carrying.
Ring lights with a great splay of light but can be bulky to work beneath and difficult to correctly position to fully light the face. Make up lights tend to be better for upright, static use and often lack the functionality to alter the intensity of light for different working conditions. This is where GlamCor lights or similar come into their own.
Our Recommendations…
GlamCor lighting has always been hard to beat in terms of the incredible quality and their reputation amongst lash techs. Their lights come in at around £175 for the most popular Classic Elite light. As another great rival, we absolutely love the lights provided by Lash Base. Two great options are their Lash Pro Light or Lash Pro Ring Light. Both coming in at around £140, they may not be the cheapest on the market however they are well made, will last you far longer than a cheaper alternative and will allow you to achieve excellent results.
Not already living the dream and working as a lash technician? (Why ever not…?) An existing technician and want to further develop your lashing skills? Our fully insurable lash courses start from only £99 and allow you to begin earning up to £50 an hour as a Lash Technician. Discover the options below…
With so many new brow treatments launching, it is easy to fall behind in knowing the differences and how best to market your brow services to clients. Our blog this week focuses on whether to highly define or laminate brows…
What are Highly Defined Brows?
Highly defined brows is a treatment involving multiple steps to ensure the optimum brow reshaping and redefining. Starting with a thorough consultation and brow measuring, brows are darkened using brow tinting. Brows are then reshaped using a combination of brow trimming, waxing, threading and use of tweezers. Finally brows are finished using mineral brow make up products to give the perfect finish. Typically highly defined brows leaves brows thinner, with a greater arch and more defined shape and also darker to ensure they really frame the eyes.
What are Laminated Brows?
Laminated brows is all about restoring brows which have previously been poorly reshaped, over plucked or simply where the client wants a fuller, more natural brow look. Brows are brushed into shape by encouraging the existing brow hairs to sit upwards to create a fuller look. Products very similar to those used for lash lift, are then applied to the brow hairs to lift and then set the brow hairs into line and shape to help restore a fuller, natural appearance to the brows. Brows can also be tinted as part of the process to give more definition. The treatment encourages clients to make use of brow products such as castor oil following treatment to encourage the brows to naturally begin enhanced regrowth, particularly where overplucked previously to give more improved appearance over time.
Our quick table below outlines which treatment is best for which clients or desired results…
Highly Defined Brows
Removes unwanted, stray hairs to give a better shape and greater definition
Involves use of brow waxing, threading, trimming and tweezers
Brows are tinted to give a darker, more defined look
Usually brows appear thinner, reshaped with an improved arch
Clients are encouraged to have regular treatments to maintain defined look
OR
Brow Lamination
Involves working with the existing brow hairs, taking away only minimal stray hairs
Involves use of techniques to brush hairs up then lift and set in place with products similar to those for lash lifting
Brows are tinted to give a darker but more natural look
Usually brows appear fuller, reshaped to give a restored, more youthful natural look
Clients are encouraged to use brow oils beyond treatment to stimulate regrowth of hairs
Not trained to offer both of these incredible, lucrative brow services yet? Take a look at our fast track courses and start earning up to £45 per treatment…