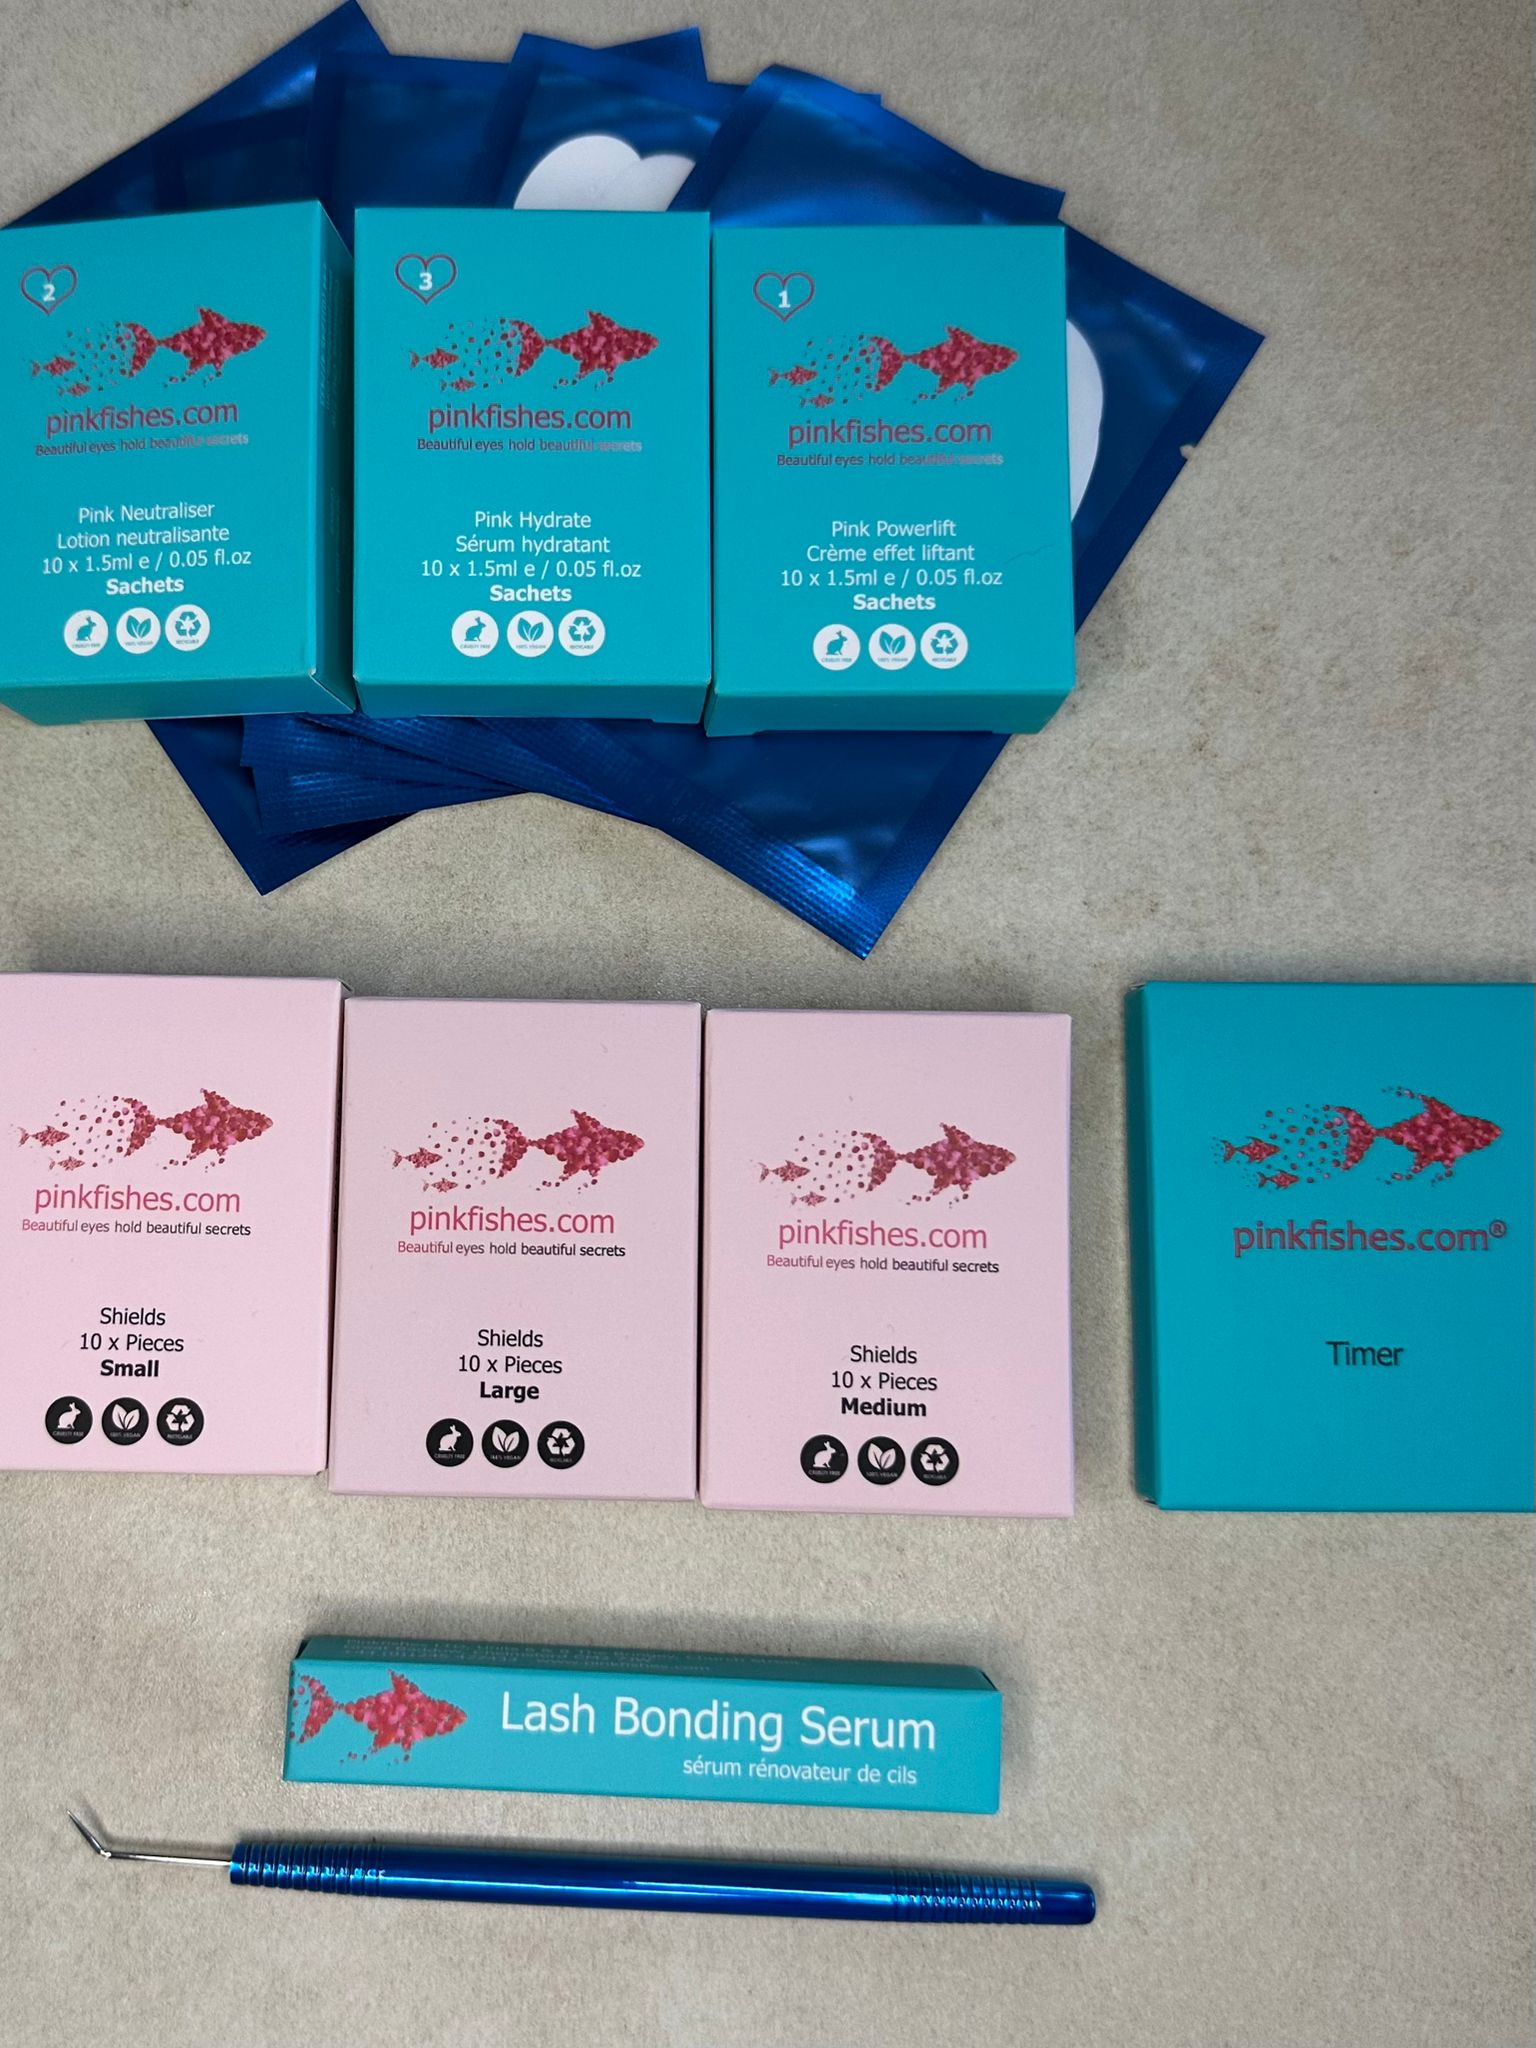
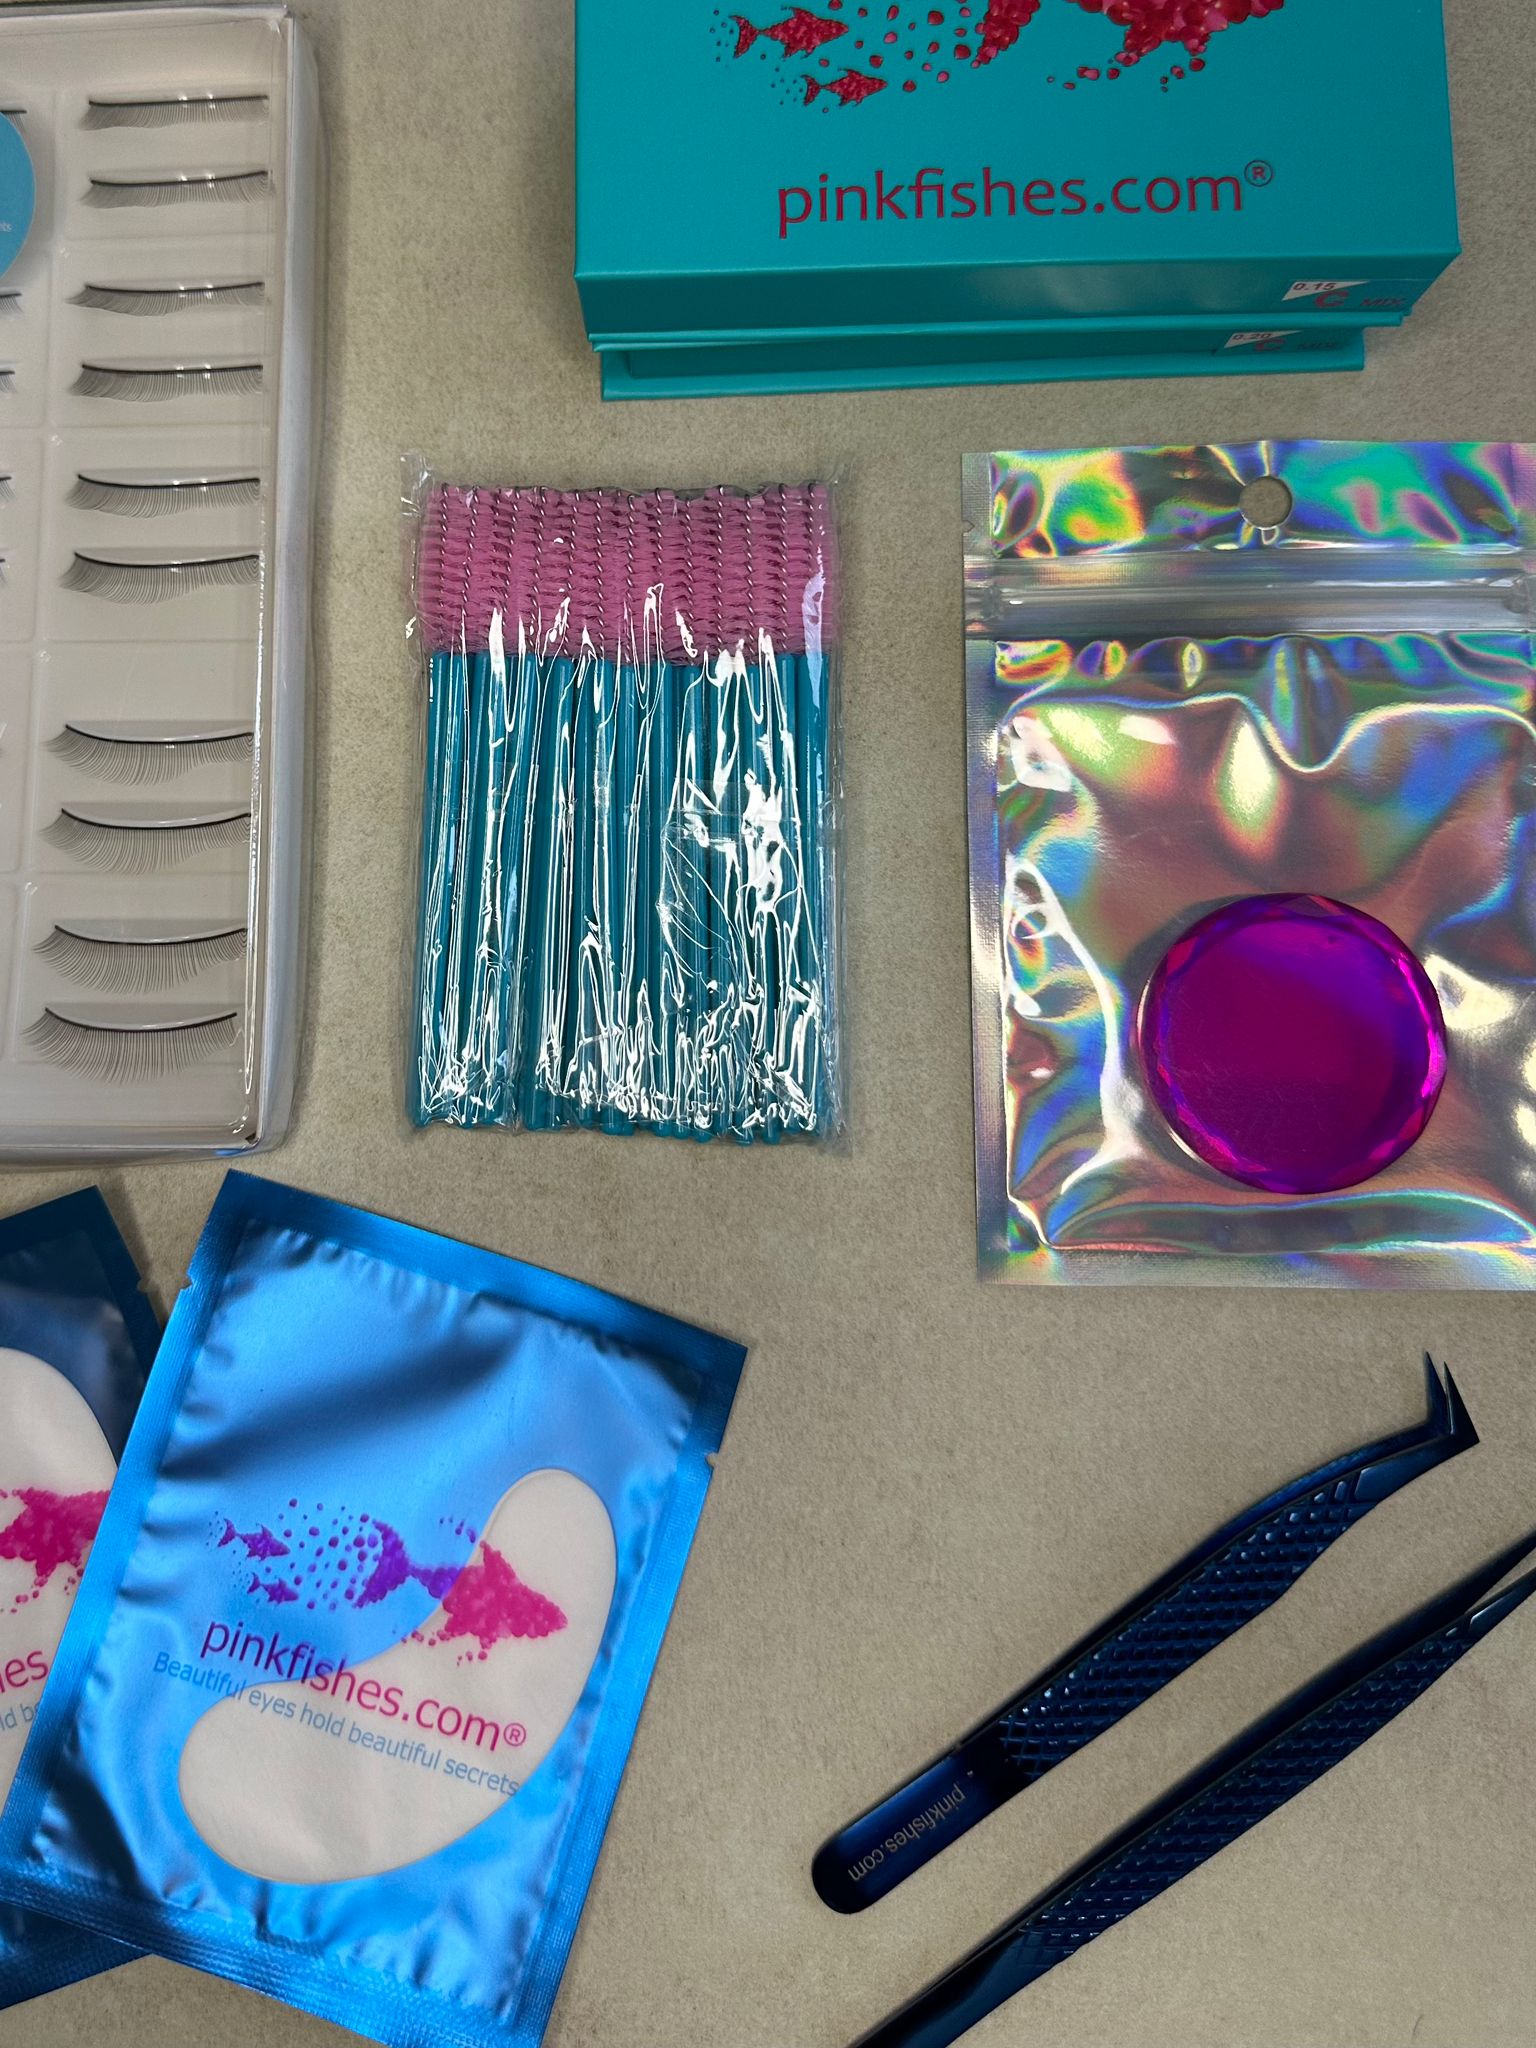
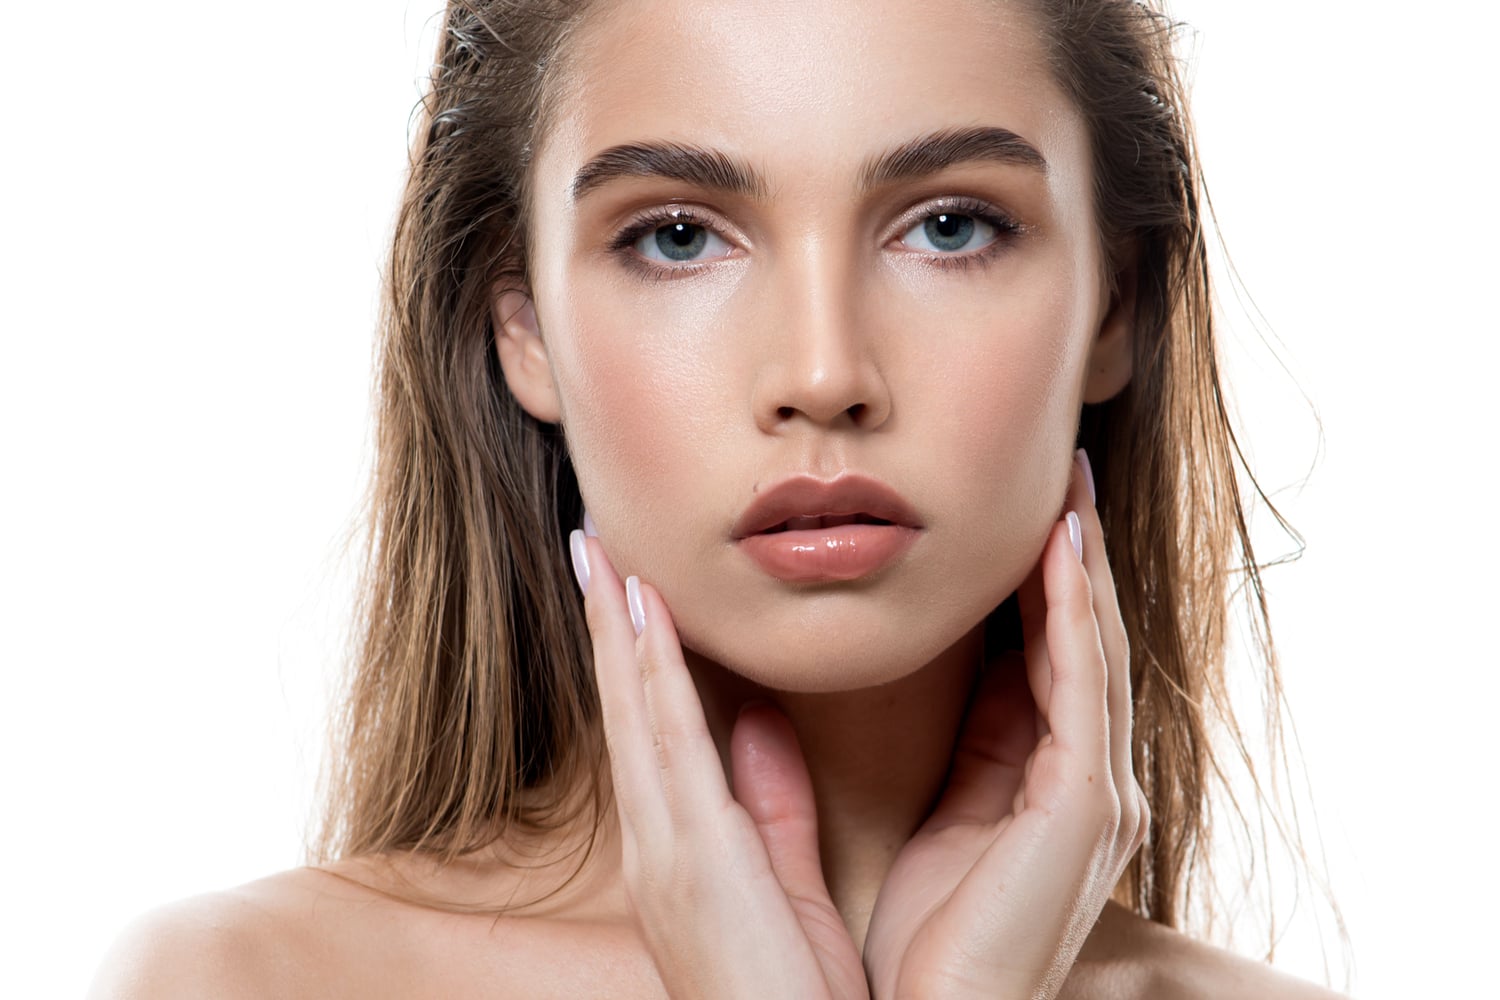
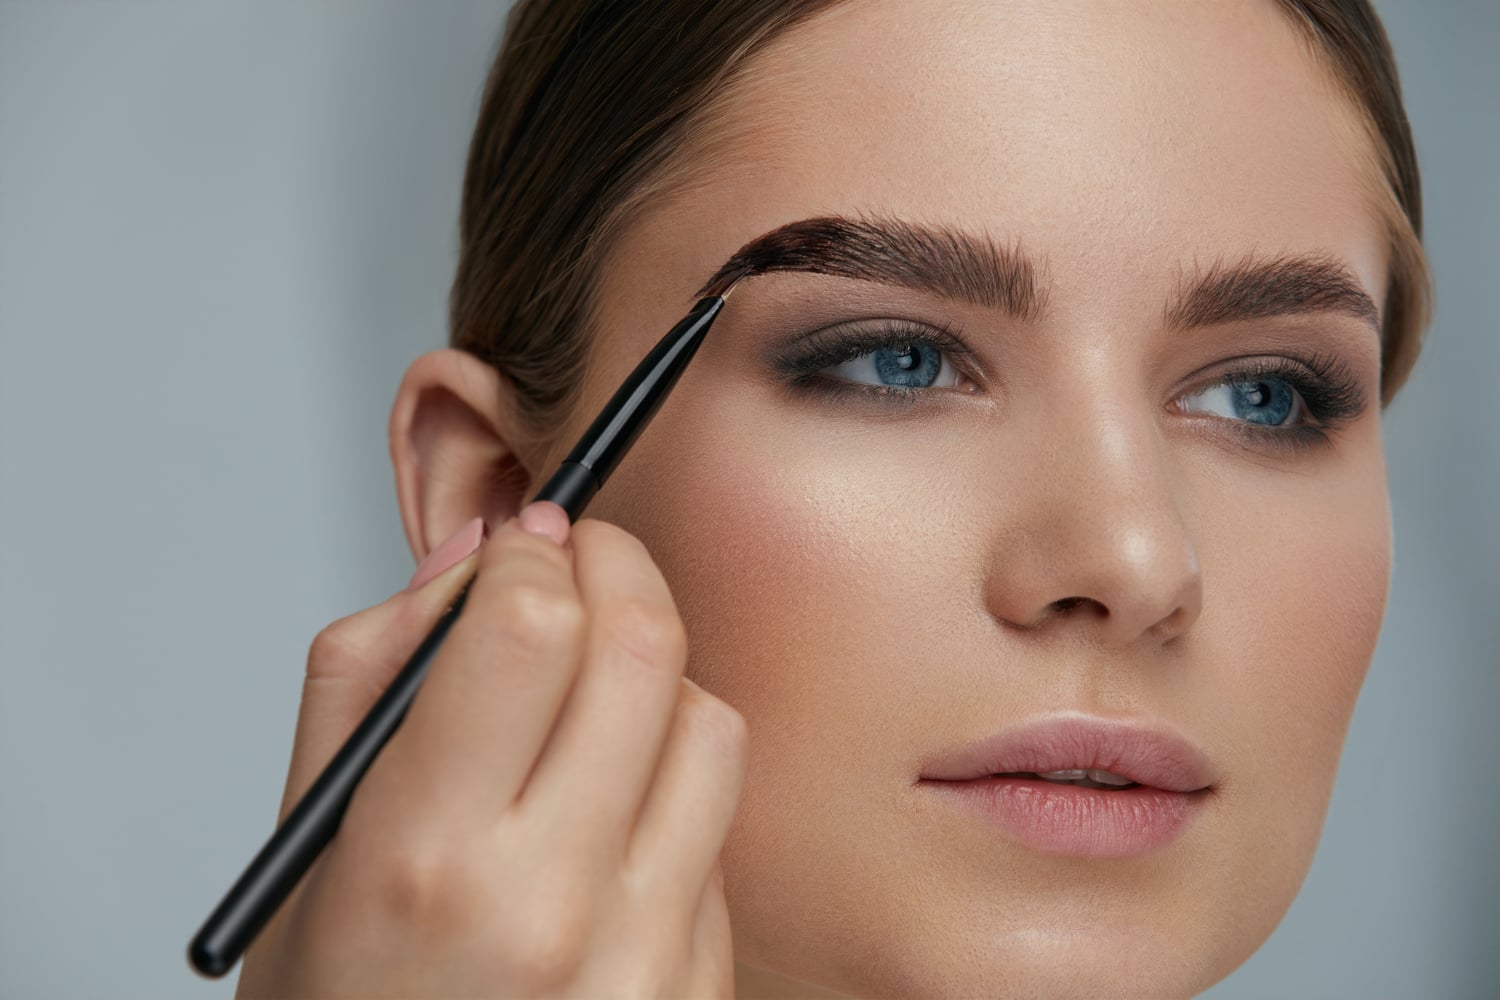
Brow Lamination is one of the most popular semi-permanent brow treatments in the industry. You can do it yourself at home, or offer it as a treatment in your salon. The treatment consists of setting the hair in a desired shape. This technique is perfect for people with gaps in their brows or unruly hairs! It gives the eyebrows a very sleek appearance by brushing the hairs upwards. The treatment can last up to 6 weeks, and are normally charged at £30-£50 per session. It is important that you choose high quality products to ensure the best results. As a qualified beautician, you can offer these treatments in your own salon.
Brow Lamination is one of the most popular semi-permanent brow treatments in the industry. You can do it yourself at home, or offer it as a treatment in your salon. The treatment consists of setting the hair in a desired shape. This technique is perfect for people with gaps in their brows or unruly hairs! It gives the eyebrows a very sleek appearance by brushing the hairs upwards. The treatment can last up to 6 weeks, and are normally charged at £30-£50 per session. It is important that you choose high quality products to ensure the best results. As a qualified beautician, you can offer these treatments in your own salon.
How does this compare to other brow treatments? Brow lamination is a very affordable treatments, and is often chosen because it is not permanent. If you are looking for something less invasive, a brow lamination is the perfect solution! It is safe and pretty much painless. If you wanted to explore the world of brow treatments, a brow lamination is a great place to start. It appeals to a large audience due to its beautifully uniform look.
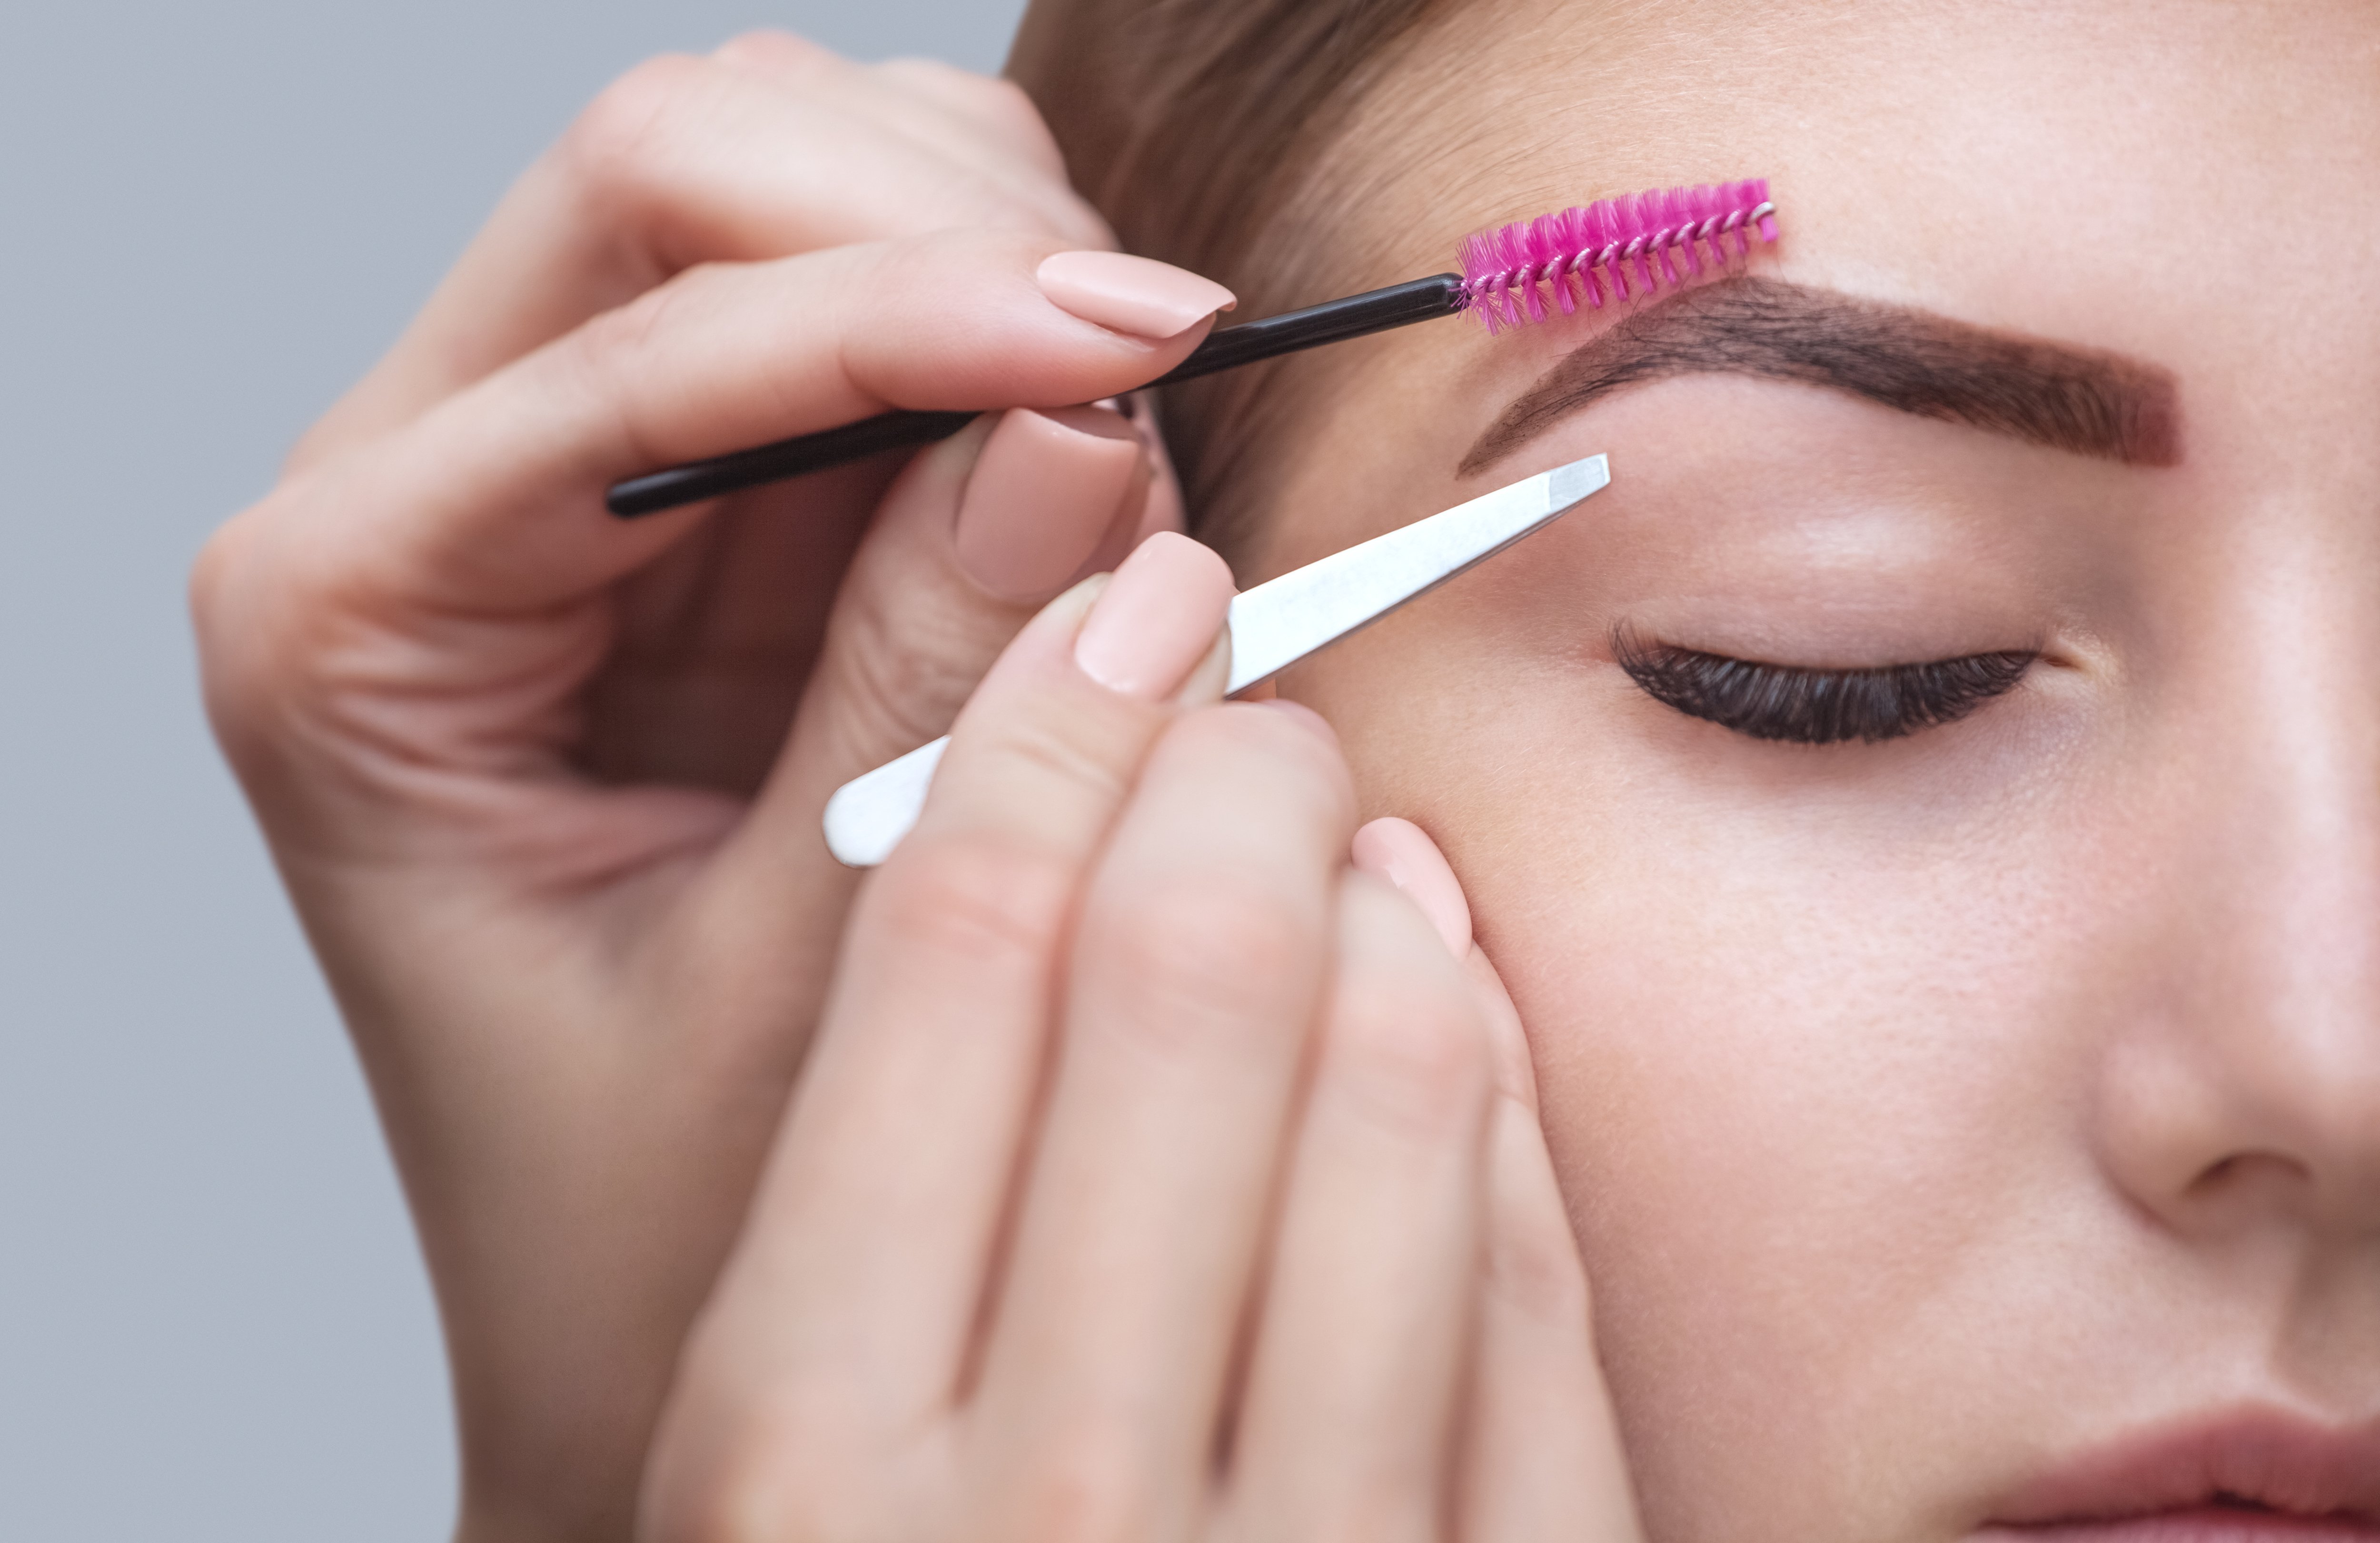
Ensure you are using high quality products that will be kind to your hair and skin. Aloe vera gel can be used to nourish the hair and the area you are treating. Trim and tweeze the brows to your desired shape, and then apply a cleanser, followed by the adhesive and comb the hair upwards. Apply the perming lotion and leave on for the recommended time. Clean the brows and apply a nourishing lotion to the area once again. and there you have it, perfect, easy brows!
Updated 1st November 2024.
Achieving a recognised beauty qualification couldn’t be easier with our Accredited Online courses. Learn at your own pace, in your own time and start your own business! If you’re new to Online Courses this blog will be a useful guide through getting started with your Online Course.
What’s Involved
Our online courses are completed through our industry leading, user friendly Online Student Portal. You receive access to a wealth of high quality learning resources, written by beauty professionals including comprehensive e-manuals and detailed step by step video demonstrations. You can watch the videos as many times as you need. We include fun multiple choice online tests which are great for checking your understanding and can be retaken instantly, as often as you need to pass.
When you feel ready, you will practice on friends / family or training hand / head as relevant to the course. You need to provide evidence of 3 case studies which are submitted easily by email and assessed against industry standards to ensure your proficiency with the treatment skills. Individual feedback to help you improve and you simply resubmit as needed until you are at a successful level to achieve. Typically students complete these courses within 2-6 weeks (committing around 2-10 hours per week to study), although you have 12 weeks to access the course resources on the portal should you need to go slower. Students can take up to 12 months to email over their case study evidence for certification, so plenty of time to practice your skills to full confidence.
The Student Portal
Once you have registered for your course you will receive an email with your link to access the Student Portal. The Student portal can be accessed through desktop, tablet and phones. If you are using a tablet or phone there is an app available to download, simply visit the App Store and search SAP LITMOS. When prompted for a domain enter: thebeautyacademy followed by your log in details.
We recommend your first point of call when you log in is the additional resources tab in your course, here you will find your practical case study materials, including consultation and feedback forms. Save this pdf file to your device or print for use when ready to start practising.
Guidance on Case Studies
You will receive a detailed list of required products and equipment as part of your online course resources. Optional, selected kits are available to purchase through our website. Other beauty wholesale companies are available such as Salon Services or websites like Amazon, to allow you to source basic items to get started. Courses are not brand-specific so you can use any brand / supplier you prefer for case studies.
When you have completed your case studies email in to [email protected] and attach your before and after photos along with your client consultation form and feedback form for each treatment required.
Your case studies will be evaluated with your certificate and/or feedback provided by email within no more than 7 working days.
Getting Started Once Qualified
Once you’ve achieved your online course certificate(s), you can purchase public liability (beauty treatment) insurance to begin offering your services to paying clients. We do not provide insurance ourselves but recommend several leading insurers. You can find more about our recommended insurers on our website. You’ll already have your products from completing your case studies.
You’ll need a brand for your business – a solid name and logo. You also need to decide what basis you want to work on – from home, mobile etc. You’ll also need to register for self-assessment if starting your own business with HMRC for tax reasons. You will also need to keep records of any income earnt and any costs (along with receipts). You may want to seek advice from an accountant to get this set up initially. If you’re new to running a business, you may find our Starting a Business in Beauty Courseuseful.
For marketing, you’ll need to set up social media profiles on Instagram, Facebook and even Tiktok to begin promoting your beauty business. You can also get word of mouth promotion by networking with other local businesses (e.g. hairdressers, wedding suppliers etc.) or local organisations (schools, parents groups, charities etc.) to promote your services, perhaps with an open evening offering taster treatments or gift vouchers for raffle prizes. You may want to print some business cards and a price list to share with them. Always remember to take before / after photos of your results to share online and encourage clients to share their lashes or nails on social media tagging you to help gather word of mouth. It will take a little time and patience to build a loyal client base. It is recommended to promote discounted block bookings for a course of treatments or encourage clients to book their next treatment before they leave each appointment. This helps plan future business and get your appointment diary full. Gift vouchers are also a great way to get some initial income flowing, especially around seasonal events like Mother’s Day or Christmas. If you need help with your selling skills, you might like to consider our Sales Skills for Beauty Course.
From client feedback you gauge what future treatments you might like to learn and offer, taking on further Online Courses as required to develop the skills to keep your business going from strength to strength. Typically it takes around 6-24 months to establish a new business. For inspiration, why not take a look at some of our previous students’ success stories.
See a sample of our Online Student Portal & Quality Course Content
If windows are the eyes to the soul then surely brows are the frames? A great pair of eyebrows can really give a face structure. They can also help correct an unbalanced face shape or give the appearance of a more desireable face shape. When so many clients are investing in lash extensions right now, it would be wrong not to have the know-how to create flawless brows to finish the look. We give you the top 10 ways to make brows look fuller and groomed…
Use a brow pencil to fill in gaps and create better definition to the brow shape such as using short pencil strokes to create high points above the brows making them appear more arched and refined. Choose a brow pencil close to your natural hair colour and if between two shades, go for the lighter option.
Use a brow powder to give a softer, fuller brow look. If you only want to achieve more fullness but more definition, opt for a brow powder. Generally brow pencils last longer on the skin but can look harsher on mature skin and accentuate fine lines and wrinkles. Brow powders are a softer option and can be sealed with brow gels or wax.
Considering brow tinting – if daily touch ups aren’t working for you, say if you swim or work in hot, humid environments, tinting may be a better option. Tinting can last 2-3 weeks. Treatments typically take only 15-20 minutes so easy to fit in alongside other beauty treatments. A longer lasting option is Henna brows which can last for up to 4-6 weeks instead. Henna brow products have great depth of colour and are naturally formulated so can be kinder to the skin. Tinting or henna can bring out the natural shape of your brows, especially for those with naturally fair or grey brows. This can make the eyes look brighter as the whites of the eyes contrast with the darker tones.
Encourage better hair growth by using a naturally formulated brow oil or serum. The massaging in of products daily can also help boost blood flow to the area which in itself encourages better hair growth and improved hair condition and strength. There are many purposely designed serums on the market or just good quality castor, coconut or extra virgin olive oils will also do a great job of nourishing the hair and skin.
Pluck in the right light and at the right level of zoom – ensure you pluck your brows using suitably sharp tweezers to avoid hair breakage. Try to pluck in natural daylight to better help you see the new, finer hairs coming through and ensure you are following the right line for shaping. Avoid using magnifying mirrors as they force you to focus in on one hair at a time causing you to lose sight of the overall brow shape and you can get too pluck-happy resulting in uneven brow results or overthinning the brows.
Brows are sisters, not twins. Whenever tinting or shaping brows, ensure you work across both brows equally and check across both brows throughout for an even result. That said, brows are never identical so don’t try to force them to be or you could end up damaging the natural line of hair growth and having overly thin brows which is both aging and unflattering. Overplucking can lead to permanent damage so take care or best still, leave it to the professionals.
Have patiencewhen brow shaping – don’t be tempted to pluck a clump of hairs at a time. Work on just removing one at a time. Avoid removing longer brow hairs as these are often the leading hairs which define how the rest of the brows sit and removal can leave unsightly gaps or loss of definition. Slanted tweezers are great for helping to select the right hair. Go slow and use patience when removing odd stray hairs between brow services or if attempting some home pampering. You can always go back and take another out but you can’t put a leading hair back in again if removed incorrectly.
Embrace other methods of hair removal such as hot wax or threading. Both offer a quick but accurate hair removal option that take out all the hard work of tweezers. Check reviews of any therapist you are considering booking with and ideally seek out photos of their recent work on their social media to ensure you will get the result you desire. Generally speaking waxing is more readily available and hot wax is great in small areas like brows to give clean results. Hot wax is also less likely to irritate sensitive skin. Threading is great for anyone wanting a more linear, angled look due to the way the thread moves. It is great for those with naturally thick unruly brows that need some serious attention.
Don’t lose patience with those long unruly hairs. Use a brow gel to brush and seal them into shape. If you really must improve them, don’t pluck them out but use short handled, sharp scissors to gently trim them so they sit better in place. Those long hairs often need to sit flat to provide the overall shape for your brows that all other hairs follow so take care not to be too snippy, particularly for the first few hairs at the start near the eyes as these can look bushy if trimmed too short.
If you really can’t get those unruly brows to sit correctly, consider a brow lamination treatment. Not only will they help give the appearance of thicker, fuller and more youthful brows; but it is a quick and relaxing treatment to receive. Typically taking around 30 minutes, results can last up to 6 weeks and when combined with a basic brow shape and tint, it can give you maintenance free, hassle free natural brows for over a month! Well worth investing in. The treatment uses similar products to lash lift (perming) products, but applied to the brows in a specific way that fixes and sets the brows in the desired direction as dictated by the brow technician.
Want to learn to create the perfect brows, explore just some of the many brow course options we have by clicking below. Can’t see the course for you or interested in a package? Give our friendly team a call on Freephone 0800 999 2277 and we can guide you to the right option!
When looking to start a new career in the beauty industry, it can be so easy to fall into the trap of thinking you MUST train in every single treatment on the market from the get-go. But the cost of this and also just knowing how then to launch your business without any particular unique selling features or areas of specialism can be really difficult when coming to an industry with a lot of competition already. Our blog highlights why it can actually be great to start small, focusing on particular treatments, building your brand and then moving on to other treatments as your client base actually wants, rather than what you think they will want…
Our offers this month are all about helping you to focus on learning a particular set of beauty skills so that you have a ready to launch business. Whether that is focusing on being a lash and brow artist, make up artist also offering lash treatments, a nail technician or a beauty therapist offering the Big 4 (facials, waxing, manicures and pedicures). This is because we know the industry well and we know what works.
Be a Specialist in your Chosen Field
While having a diverse range of beauty skills from the off is great for those looking to gain employment in a salon (where they will be expecting you to be able to offer treatment to every client that may walk through the door); when starting your own business this is not always feasible and rarely necessary. Most beauty start-ups will focus on a niche within beauty so that they can be offering treatments that are their passion, work to their best natural talents but also ensure they are 6specialists in what they have to offer through having day to day, in-depth knowledge and practice of offering those treatments. It also allows you to focus on learning all you can within the industry around those specific treatments, whether that is through taking advanced courses or reading up on industry expert blogs and publications.
More Affordable and Profitable
It also makes starting your own business much more affordable. You can focus on booking onto the best training courses within the treatments you want to learn and then commit remaining funds to getting started with insurance, kits, products and tools as you need to start building your client base. If you try to learn everything, it can be very costly both in training and kit requirements meaning you may not then be able to afford the best products or tools to work with once you start working with clients which can make your treatments less attractive versus competitors’. It also puts a huge pressure on you in the first year to have to make too much money to reclaim your costs and before you get to enjoythe boost of being in a profit.
Your Business is Focused
Starting with treatments you know are popular in your area, which you enjoy offering and you know you have knowledge of (whether from having previous treatments yourself or through beauty magazines you read for example); really is the best way to getting your business started on the best foot forward. It allows you to focus your marketing whether that is a website, Facebook business page or adverts in local press to really shout about what you do. You can have a very clear branding message too on your price list and business card, rather than being confused by trying to offer too many services too soon. The greatest advantage is that you start with a popular service, start establishing clients and from there you can ask your target market what else they like receiving and would like you to offer so you can be sure to enrol for further courses that allow you to capitalise on this. Once you get working in the industry you can see what you enjoy too. So many therapists have fallen into doing treatments they don’t really enjoy, simply because they feel they must, to justify training within them. Start with what inspires and excites you and you can’t go far wrong in building a business and a career you truly love.
Be More Competitive
By training in specific treatments to begin with, you can keep your costs down which allows you to launch with very competitive prices versus your local competition. Once you have experience under your belt, you can raise your prices to become a premium service but having that initial competitive edge really does help to springboard you into a thriving business very quickly. Also focusing your treatment offer allows you to put together lucrative packages (both for you and your clients e.g. offering a brow service alongside lashes to frame those windows to the soul; or indeed waxing alongside pedicures to help with those fluffy toes!). Having a specialist business within beauty also allows you to have less kit lying around unused, taking up your precious workspace and minimising the amount of kit you have to take around with you if working mobile.
You Can Always Diversify Later
Remember by taking a couple of specific courses or indeed a package which focuses on a niche of the beauty industry, you are in no way limiting yourself. You can always take additional courses, whether further 1 day fast track, accredited courses or indeed our flexible, online, recognised learning courses. You could even upgrade to an internationally recognised qualification such as the VTCT awards in order to gain employment in a salon or spa, once you have gained experience or should a further opportunity arise beyond self-employment. You might even go on to training to teach beyond a VTCT award, so there really are huge options ahead.
All you have to do is take the first step, decide which 1-3 treatments you love the most and give us a call on Freephone 0800 999 2277 to arrange booking onto the best training course option for you. It’s no obligation and our course advisors are all fully qualified beauty therapists with vast experience of the industry, so can certainly point you in the right direction.
As any amazing lash and brow tech knows, you’re only as good as your products and tools will allow you to be. Not storing these correctly, not only shortens the lifespan of these causing wastage and extra costs but also limiting the results you can achieve. Here we discuss how you should be storing your kit…
Wax Pot
It goes without saying that your wax pot should be wiped over after each use to remove any stray wax. There is nothing worse than going for a treatment and seeing a gunky looking wax pot and wondering just where your wax will be dribbled. Where possible use wax pots with an insert to allow you to remove the wax from the heater and reseal with the tub lid, but the wax heater lid should be on when not in use at the very least. If working mobile, ensure the wax heater remains upright if wax is to be left inside the heater to avoid spillage. Allow wax to cool down sufficiently before moving the heater so for mobile therapists, turn off the heater as soon as it is no longer required. Wax is typically good for 6-12 months from date of opening – check your product for the specific use by.
Tint & Oxidant
Always used and disposed of in line with COSHH, you should only mix your tint once ready for use and never before your client arrives as it will not be effective by the time it is used. Always replace the lids tightly immediately once decant particularly as products will react with the air on contact and overexposure will reduce its efficacy.
Lash Adhesive
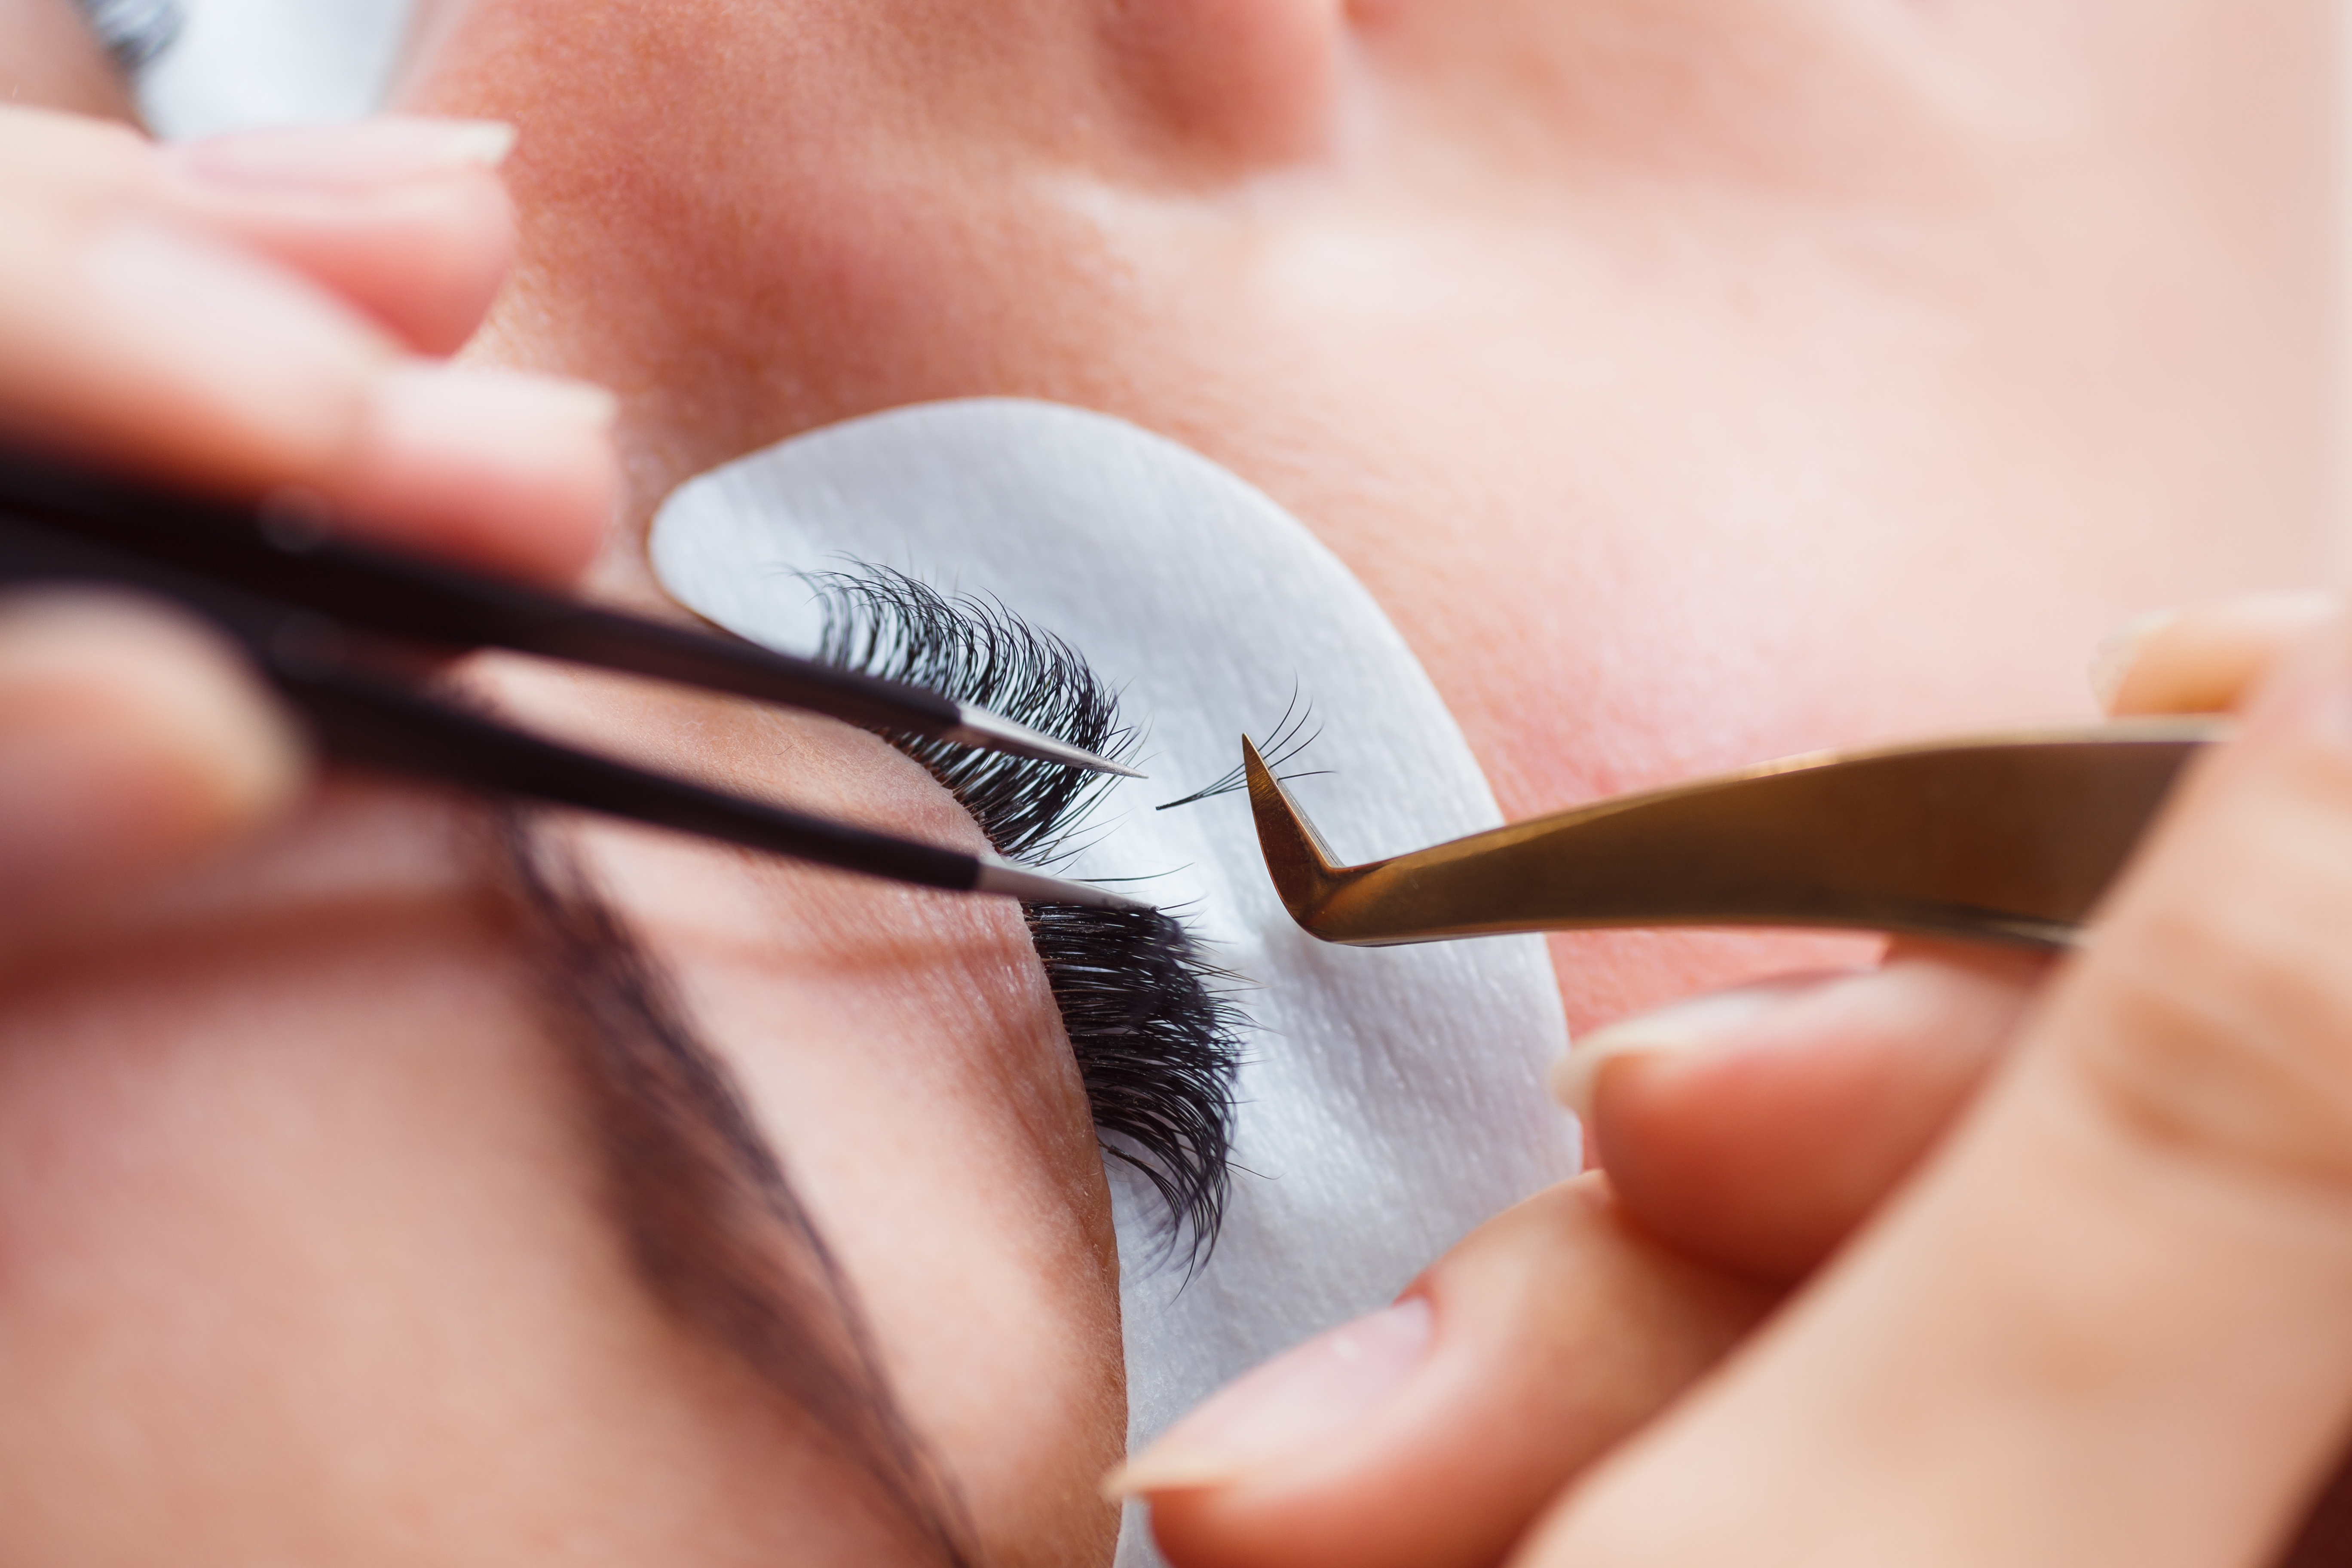
Only ever decant as much as you need to avoid wastage. Replace lids tightly once decanted to avoid the adhesive reacting with the air and setting hard. Keep adhesive stored upright at stable room temperature. Some adhesive brands suggest storing in the fridge but this can cause moisture to develop inside the product bottle causing it to be ineffective. You can purchase vacuum storage bags or jars which help to prolong the life of your lash adhesive once opened and also protect them from falling over and spilling in transit for those who work mobile. If products must be stored in a cooler or hotter area than where you are working, allowing up to an hour for the product to return to ambient temperature before using for best results. Working environment temperature will affect the current viscosity (thickness) of your product so consider this when deciding where to offer your treatments, for
Tweezers
Always ensure tweezers are thoroughly wiped after use to remove any stray hair or wax/lash adhesive residue before sterilising. Avoid leaving tools standing in barbicide continuously as this will corrode tools over time. Sterilise for the recommended time then remove. Store in a sealed plastic case or bag taking care to protect the tweezer tips, never store points down in a jar. Then simply place back in sterilising fluid prior to use once setting up for your client. Take care never to drop your tweezers as this could blunt the points. Replace tweezers roughly every 3-6 months depending on how often used. Keep lash tweezers separate from those used for brow treatments to avoid misusing these and always keep a spare pair handy just in case.
best results. Also ambient environmental humidity will affect the drying times of your adhesive. Lash adhesive is usually good for 3-6 months dependent on the brand once opened (usually for up to 12 months prior to opening) but check product packaging to confirm as it does vary depending on the formulation.
Brow Powder Compacts
Always store these where they will be safe from knocks or dropping to avoid gut wrenching moments where your palette crumbles. Ensure you decant powder onto a spatula using a make up scraper or only ever use a clean applicator / brush (never double dipping) or use a special make sanitiser spray for powder compacts between each client to keep products hygienic. Many brands now offer refills for powder palettes to allow you to replace the shade you use up quickest, rather than having to replace the entire palette so it is worth considering this when buying your products to avoid having to have multiple part used palettes or powders at any one time.
By following the above advice, you will ensure you are not only working safely and hygienically but also reducing your costs (boosting your profits) and getting the very best results from your products and tools for the longest time possible.
Henna brows is fast becoming one of the most popular brow treatments, as a more natural way of giving greater definition to natural brows. Formulated to give longer lasting results than traditional tinting products and with a wide range of colours available to suit all clients, it’s important to know the benefits of offering this in demand brow service.
Henna has been used for centuries to provide colouring the hair and has recently has a resurgence in popularity as clients seek more natural beauty options. Henna has many benefits including its ability to better ‘tint’ the skin so is great at helping to disguise gaps or sparse hair growth within the brows (more so than a traditional tint product) and also to give a deeper, more natural enhanced brow colouring. Naturally sourced from the leaves of the henna shrub, it contains a substance called Lawsone which is effective in staining the hair and skin. To boost the speed at which the product works, often synthetic dye agents are included, sometimes known as PPD. Some clients are concerned about the use of PPD, however provided you are using products sourced from reputable suppliers, the volume and strength of PPD used will ensure the product is very safe for professional use. As with any tinting product, it is important you carry out a patch test 24-48 hours prior to use and record this on the client’s record card, patch testing in line with the manufacturer’s and your insurer’s guidelines.
Henna is applied in much the same way as traditional tinting products, however its formulation is easy to work with and using a suitable brush, application can be precise to give a more sculpted, almost microbladed looking result. It can also be applied to improve the natural arch of the brows with hair removal techniques such as threading or waxing to improve the brows overall shape. It is also gaining popularity for use alongside Brow Lamination treatments as clients follow a course of treatments to regrow their brows to their former, fuller and more youthful glory.
Henna brow treatments can typically earn you anything from £10-£25 per treatment and usually take as little as 20-30 minutes to carry out! Results last for around 4-8 weeks depending on the client and homecare adherence, quickly providing you with a loyal, regular client base.
Top Selling Brow Treatments (based upon feedback from the many thousands of beauty therapists who have successfully trained with us over the last 29 years) are currently:
Brow Lamination (now one of our best selling courses)
Henna Brows
Brow Shaping (waxing, threading or indeed the hugely popular Highly Defined Brows treatment)
Brow Tinting
“More clients than ever are now investing in their brows and lashes. Offering the most in demand brow treatments is essential for any beauty therapist, make up artist or lash technician to ensure you aren’t losing your clients to other therapists who are more diverse. Packages that combine lash and brow treatments are hugely successful, with many clients starting out with a simple brow shaping treatment and then getting the ‘beauty bug’ and soon become regular clients for a wide range of services.”
Gain recognised training within these lucrative brow treatments with our courses from only £99. Choose to learn either at your own pace, online from the comfort of home or attend one of our 10 well located, exclusive training centres to learn face to face with our highly qualified, experienced tutors. Learn more about our Brow Course options below or call us Free on 0800 999 2277 to discover the best option for you….
With so many new brow treatments launching, it is easy to fall behind in knowing the differences and how best to market your brow services to clients. Our blog this week focuses on whether to highly define or laminate brows…
What are Highly Defined Brows?
Highly defined brows is a treatment involving multiple steps to ensure the optimum brow reshaping and redefining. Starting with a thorough consultation and brow measuring, brows are darkened using brow tinting. Brows are then reshaped using a combination of brow trimming, waxing, threading and use of tweezers. Finally brows are finished using mineral brow make up products to give the perfect finish. Typically highly defined brows leaves brows thinner, with a greater arch and more defined shape and also darker to ensure they really frame the eyes.
What are Laminated Brows?
Laminated brows is all about restoring brows which have previously been poorly reshaped, over plucked or simply where the client wants a fuller, more natural brow look. Brows are brushed into shape by encouraging the existing brow hairs to sit upwards to create a fuller look. Products very similar to those used for lash lift, are then applied to the brow hairs to lift and then set the brow hairs into line and shape to help restore a fuller, natural appearance to the brows. Brows can also be tinted as part of the process to give more definition. The treatment encourages clients to make use of brow products such as castor oil following treatment to encourage the brows to naturally begin enhanced regrowth, particularly where overplucked previously to give more improved appearance over time.
Our quick table below outlines which treatment is best for which clients or desired results…
Highly Defined Brows
Removes unwanted, stray hairs to give a better shape and greater definition
Involves use of brow waxing, threading, trimming and tweezers
Brows are tinted to give a darker, more defined look
Usually brows appear thinner, reshaped with an improved arch
Clients are encouraged to have regular treatments to maintain defined look
OR
Brow Lamination
Involves working with the existing brow hairs, taking away only minimal stray hairs
Involves use of techniques to brush hairs up then lift and set in place with products similar to those for lash lifting
Brows are tinted to give a darker but more natural look
Usually brows appear fuller, reshaped to give a restored, more youthful natural look
Clients are encouraged to use brow oils beyond treatment to stimulate regrowth of hairs
Not trained to offer both of these incredible, lucrative brow services yet? Take a look at our fast track courses and start earning up to £45 per treatment…