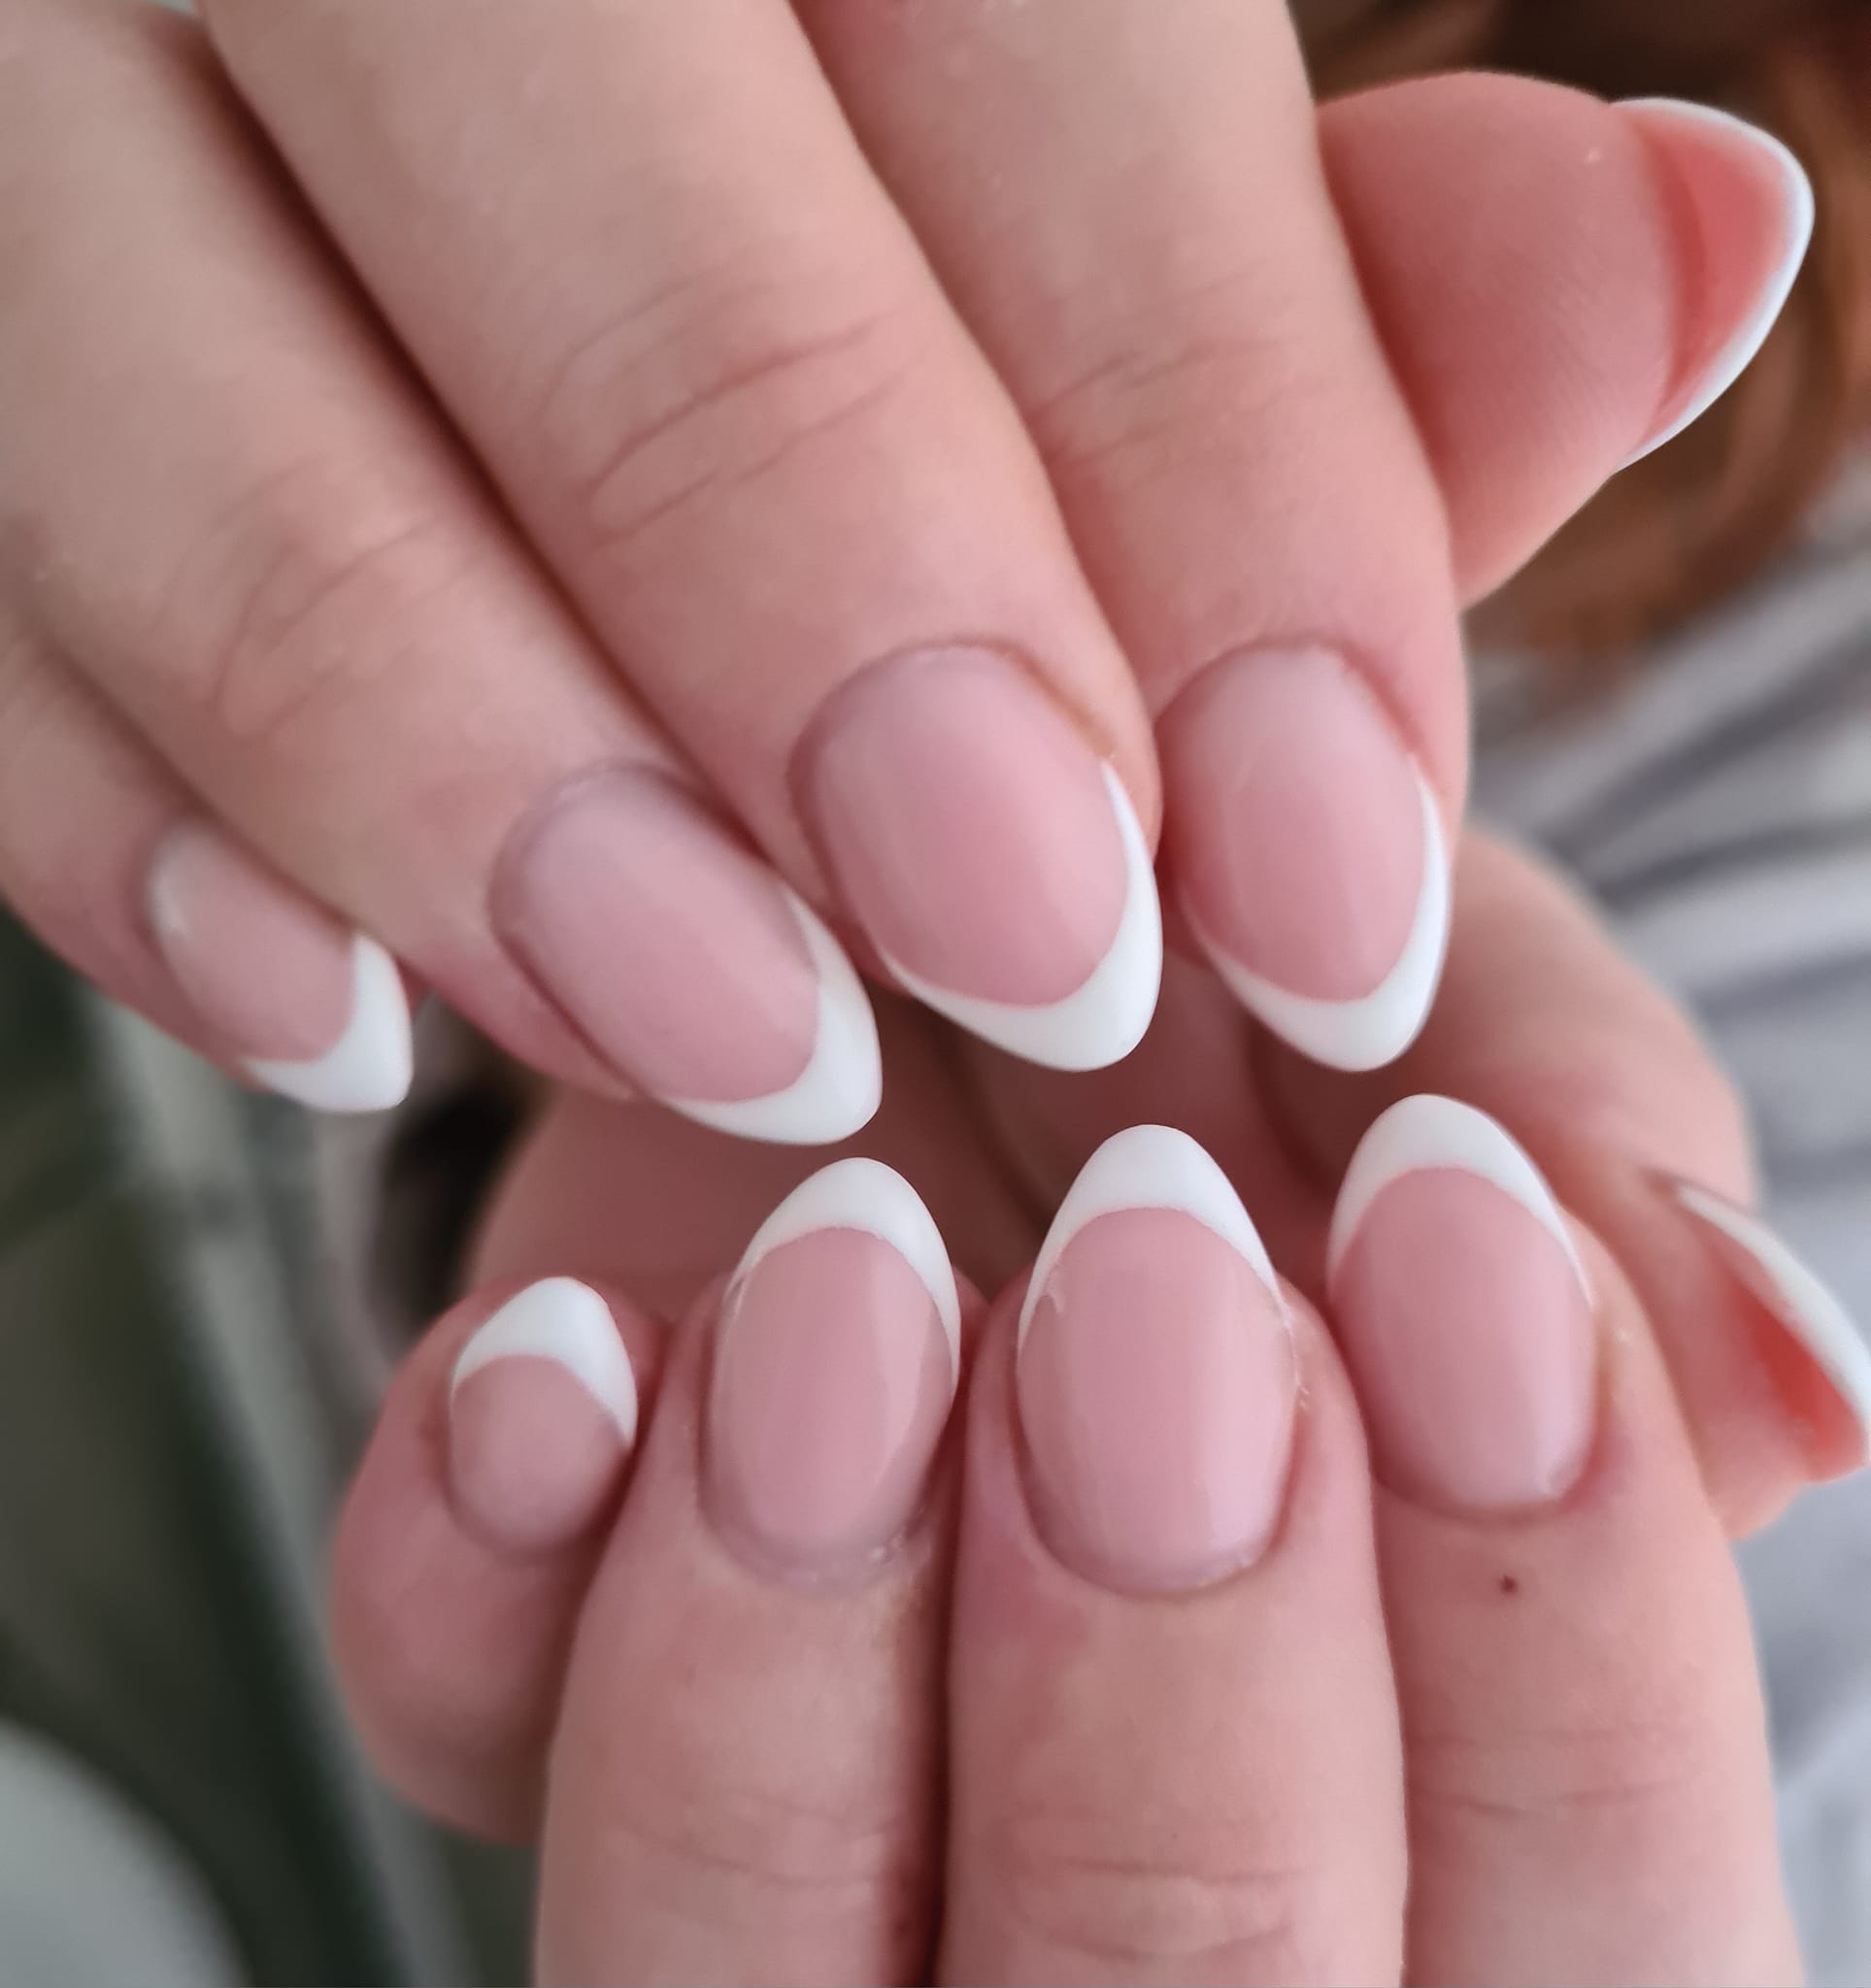
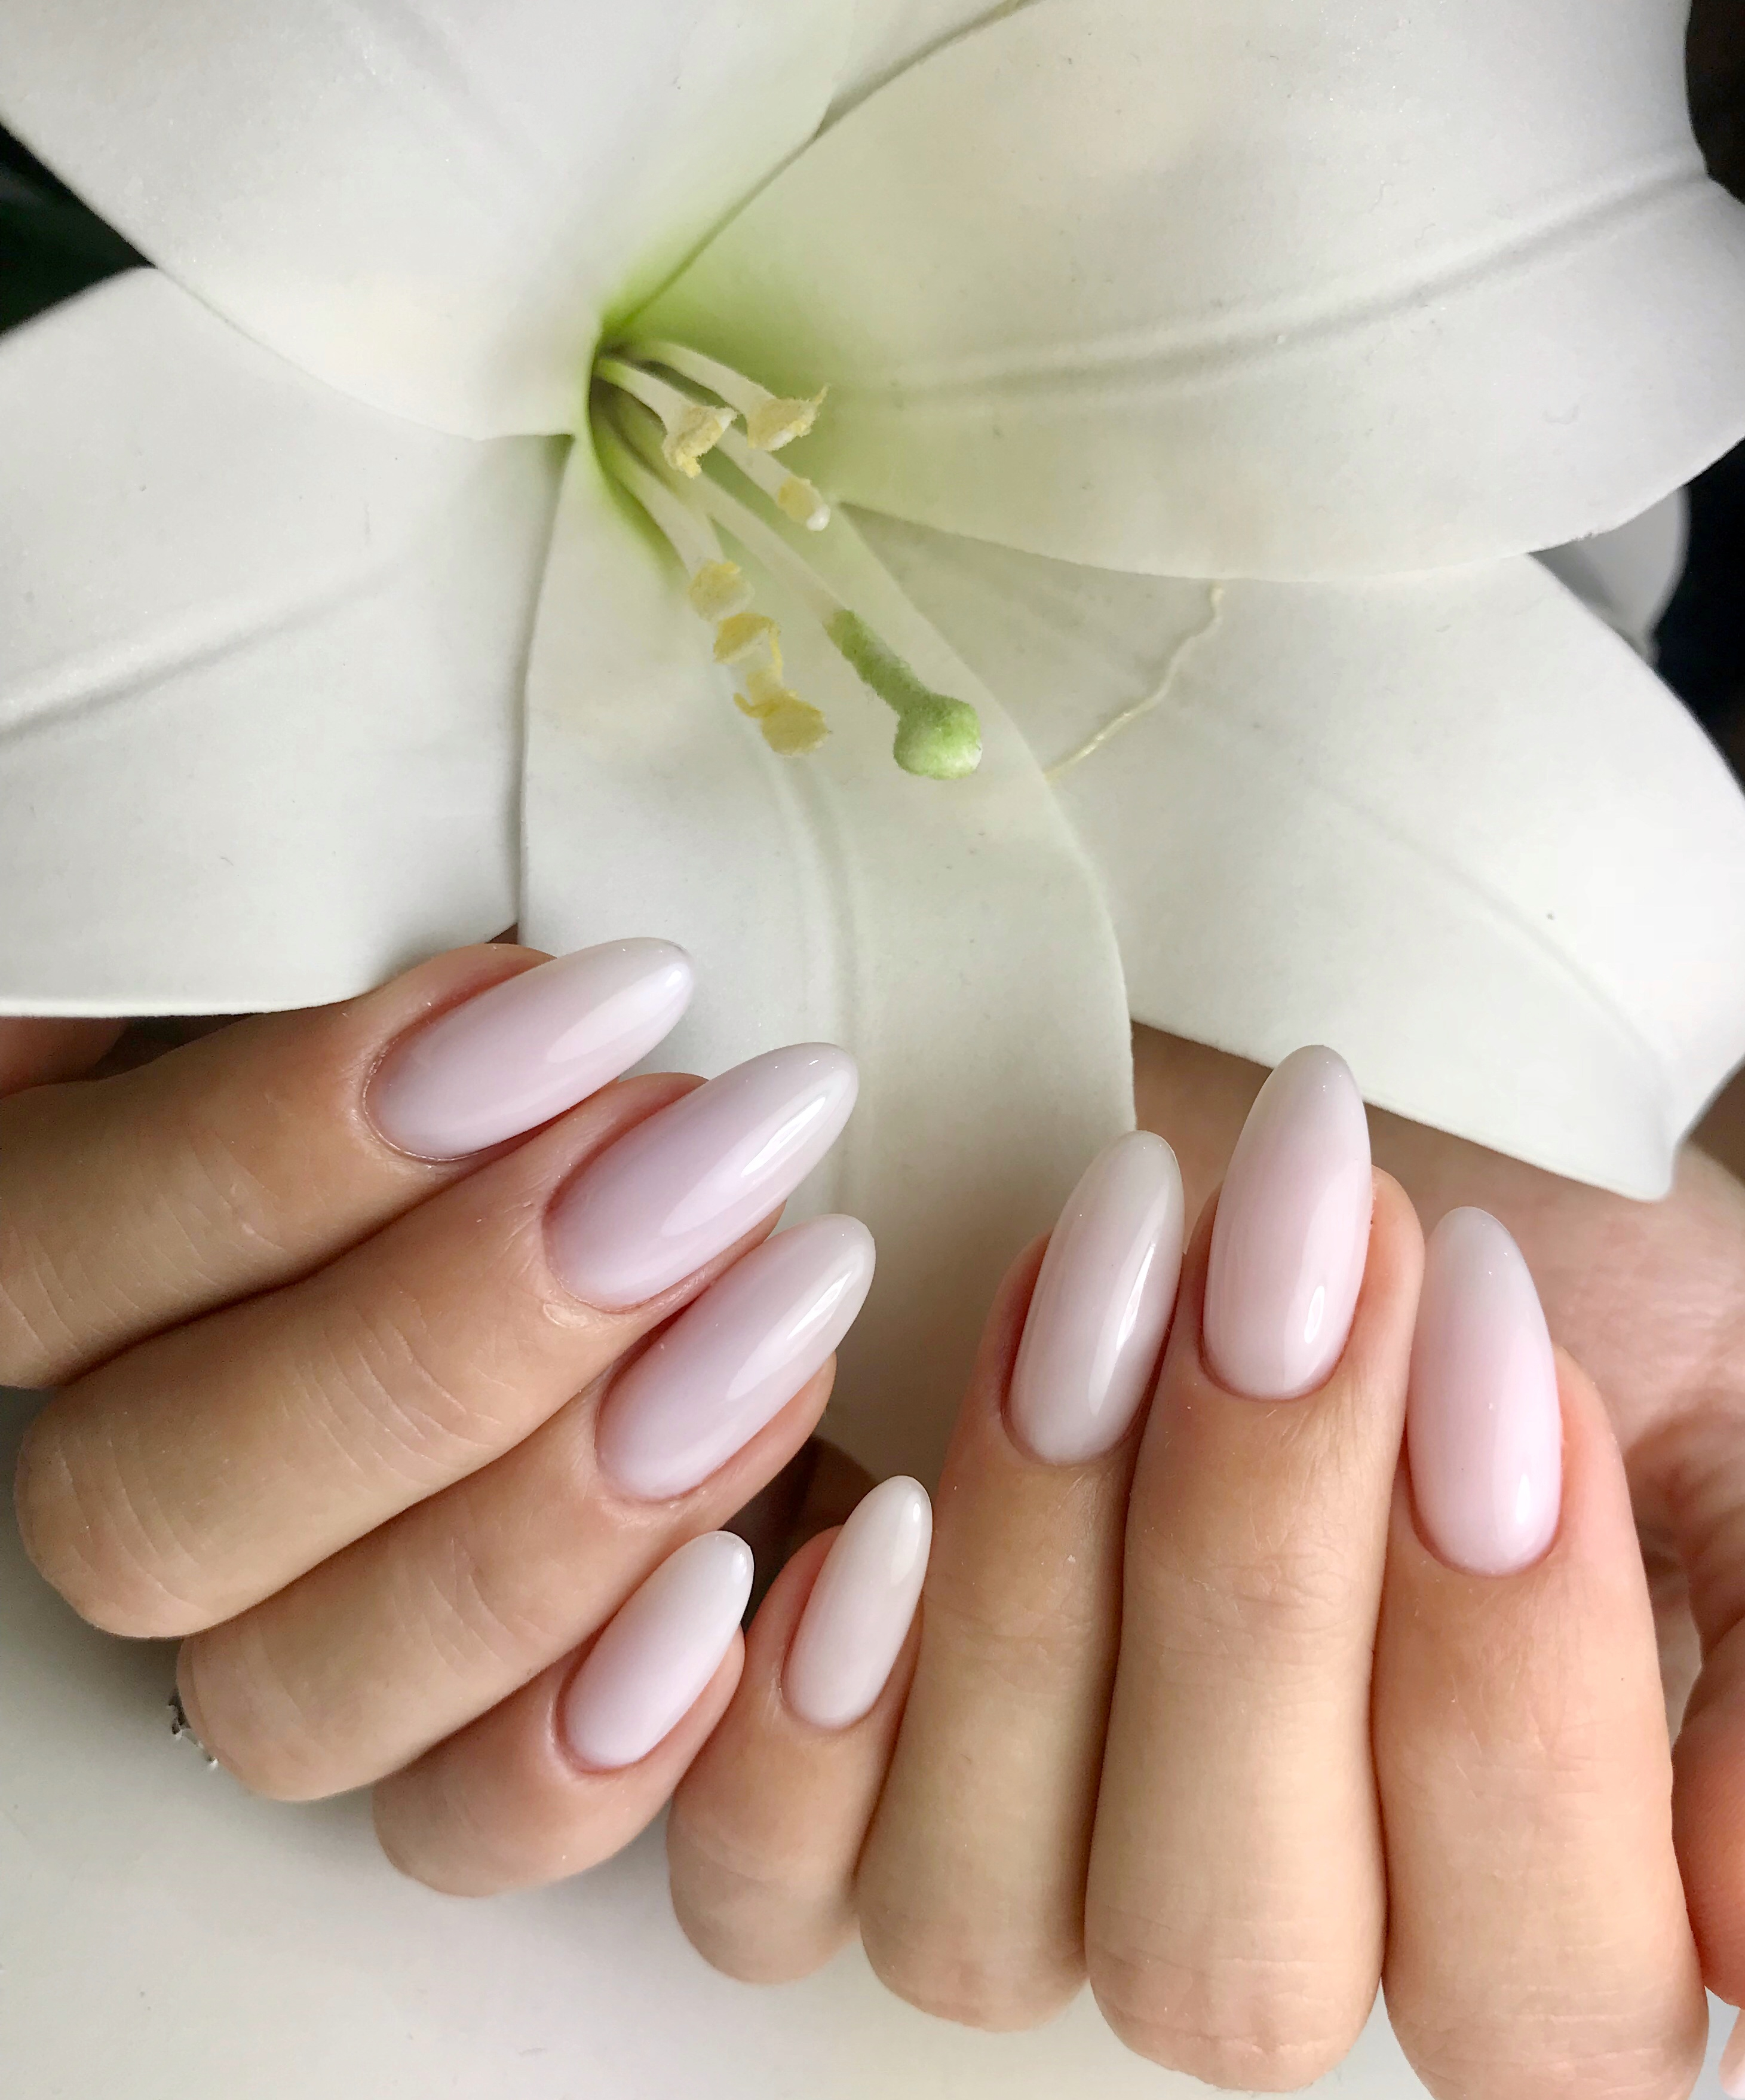
What are French Tips and why are they so popular? The style of the French Tip dates back to the 1930s and gained their iconic name in Hollywood in the 1970s by Jeff Pink, the creator of the French Manicure. The French Manicure was created to help screen actors speed up the process of wardrobe changes. The French Tip is a simple yet elegant style of nail, suitable for everyday wear and special occasions, making it a very practical yet fashionable choice!
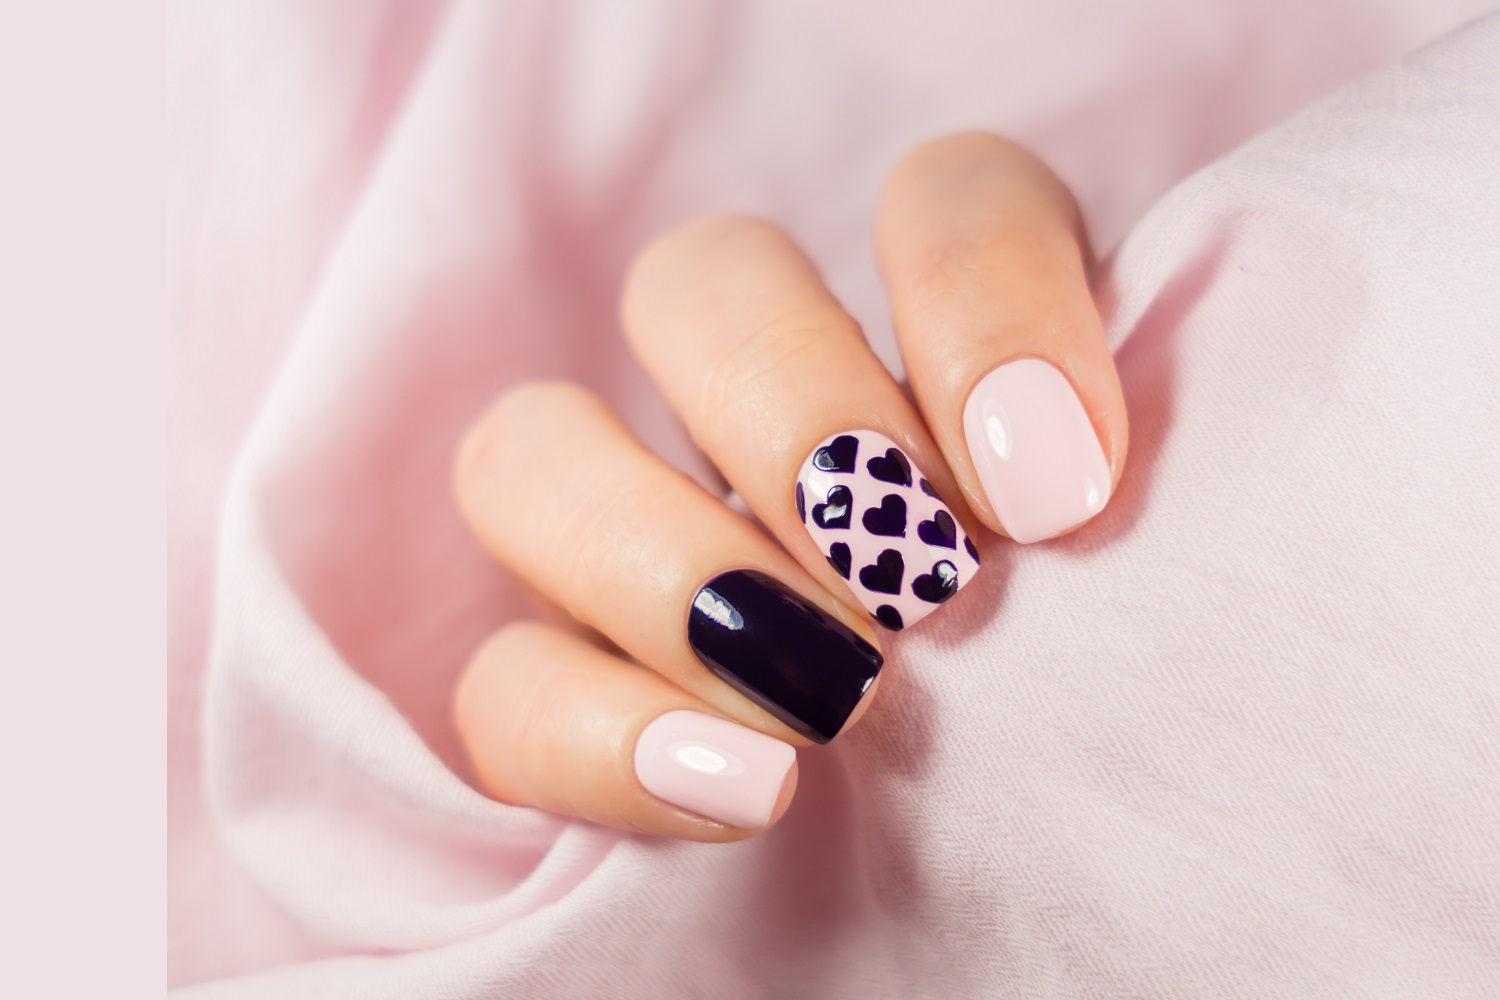
A French Tip is traditionally a nude nail with a white tip. Today, the French Manicure has been modernised with the addition of colour and glitter! Due to its popularity, this is an essential treatment in any spa or salon. Nail technicians will be able to charge between £25-£50 for this treatment. These nails are durable, long-lasting and practical, and remain incredibly stylish today!
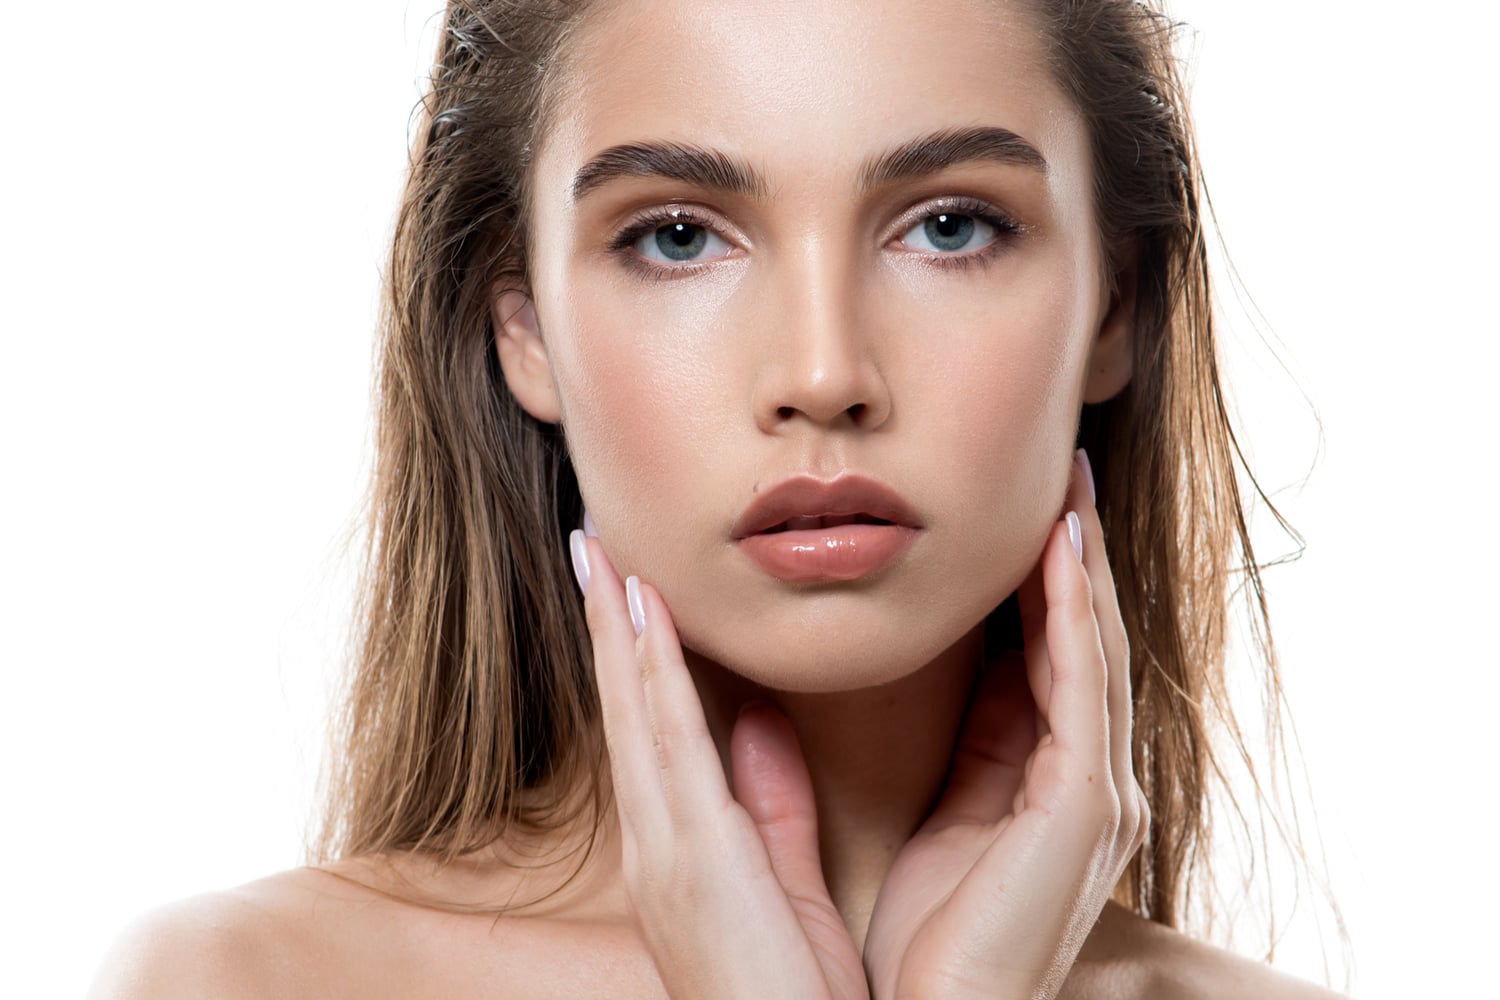
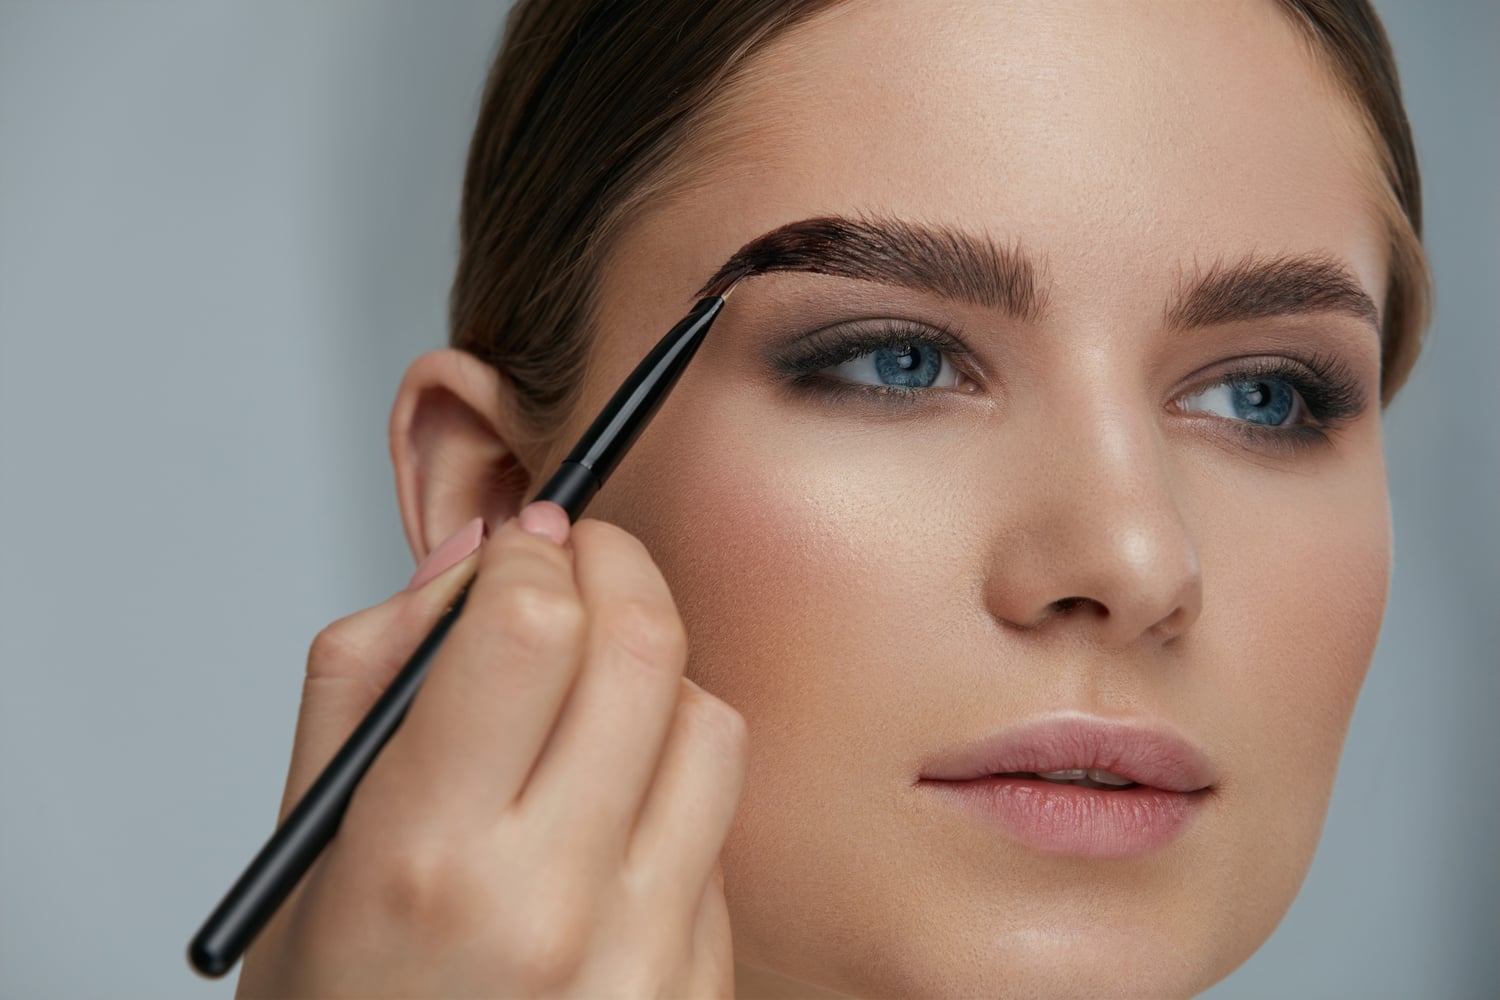
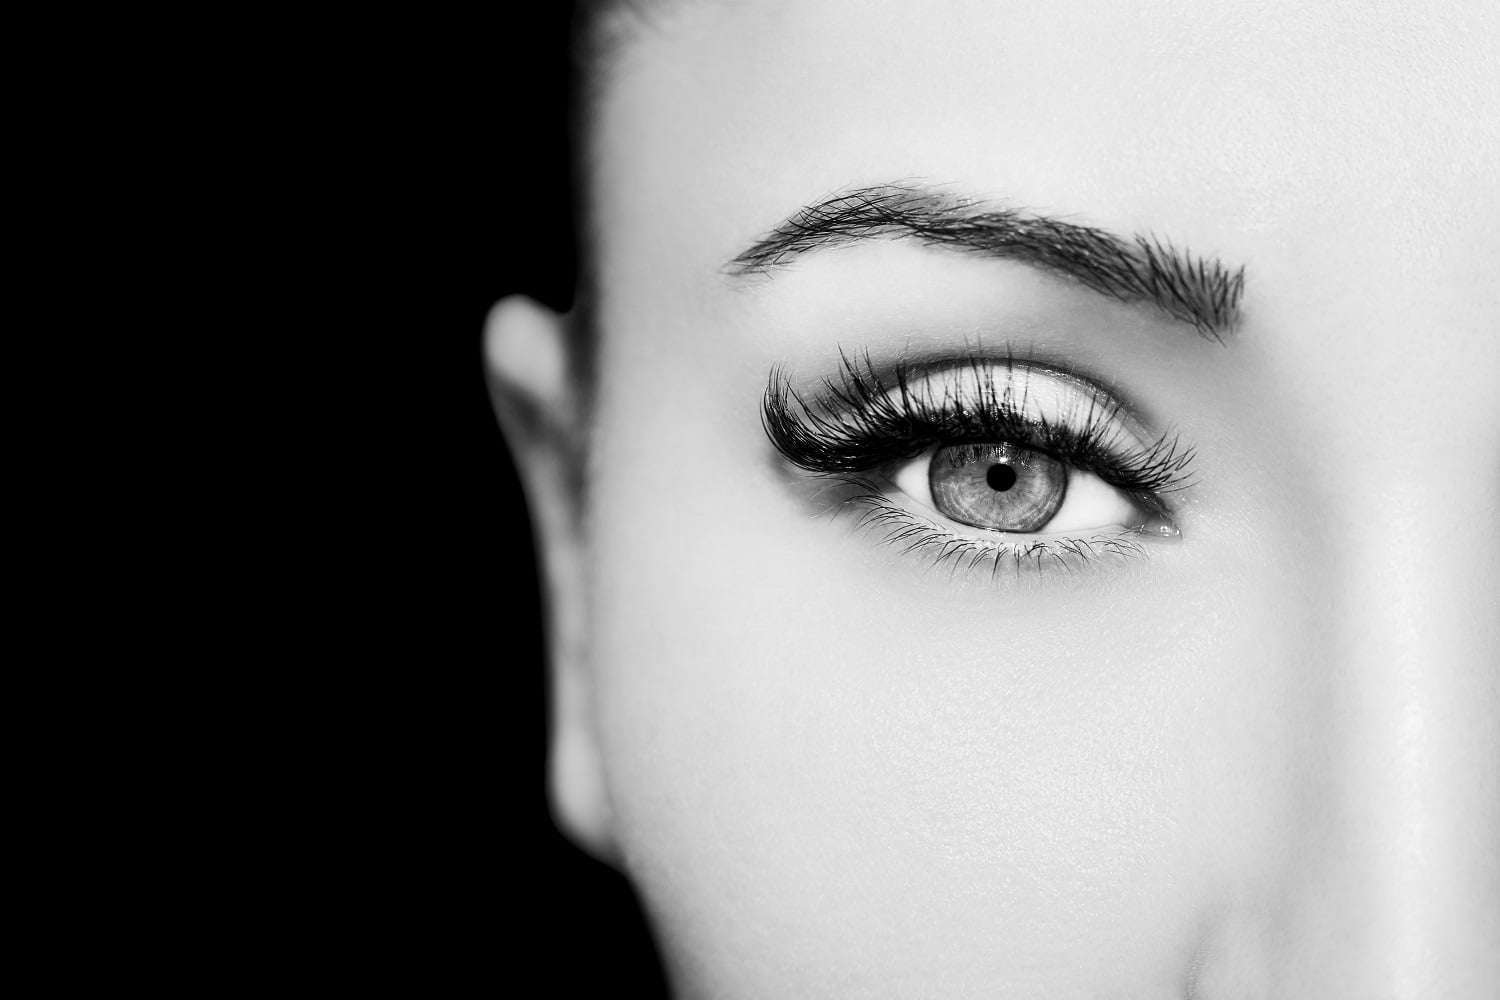
If windows are the eyes to the soul then surely brows are the frames? A great pair of eyebrows can really give a face structure. They can also help correct an unbalanced face shape or give the appearance of a more desireable face shape. When so many clients are investing in lash extensions right now, it would be wrong not to have the know-how to create flawless brows to finish the look. We give you the top 10 ways to make brows look fuller and groomed…
Use a brow pencil to fill in gaps and create better definition to the brow shape such as using short pencil strokes to create high points above the brows making them appear more arched and refined. Choose a brow pencil close to your natural hair colour and if between two shades, go for the lighter option.
Use a brow powder to give a softer, fuller brow look. If you only want to achieve more fullness but more definition, opt for a brow powder. Generally brow pencils last longer on the skin but can look harsher on mature skin and accentuate fine lines and wrinkles. Brow powders are a softer option and can be sealed with brow gels or wax.
Considering brow tinting – if daily touch ups aren’t working for you, say if you swim or work in hot, humid environments, tinting may be a better option. Tinting can last 2-3 weeks. Treatments typically take only 15-20 minutes so easy to fit in alongside other beauty treatments. A longer lasting option is Henna brows which can last for up to 4-6 weeks instead. Henna brow products have great depth of colour and are naturally formulated so can be kinder to the skin. Tinting or henna can bring out the natural shape of your brows, especially for those with naturally fair or grey brows. This can make the eyes look brighter as the whites of the eyes contrast with the darker tones.
Encourage better hair growth by using a naturally formulated brow oil or serum. The massaging in of products daily can also help boost blood flow to the area which in itself encourages better hair growth and improved hair condition and strength. There are many purposely designed serums on the market or just good quality castor, coconut or extra virgin olive oils will also do a great job of nourishing the hair and skin.
Pluck in the right light and at the right level of zoom – ensure you pluck your brows using suitably sharp tweezers to avoid hair breakage. Try to pluck in natural daylight to better help you see the new, finer hairs coming through and ensure you are following the right line for shaping. Avoid using magnifying mirrors as they force you to focus in on one hair at a time causing you to lose sight of the overall brow shape and you can get too pluck-happy resulting in uneven brow results or overthinning the brows.
Brows are sisters, not twins. Whenever tinting or shaping brows, ensure you work across both brows equally and check across both brows throughout for an even result. That said, brows are never identical so don’t try to force them to be or you could end up damaging the natural line of hair growth and having overly thin brows which is both aging and unflattering. Overplucking can lead to permanent damage so take care or best still, leave it to the professionals.
Have patiencewhen brow shaping – don’t be tempted to pluck a clump of hairs at a time. Work on just removing one at a time. Avoid removing longer brow hairs as these are often the leading hairs which define how the rest of the brows sit and removal can leave unsightly gaps or loss of definition. Slanted tweezers are great for helping to select the right hair. Go slow and use patience when removing odd stray hairs between brow services or if attempting some home pampering. You can always go back and take another out but you can’t put a leading hair back in again if removed incorrectly.
Embrace other methods of hair removal such as hot wax or threading. Both offer a quick but accurate hair removal option that take out all the hard work of tweezers. Check reviews of any therapist you are considering booking with and ideally seek out photos of their recent work on their social media to ensure you will get the result you desire. Generally speaking waxing is more readily available and hot wax is great in small areas like brows to give clean results. Hot wax is also less likely to irritate sensitive skin. Threading is great for anyone wanting a more linear, angled look due to the way the thread moves. It is great for those with naturally thick unruly brows that need some serious attention.
Don’t lose patience with those long unruly hairs. Use a brow gel to brush and seal them into shape. If you really must improve them, don’t pluck them out but use short handled, sharp scissors to gently trim them so they sit better in place. Those long hairs often need to sit flat to provide the overall shape for your brows that all other hairs follow so take care not to be too snippy, particularly for the first few hairs at the start near the eyes as these can look bushy if trimmed too short.
If you really can’t get those unruly brows to sit correctly, consider a brow lamination treatment. Not only will they help give the appearance of thicker, fuller and more youthful brows; but it is a quick and relaxing treatment to receive. Typically taking around 30 minutes, results can last up to 6 weeks and when combined with a basic brow shape and tint, it can give you maintenance free, hassle free natural brows for over a month! Well worth investing in. The treatment uses similar products to lash lift (perming) products, but applied to the brows in a specific way that fixes and sets the brows in the desired direction as dictated by the brow technician.
Want to learn to create the perfect brows, click on lash and brow course options from our navigation bar above and browse all course options online and in-person. Book securely via our website when ready!
Once you’ve mastered the basics of working with acrylic to create tip and overlay nail extensions, you will soon want to progress your skills to ensure you are offering the best possible nail service to your clients. Not only will it ensure your clients are dazzled by the results you achieve and bring new clients in through word of mouth, but you will save yourself time and stand miles ahead of the competition. All simply though learning to sculpt and use an electric nail file. We give you the lowdown on what they are and why you’ll benefit…
What is Sculpting?
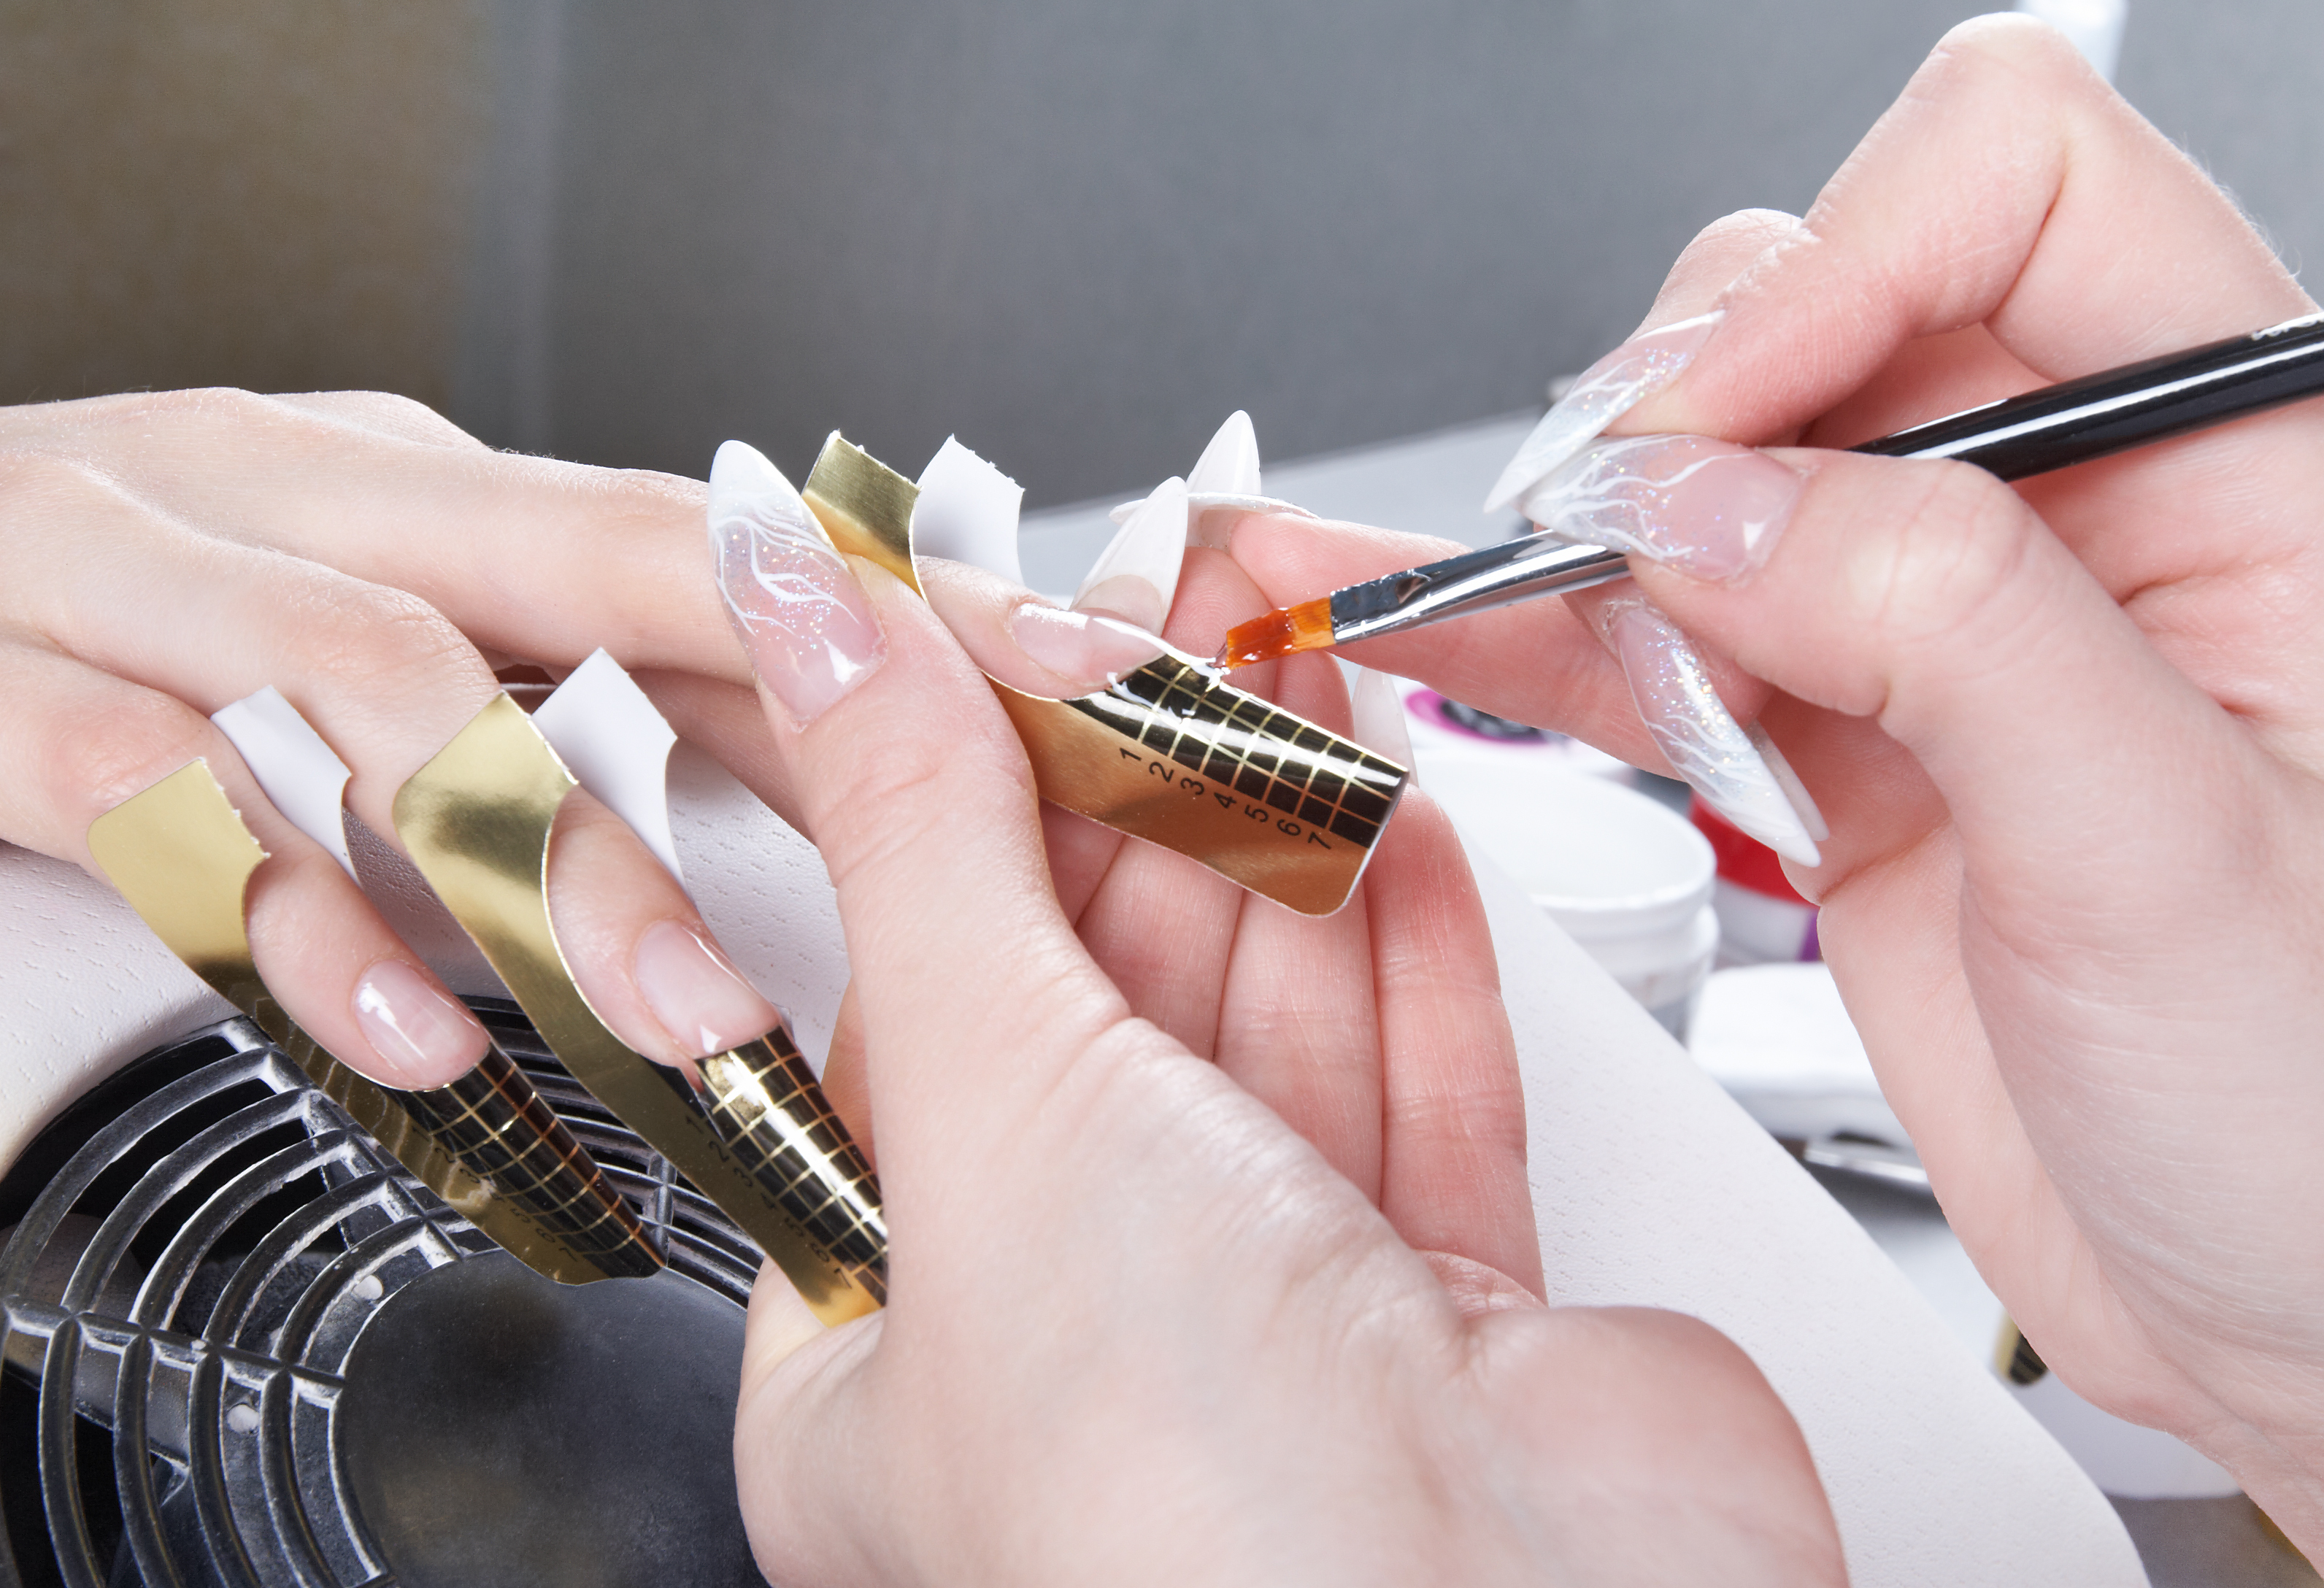
Sculpting with acrylic is a method of creating nail extensions using ‘nail forms’ as a platform to create the tip. This is then layered with acrylic to create a strong but tip-free extension. Traditional acrylic extension involves the use of plastic false tips & glue, overlaid with acrylic on top to give the extension strength. The sculpting technique can be kinder to natural nails as there is no glue, no tip is needed with a sculpted enhancement.
How long do sculpted nails last?
2-3 Weeks
Benefits of Sculpting
No adhesive to break down over time.
Can be thinner than with tips as you don’t have the bulk of the tip under the product.
Once mastered, sculpting is generally faster to apply than a properly applied and blended tip.
Generally better for nail biters because the moisture in the nails of biters can break down the adhesive and also the thick skin on the edge of a nail biters fingers will often push the tip off the nail or create a “ski jump” look to the nail.
What is an E-File?
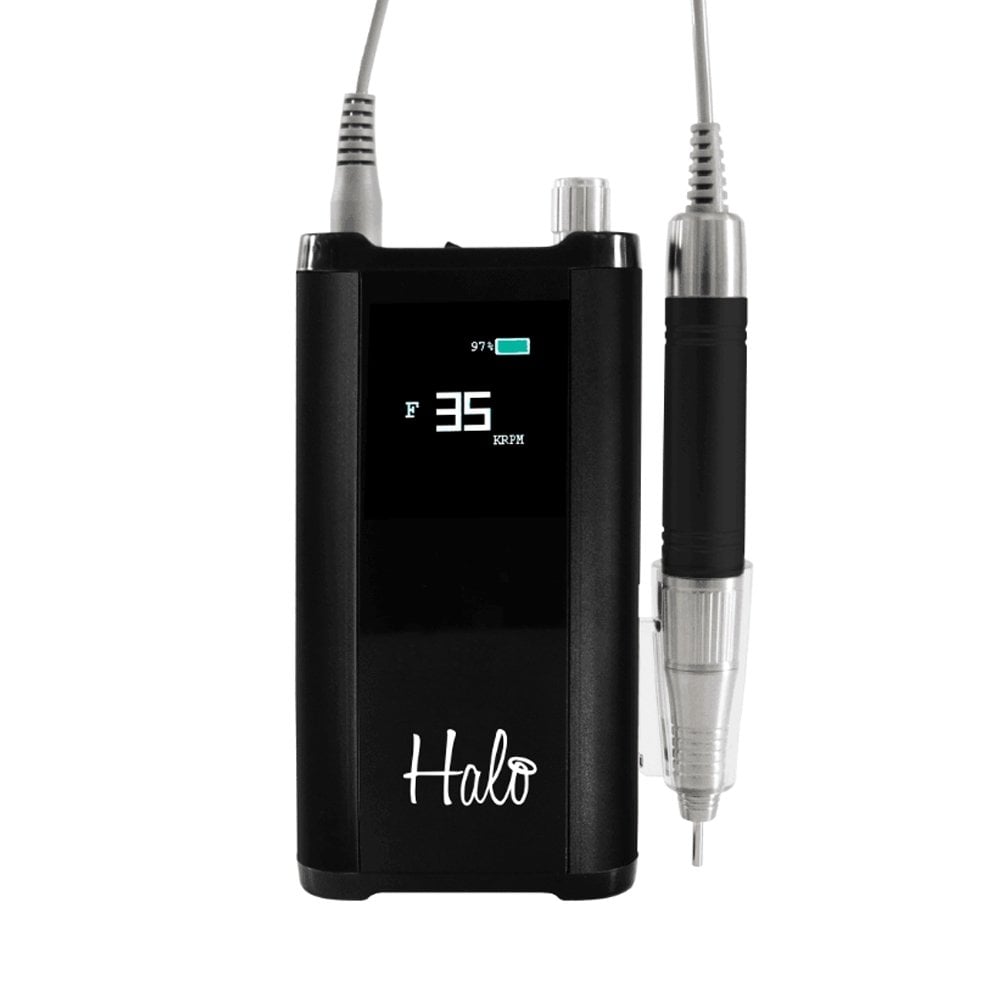
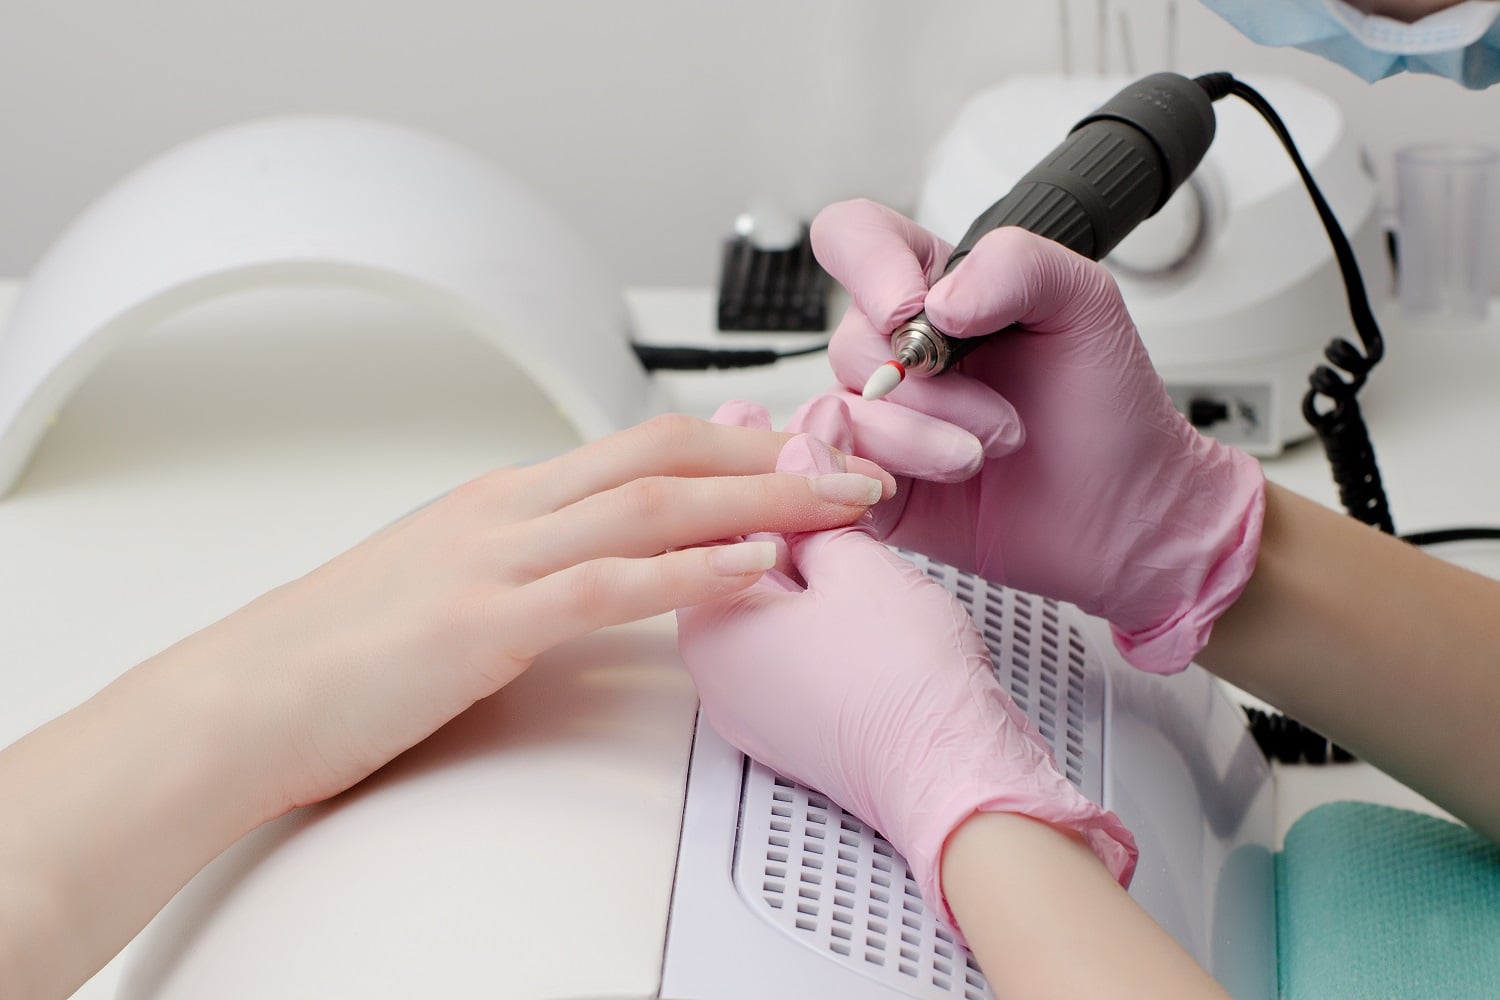
An electric file (formerly called a “drill”) is a tool used by nail technicians to speed up, streamline, or make easier some nail services. The electric file allows nail technicians to file or finish areas of the nail that are hard to reach (for example, under the free edge of a newly created sculpted nail)
Are electric nail files safe?
As long as it’s done properly and with the right tools, an electric file on the natural nail can be just as safe as a regular nail file. They can be used to gently push back the cuticle, exposing any dead excess skin which can be more comfortable than use of cuticle pushers.
It’s the tech, not the tool.
E-files often get a bad rep. When we see pictures of rings of fire, nail plate burns, and injured skin we assume it’s the evil e-file at work. In truth, an e-file really can’t do any damage without a nail tech wielding it. The big question is how can nail techs learn to use an e-file properly? Well, it’s much like learning to drive a car. It takes proper instruction through an accredited course and careful practice. You’re going to have an accident here and there, especially in the beginning, but the goal is to learn and improve.
Benefits of E-Filing
Reduces risk of Repetitive Strain Injury (RSI) for the technician as takes the hard work out of filing
Saves time so technicians can fit more clients in and clients can have quicker, more convenient appointments
Boosts earning potential as more clients in your working hours equals more money
Study E-filing via our accredited online courses, we also have classroom based and online course options to learn acrylic nails. Click in the navigation bar above to begin browsing classroom and online nail course options. Book securely via our website!
Nail technicians look after, shape and decorate their clients’ finger and toe nails. You’ll use a variety of techniques to provide manicures, pedicures and/or nail extensions. You may be working directly for a salon, or be self-employed. You’ll need good communication skills as you’ll be dealing with a range of clients. If you’re working as a self-employed nail technician, you’ll need good business skills too.
Client Satisfaction.
Most nail technicians value pleasing their customers above all else.
Meeting New People
Whether it’s new clients, co-workers or other nail technicians at tradeshows; nail technicians appreciate the opportunity to meet and make new friends.
Financial Rewards
As a nail technician, we are told you get out of your job what you put into it. If you are dedicated and hardworking, this will show in your earnings.
Flexible Schedule
How many clients you want to service in a given day is ultimately up to you.
Challenging Work
No matter how experienced a nail technician you are, every day brings new challenges.
Personal Satisfaction
For many people, job fulfilment is one of the most important reasons for sticking to their career.
Continuing Education
Nail technicians have the opportunity to learn more and more skills and techniques every day.
Creativity
When it comes to nails, you can really exercise your artistic ability and let your imagination run wild.
Competing
A lot of nail technicians say competing is one of the best extra-curricular activities of doing nails and seeing what your competition is, in the area you live in.
Just Doing Nails
The bottom line for most professionals is that they simply love doing nails.
Interested in training to be a Nail Technician? Not sure where to start? We have classroom and distance learning (online) options covering all aspects of nail services. Why not take a look at some of our many Classroom Based Nail Courses or Home Study Nail Courses. All courses are ACCREDITEDand FULLY INSURABLE allowing you to begin earning offering your treatments upon completion!
What can you do to speed up your nail treatments to maximise your earning potential? Our blog looks at E-Filing…
What is E-Filing?
It is surprising to hear how many nail techs are not fully aware of e-filing and how it works. E-Filing is use of an electric nail file to speed up the time taken working on nail extensions. It can be used on both acrylic and UV Gel nail extensions to help finish and refine the product, to help with speeding up a maintenance or removal treatment such as to reduce the length of the extensions, take our excess bulk when rebalancing and to help with product removal (usually alongside use of acetone soaking). Experienced nail techs may also use an electrical file on natural nail plates (often called a Russian manicure), although specialist advanced training is required for this and not all insurers will cover this.
E-Filing helps to reduce the amount of manual filing required to speed up your treatments, give more even finish for better quality nail results and can help to reduce the risk to the nail technician long term of an RSI (repetitive strain injury) or aggravating of conditions like Carpal tunnel or arthritis. Quicker treatments allows you to fit in more clients so boost profitability but is also great for time pressured clients, who often want a quick and effective treatment.
Can anyone train to use an E-File?
We offer courses in E-Filing which can be completed through our Online Student Portal and are accredited by IPHM. The course teaches you to utilise an electric nail file when working on acrylic or hard gel nail extensions. We do not cover use on a natural nails as most clients prefer use of manual files on natural nails for a safer, more comfortable treatment. We will also soon be launching a Classroom based training option. The E-Filing courses are suitable for anyone who has completed a recognised training course in Acrylic or UV Gel Nail Extensions and ideally also within Manicure & Pedicure. If you are looking to train within these skills also, you may wish to look at our Online Nail Training course packages, or Classroom based training. The courses are suitable for those recently qualified or who have been working within nails for some time.
The Main Perks
Incorporating E-Filing into your nail skills will be invaluable, especially once rushed off your feet post-lockdown. You will be able to;
Offer quicker nail extension treatments including for maintenance and removal.
Fit in more clients each day to maximise your earnings
Offer better results in your nail services than with manual filing alone
Reduce the strain on your precious hands and wrists from less manual filing
Reduce the amount of nail files within your kit, great for mobile therapists
Metal E-file drill bits can be easily and more thoroughly sterilised, offering a much more hygienic service
E-Files can be picked up affordably and are usually guaranteed for at least 12 months making a great investment
Still have questions? Why not contact our friendly team for more advice on the best training option for you via live chat or email [email protected]
With the nights drawing into the afternoon as the winter arrives and the busy festive period approaches, it is more important than ever to ensure you have the right lighting on hand as a lash technician to not only ensure your work remains to the highest standard, avoid strain on your eyes but also maximise your working hours to fit in just as many clients. But many lash techs have no clue when it comes to selecting the best lighting set up for their working space. Our blog highlights just what you need…
Benefits of Great Lighting:
Easier on the eye – less risk of eye strain when working on back to back lash clients
Extend your working hours into the afternoons and evenings, even with darkness falling earlier
Achieve better lash results as you can work more precisely and better check your work
Get better photos of your work for sharing on social media
Look and feel more professional
What to look for… You are looking for a light which provides;
Daylight quality lighting using LEDs to mimic that working by a window feel
Flexibility to adjust the light by height or angle to suit your way of working. Goose necked style lamp stems of a reasonable length are best for this.
Avoids creating shadows by lighting the whole face, with a suitably sized light splay
Functionality to adjust the light level intensity and with easy on/off controls within reach when working
Portability if you intend to work mobile, ideally one with a folding or collapsible stand. Always look for one with a travel bag option for safety and ease of carrying.
Ring lights with a great splay of light but can be bulky to work beneath and difficult to correctly position to fully light the face. Make up lights tend to be better for upright, static use and often lack the functionality to alter the intensity of light for different working conditions. This is where GlamCor lights or similar come into their own.
Our Recommendations…
GlamCor lighting has always been hard to beat in terms of the incredible quality and their reputation amongst lash techs. Their lights come in at around £175 for the most popular Classic Elite light. As another great rival, we absolutely love the lights provided by Lash Base. Two great options are their Lash Pro Light or Lash Pro Ring Light. Both coming in at around £140, they may not be the cheapest on the market however they are well made, will last you far longer than a cheaper alternative and will allow you to achieve excellent results.
Not already living the dream and working as a lash technician? (Why ever not…?) An existing technician and want to further develop your lashing skills? Our fully insurable lash courses start from only £99 and allow you to begin earning up to £50 an hour as a Lash Technician. Click our navigation bar above to begin browsing courses!