Nail courses

  • Working Safely with Gel & Acrylic Nail Products to Minimise the Risk of Allergic Reaction

    Working Safely with Gel & Acrylic Nail Products to Minimise the Risk of Allergic Reaction

    A BBC report launched on 14th April 2023 highlighted a very important issue for the Beauty Industry around the dangers of products used without correct training or awareness of the ingredients of gel nail products. Understandably the launch of this report has caused panic and concern for many nail technicians, but also for many consumers who regularly receive nail treatments from nail technicians using gel nail products. Here at The Beauty Academy, we wanted to address any concerns for those who have trained with us or who are considering training with us within nail technology. We are proud to be a part of ensuring this industry can continue to grow safely, with our courses helping to contribute highly qualified, confident, and knowledgeable Nail Technicians to the UK Beauty Industry.

    The BBC reported that the governmentโ€™s Office for Product Safety and Standards is investigating the growing numbers of people developing life-changing allergies to some gel nail products. In a statement it said: โ€œAll cosmetics made available in the UK must comply with strict safety laws. This includes a list of ingredients to enable consumers with allergies to identify products that may be unsuitable for them.โ€

    The BBC report stated that โ€œthough most gel polish manicures are safe and result in no problems, the British Association of Dermatologists is warning that the methacrylate chemicals โ€“ found in gel and acrylic nails โ€“ can cause allergic reactions in some people.โ€

    Allergies are by no means a new issue and certainly not unique to the Beauty Industry, although much of the increase in reactions to gel nail products specifically occurred following Covid-19 related lockdown where many took to the use of DIY home nail kits to implement โ€˜self-careโ€™ while salons were closed. With the cost-of-living crisis further driving many to seek to cut costs including spending on health and wellbeing, such as beauty treatments in-salons, the number of people using home use nail kits is now at an all-time high.

    Dr Deirdre Buckley of the British Association of Dermatologists urged people to stop using DIY home kits to treat their nails. The BBC report highlighted those allergies โ€œoften occur when gels and polishes are applied at home, or by untrained technicians.

    Some people have reported nails loosening or falling off, skin rashes or, in rarer cases, breathing difficulties following single or prolonged use of some gel nail products. Allergic reactions can leave sufferers unable to have medical treatments like white dental fillings, joint replacement surgery and some diabetes medications. This is because once a person is sensitised, the body will no longer tolerate anything containing acrylates.

    Dr Buckley told the BBC, โ€œIf people are determined to continue with acrylate nail products, they should get them done professionally.โ€

    The BBC report expanded โ€œformulation of gel polishes do differ; some are more problematic than others.โ€ The founder of the Federation of Nail Professionals, Marian Newman stated โ€œpeople that buy DIY kits and do gel polish nails at home, please donโ€™t. What should be on the labels is that these products should be used by a professional only.โ€ Furthermore, she noted, โ€œone of the most recognised allergens is an ingredient named Hema. To be safer, find someone who uses a brand which is Hema-free, and there are plenty of them now. If you understand what to look for, it is safe.โ€

    Hema, also known as hydroxyethyl methacrylate, is considered the number one allergen in nail products. The hydroxyethyl methacrylate monomers polymerise the polish, setting it hard and giving it the desired โ€˜shinyโ€™, long lasting finish. Advancements in technology and product chemistry has meant many gel and acrylic nail product brands are now able to produce the same desired results from their products with vastly reduced amounts of Hema within their products, or even with entirely Hema-free formulations being launched. Hema-free gel polish formulas do not include the tiny Hema molecules that can enter the skin and cause allergies. Instead, they may contain larger molecules that do not penetrate the skin and are not reactive under UV/LED light.

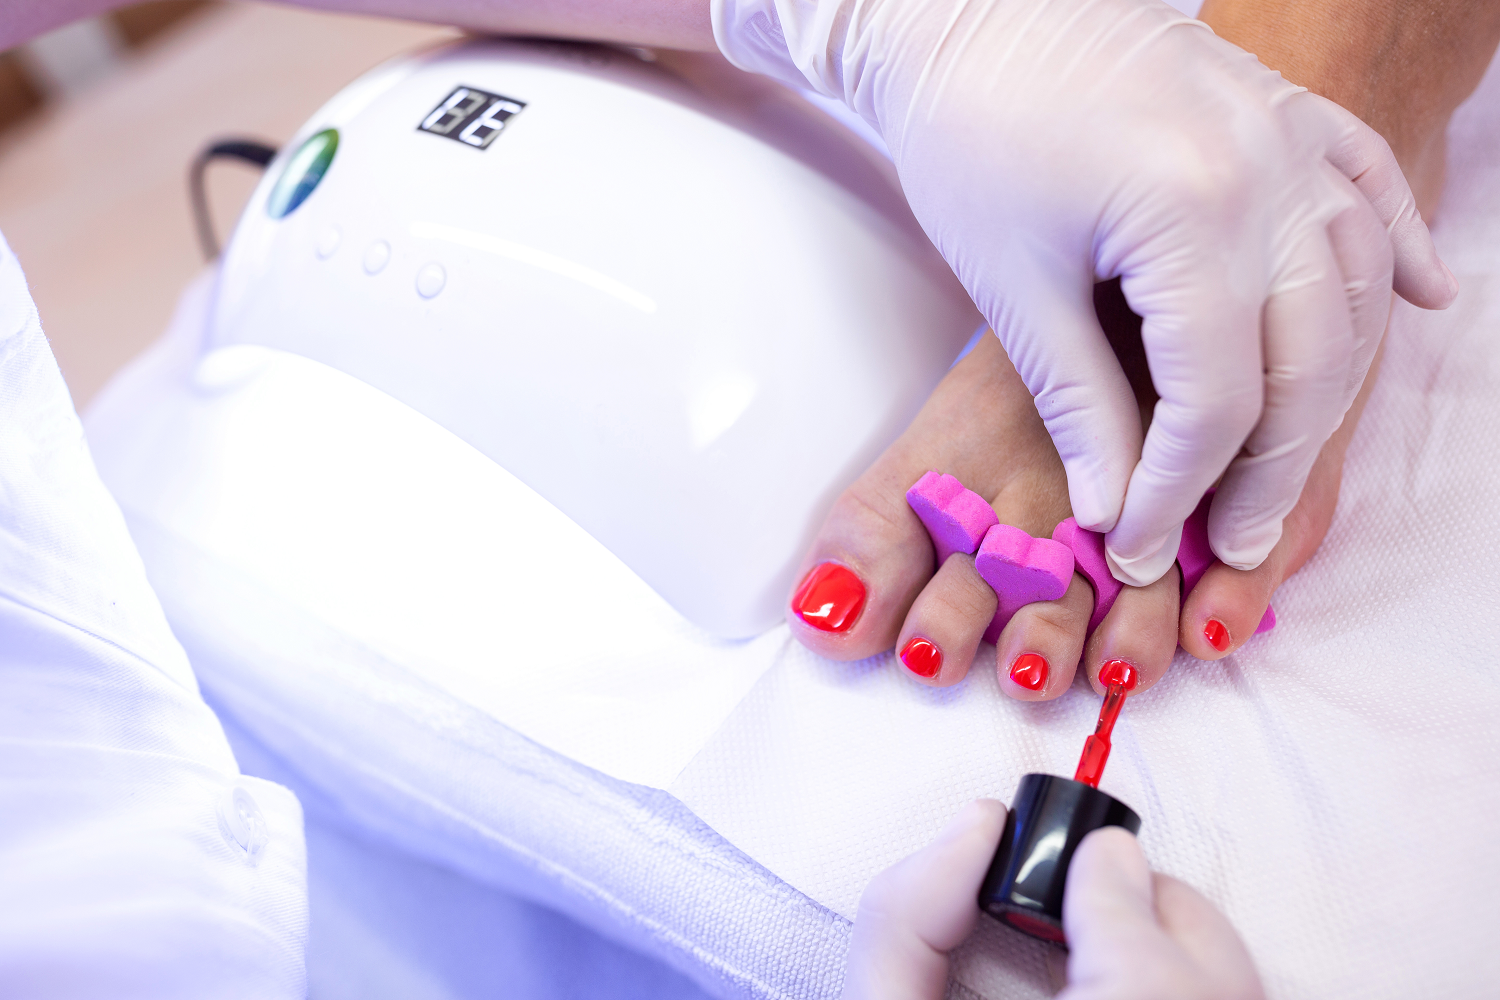
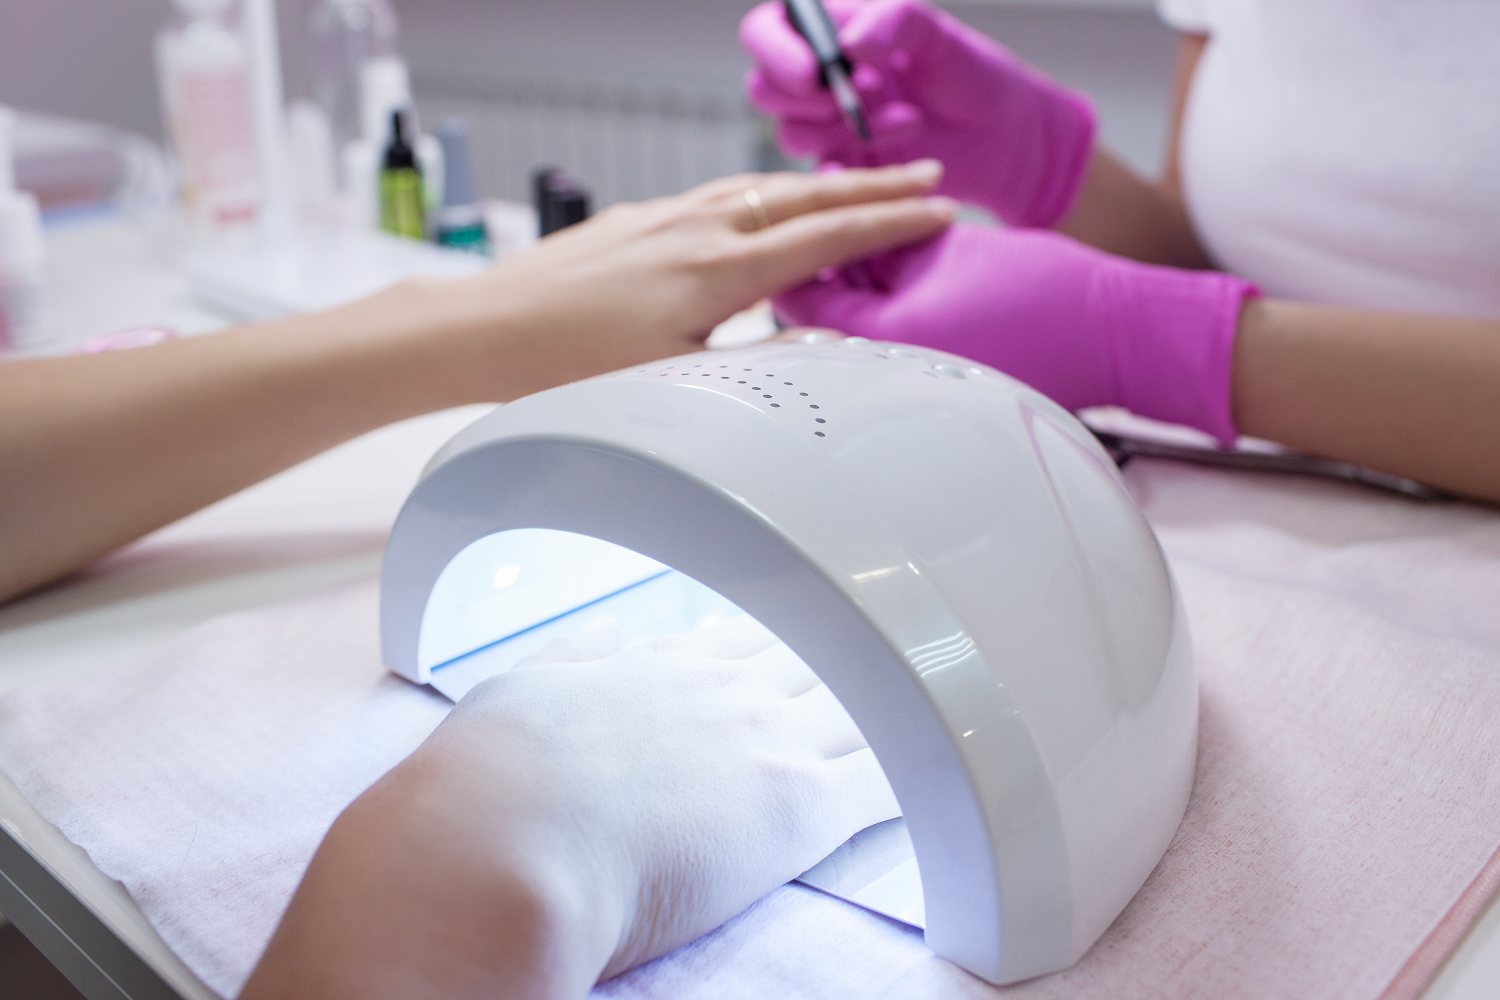
    Gel nail products, unlike traditional air-drying nail polish products must be dried or โ€˜curedโ€™ under a UV or LED light for the correct amount of time to ensure the product has hardened fully. Not all nail lamps will fully or correctly cure all gel nail products. The lamp must be at the correct wattage or light wavelength or the acrylates (the group of chemicals used to bond the gel to the natural nail), do not dry properly, penetrating the nail bed and surrounding skin, potentially causing irritation and allergies.

    There are many steps which can be taken by a trained nail technician to help minimise the risk of an allergic reaction occurring or developing over time through repeated exposure, and it is important to be aware of these and communicate these steps clearly to reassure your nail clients that you are taking every possible precaution to keep both themselves and you safe!

    • Use Hema-free products wherever possible.These are ideal for those who have sensitive skin/nails, known nail product allergies or are at risk of allergy due to overexposure to Hema-containing nail products. Purchase products from a trusted, professional source ensuring they are tested to EU standards to ensure safety.
    • Use the correct nail lamp for your system. Undercured gel product is the leading cause of gel nail product allergies. Lamps should be matched to the system youโ€™re using to ensure a full cure. If you cannot afford to have multiple lamps for the different brands of products you stock, simply cut back and focus on having the full product line and corresponding lamp as recommended by the gel brand manufacturer to match your gel products. Also ensure your lamp remains clean inside, wiping any remanent product from the sides / UV bulbs or LED diodes to ensure your lamp works as expected.
    • Use the full brand of products. Do not mix and match your products within treatments, make sure your base, colour and topcoats are all from the same brand / manufacturer and cured using the recommended lamp for the brand. With acrylic products, ensure you are using monomer (liquid) with the same brand of acrylic powder. Products are tested rigorously by the manufacturer for safe and effective results when used together.
    • Do not touch uncured products. Product on the skin can leads to allergies, whether that occurs through shaping a gel or acrylic brush with your fingers, wiping product off the skin with your finger, touching skin around the nail with your nail brush during application, applying too much product so this overflows the nail plate into nail folds, or leaning on the tissue where youโ€™ve wiped excess product. Liquid tape can be used around clientโ€™s nails if concerned about product getting onto clientโ€™s skin. Take care when removing the tacky inhibition layer on gel to avoid touching this or wiping onto clientโ€™s skin.
    • Perfect your powder to liquid ratio when working with acrylic. Monomer liquid can contain Hema. Ideally use Hema-free monomer liquid (see suggested brands below) but it is also important to ensure you are effective with your acrylic bead ratio as applying a bead of acrylic that is too wet will not cure correctly and may mean product spills over onto the skin increasing risk of allergy. Also ensure your bead size is not too large, work to the 3-zone technique.
    • Protect yourself. Good quality, nitrile gloves that are at least 8mm thick are essential for nail technicians working with gel and acrylic products. This helps keep your skin free from repeated exposure to products on your skin. Gloves should be changed after every client. Wash hands before and after every treatment. Clients should be given hand sanitizer to cleanse hands at the start of treatment, then advised to wash with soap and water immediately after treatment to remove any potential stray product. Many nail techs wear a face mask, such as a KN95 rated mask as these are tested to prevent dust, chemical and particle inhalation.
    • Keep your workspace clean and dust free.Wipe over the nail desk after every client using a damp microfibre cloth to help collect any dust (ensuring you wear gloves) and then sanitise using usual antibacterial sprays. Any couch roll that has been used to wipe excess product onto should be placed in a lined pedal bin (with lid) and the bag disposed off after every treatment. Salon ventilation is essential so that dust and vapours in your working area are extracted, or pass through a three-stage filter system, such as a source capture system.
    • Patch Testing. You might think it wise to patch test nail products, however given that nail products containing methacrylate are not intended to go on the skin, it is not advisable to carry out any kind of patch testing as this can lead to unnecessary skin exposure to products. Given this, it is better practice to simply ensure you are working safely and avoiding skin contact with every nail treatment than trying to devise a patch testing process.

    Summary

    Gel and acrylic nail treatments can be considered perfectly safe provided they are carried out by a professional, trained nail technician using professional use nail products from a reliable source, where tested to EU standards. Precautions should be taken to ensure risks are minimized to avoid contact with uncured products on the skin and ensure products are used safely to manufacturerโ€™s recommendations and with the correct lamp for full curing.

    It is important to ensure your knowledge and skills are completely up to date to ensure you are following industry best practice on the safe application of gel and acrylic nail products. If it has been some time since your training, you may wish to update your skills with our online or classroom courses to boost your confidence.

    By visibly demonstrating confidence in your safe practices, being seen to go above and beyond to keep your clients safe; they will be reassured to continue receiving their favourite nail services. You may wish to produce a salon policy outlining the steps you take to minimise risks of gel nail product allergies, to help promote the professional services you offer.

    It is fantastic news that the government is working towards better standards and awareness within the beauty industry for the safety and benefit of all!

  • The Right Tool for the Job – Best Brushes for Acrylic, Poly Gel & UV Gel

    The Right Tool for the Job – Best Brushes for Acrylic, Poly Gel & UV Gel

    This article was first published on 18th May 2016 & was updated on 17th February 2022

    When it comes to creating the perfect nail extension, there is more to consider than simply your technique. Good technique is essential but the right tools will help you to create better results, more easily and more quickly.

    Generally speaking, as you begin to practice you will usually be using the brush that came included within the starter kit you may have purchased. We always recommend using a brush that is from within the same brand or range as the acrylic or gel products you intend to use as these have been designed and tested for best results using those specific products. However as you become more experienced and knowledgeable, you may have a preference for a different brush which works best for you and your way of working.

    Brushes for UV Gel (builder gel) Application

    No.5 flat uv gel brushTransparent Compact Size 4 Gel Brush

    UV Gel will usually require the use of a standard size 4 or 5 flat brush (for the creation of nail extensions). These are often designed for use specifically with UV Gel and are optimally shaped and sized for easy product pick up and application. These are often made with synthetic bristles to provide an easy to clean, long lasting and affordable brush which picks up the product without encouraging it to sink into the brush which could cause product wastage and make it harder to glide the product from brush to nail. Gel Polish is usually applied with the brush that came enclosed within the product lid and there is no need to use any alternative brush.

    Brushes for Poly Gel Application

    Poly Gel is a new system that has become hugely popular over the last 3-5 years as the products come packaged in an easy to dispense tube that can help to reduce product wastage and risk of cross-contamination. Your product will usually come supplied with a metal flat edged tool for ‘slicing’ some of the gel product from the tube ready for use. You then apply this ‘bead’ of sliced product direct to the prepped natural nail and work the product using a flat gel brush. Poly Gel products are applied very similarly to standard builder gel products (that come in tubs and jars) and so a standard gel application brush will be suitable, however you will need to ensure you use the ‘slip solution’ product supplied with your poly gel to avoid the product sticking to your brush. Rather than brushing the product on as you would with standard builder gels, you simply pat the bead applied to the nail into shape using your gel brush. It is important to clean your poly gel brush after use using a lint free wipe to remove excess product and soak in gel brush cleaner if required to remove any hardened product and help reshaping of your brush bristles. Always stand the brush in a cup to dry with bristles facing up to avoid the brush drying misshapen.

    Where it gets more tricky is when considering the best brush for use with acrylic products…

    Brushes for Acrylic Application

    ย Natural vs Synthetic Bristles

    Brush Anatomy Picture

    There are several factors that must be understood about brushes before you can begin to select a brush. Firstly it is important to understand why brushes for use with acrylic are usually made from kolinsky, sometimes called sable hair. Kolinsky is the hair gathered from a type of weasel found in the cold regions of Russia & China. Natural hair is used as it has an advantage of providing natural thickness towards the belly of the brush which allows it to hold liquid effectively (as in acrylic liquid). The strength and flexibility allows the brush to return to a point when wet. All hair has a structure known as the medulla which allows moisture to be absorbed. This acts as a reservoir to hold the acrylic liquid in nail brushes and releases in a controlled manner as pressure is applied with the brush by the nail technician. Kolinsky hair is far better in quality (sometimes known as golden sable) than the hair gathered from other weasels (sometimes known as red sable or just ‘sable’). If a brush states kolinsky, you can be sure you are buying the best quality brush bristles possible.

    With any natural hair brush, it is essential to maintain the brush with correct cleaning after every acrylic application to avoid the brush becoming stiff and damaged. You can purchase brand specific brush cleaners (designed to remove your specific acrylic product) and these often contain conditioners within them to keep the bristles smooth, flexible and keep the brush shape for longer. Natural brushes can be cleaned within acetone but this is not recommended as it can dry and damage the bristles over time.

    The Edge Brush Cleaner 100ml Acrylic Trial Pack

    With improved technology, some manufacturer’s are beginning to use synthetic bristles for acrylic brushes. This is also in response to those who want a ‘vegan’ option. Modern technology now allows many synthetic bristles to effectively mimic the properties of natural brushes to a degree. Synthetic bristle brushes are more durable as they are less effected by contact with the monomer (acrylic) liquid than natural hair. Many nail techs prefer natural hair however as synthetic brushes will struggle to hold the acrylic liquid as effectively. Synthetic bristle brushes are usually used more for nail art and gel application. Care must be taken when cleaning such brushes as they are often made with nylon or polyester which can be damaged if left to soak in acetone. Most brush cleaners are acetone free for use with UV Gel brushes.

    Choosing the Right Size

    When you first begin to practice your application of acrylic, you will usually make use of a smaller brush which could be a size 6 or 8. These brushes are great to begin with as they effectively lift a smaller bead of acrylic (powder with liquid) allowing you to master your application technique with the 3 zones. They also allow you to learn the ability to get your ratio of liquid to powder correct with more control. This smaller brush size of 6 or 8 is usually included within starter kits for this reason.

    No.6 Kolinsky RoundNo.8 Kolinsky Round

    However as you begin to advance in your experience and skills, you may find smaller brushes make your application slower and your treatment time longer. When working in the salon or as a mobile therapist where timing is key to ensure you can maximise your earnings, it is important that you can begin to reduce your treatment timings. One way to do so is to look to use a larger acrylic brush. Larger brushes allow you to effectively pick up a larger bead of product which means you can cover a larger area of the nail with less strokes. You will still be using your 3 zone process but will not require the use of up to 3 smaller beads to cover each zone, instead you may be able to achieve coverage of an entire zone in just one large bead. This does of course take much practice and good technique to ensure you are getting your ratio of powder to liquid correct to avoid flooding the nail or creating poor adhesion through too little powder/product too thin.

    When first starting out in nail extensions working with a smaller brush, there is a tendency to need to file the nails into shape at the end of application. This is because when you are applying numerous small beads, there can be a tendency for areas of the nail extension to become lumpy or too thick (of course some products self-settle better than others). This extra filing also increases your treatment timing. An advantage of using a larger brush is that you apply less beads and so there is less likelihood for areas of the nail extension to have thicker areas (where two beads/layers have overlapped) and less chance of the extension becoming too thick assuming you are confident with your product ratio. It is also said that reduced filing helps to create stronger, more stable nail extensions and the process is more comfortable for clients. With experience, a larger brush can enable you to create more professional looking nail extensions in less time.

    Due to the nature of having more bristles within a larger brush, this enables them to keep a better shape at the belly of the brush which also can make the larger brush easier to work with when laying down your bead onto the nail or tip. This can quite simply be seen by the fact that the larger the brush, the more structured the shape with a distinct pointed end rather when dry, rather than the more round or flatter shape of smaller brushes. It allows the brush to be more flexible and glide the bead more easily. Smaller brushes have a tendency to go much flatter with less pressure which can flatten the bead or trap it within the bristles making application more tricky.

    While working with a larger brush, it does not limit your ability to still pick up a smaller bead which you may use when infilling or rebalancing the nail as with experience you will learn to utilise the point of the brush for fine detail work. As you grow in confidence and more importantly, experience of creating the correct ratio of liquid to powder; you can begin to gradually increase the size of brush you are working with going from a 6-8 to a 10 then 12. You may even work up to a size 14 or 16 although many nail techs typically prefer working with a size 10 or 12 depending on the brand of products they are working with.

    Remember to stay working with a brush from within your product brand when working on nails for clients. When initially practising with a larger brush however you may wish to pick up an inexpensive artist’s supply brush from any stationery store or online (as these are often very similar in style but cheaper as they are unbranded). It is a great way to trial a brush size without a big spend but should not be used for client’s nails as you cannot guarantee good results as such brushes are not tested for best results with your brand of products.

    Once you have invested in a good brush, you may want to buy a brush case or cover (some brands come with a brush cap) to protect your bristles and also a brush cleaner that is recommended for use with your brush.

    Want to learn the art of Nail Extensions? We have Beginner and Advanced Courses available from only ยฃ199! Find more information at: https://new.thebeautyacademy.org/nail-treatment-cou…

  • Sculpting your Dreams

    Sculpting your Dreams

    Once you’ve mastered the basics of working with acrylic to create tip and overlay nail extensions, you will soon want to progress your skills to ensure you are offering the best possible nail service to your clients. Not only will it ensure your clients are dazzled by the results you achieve and bring new clients in through word of mouth, but you will save yourself time and stand miles ahead of the competition. All simply though learning to sculpt and use an electric nail file. We give you the lowdown on what they are and why you’ll benefit…

    What is Sculpting?

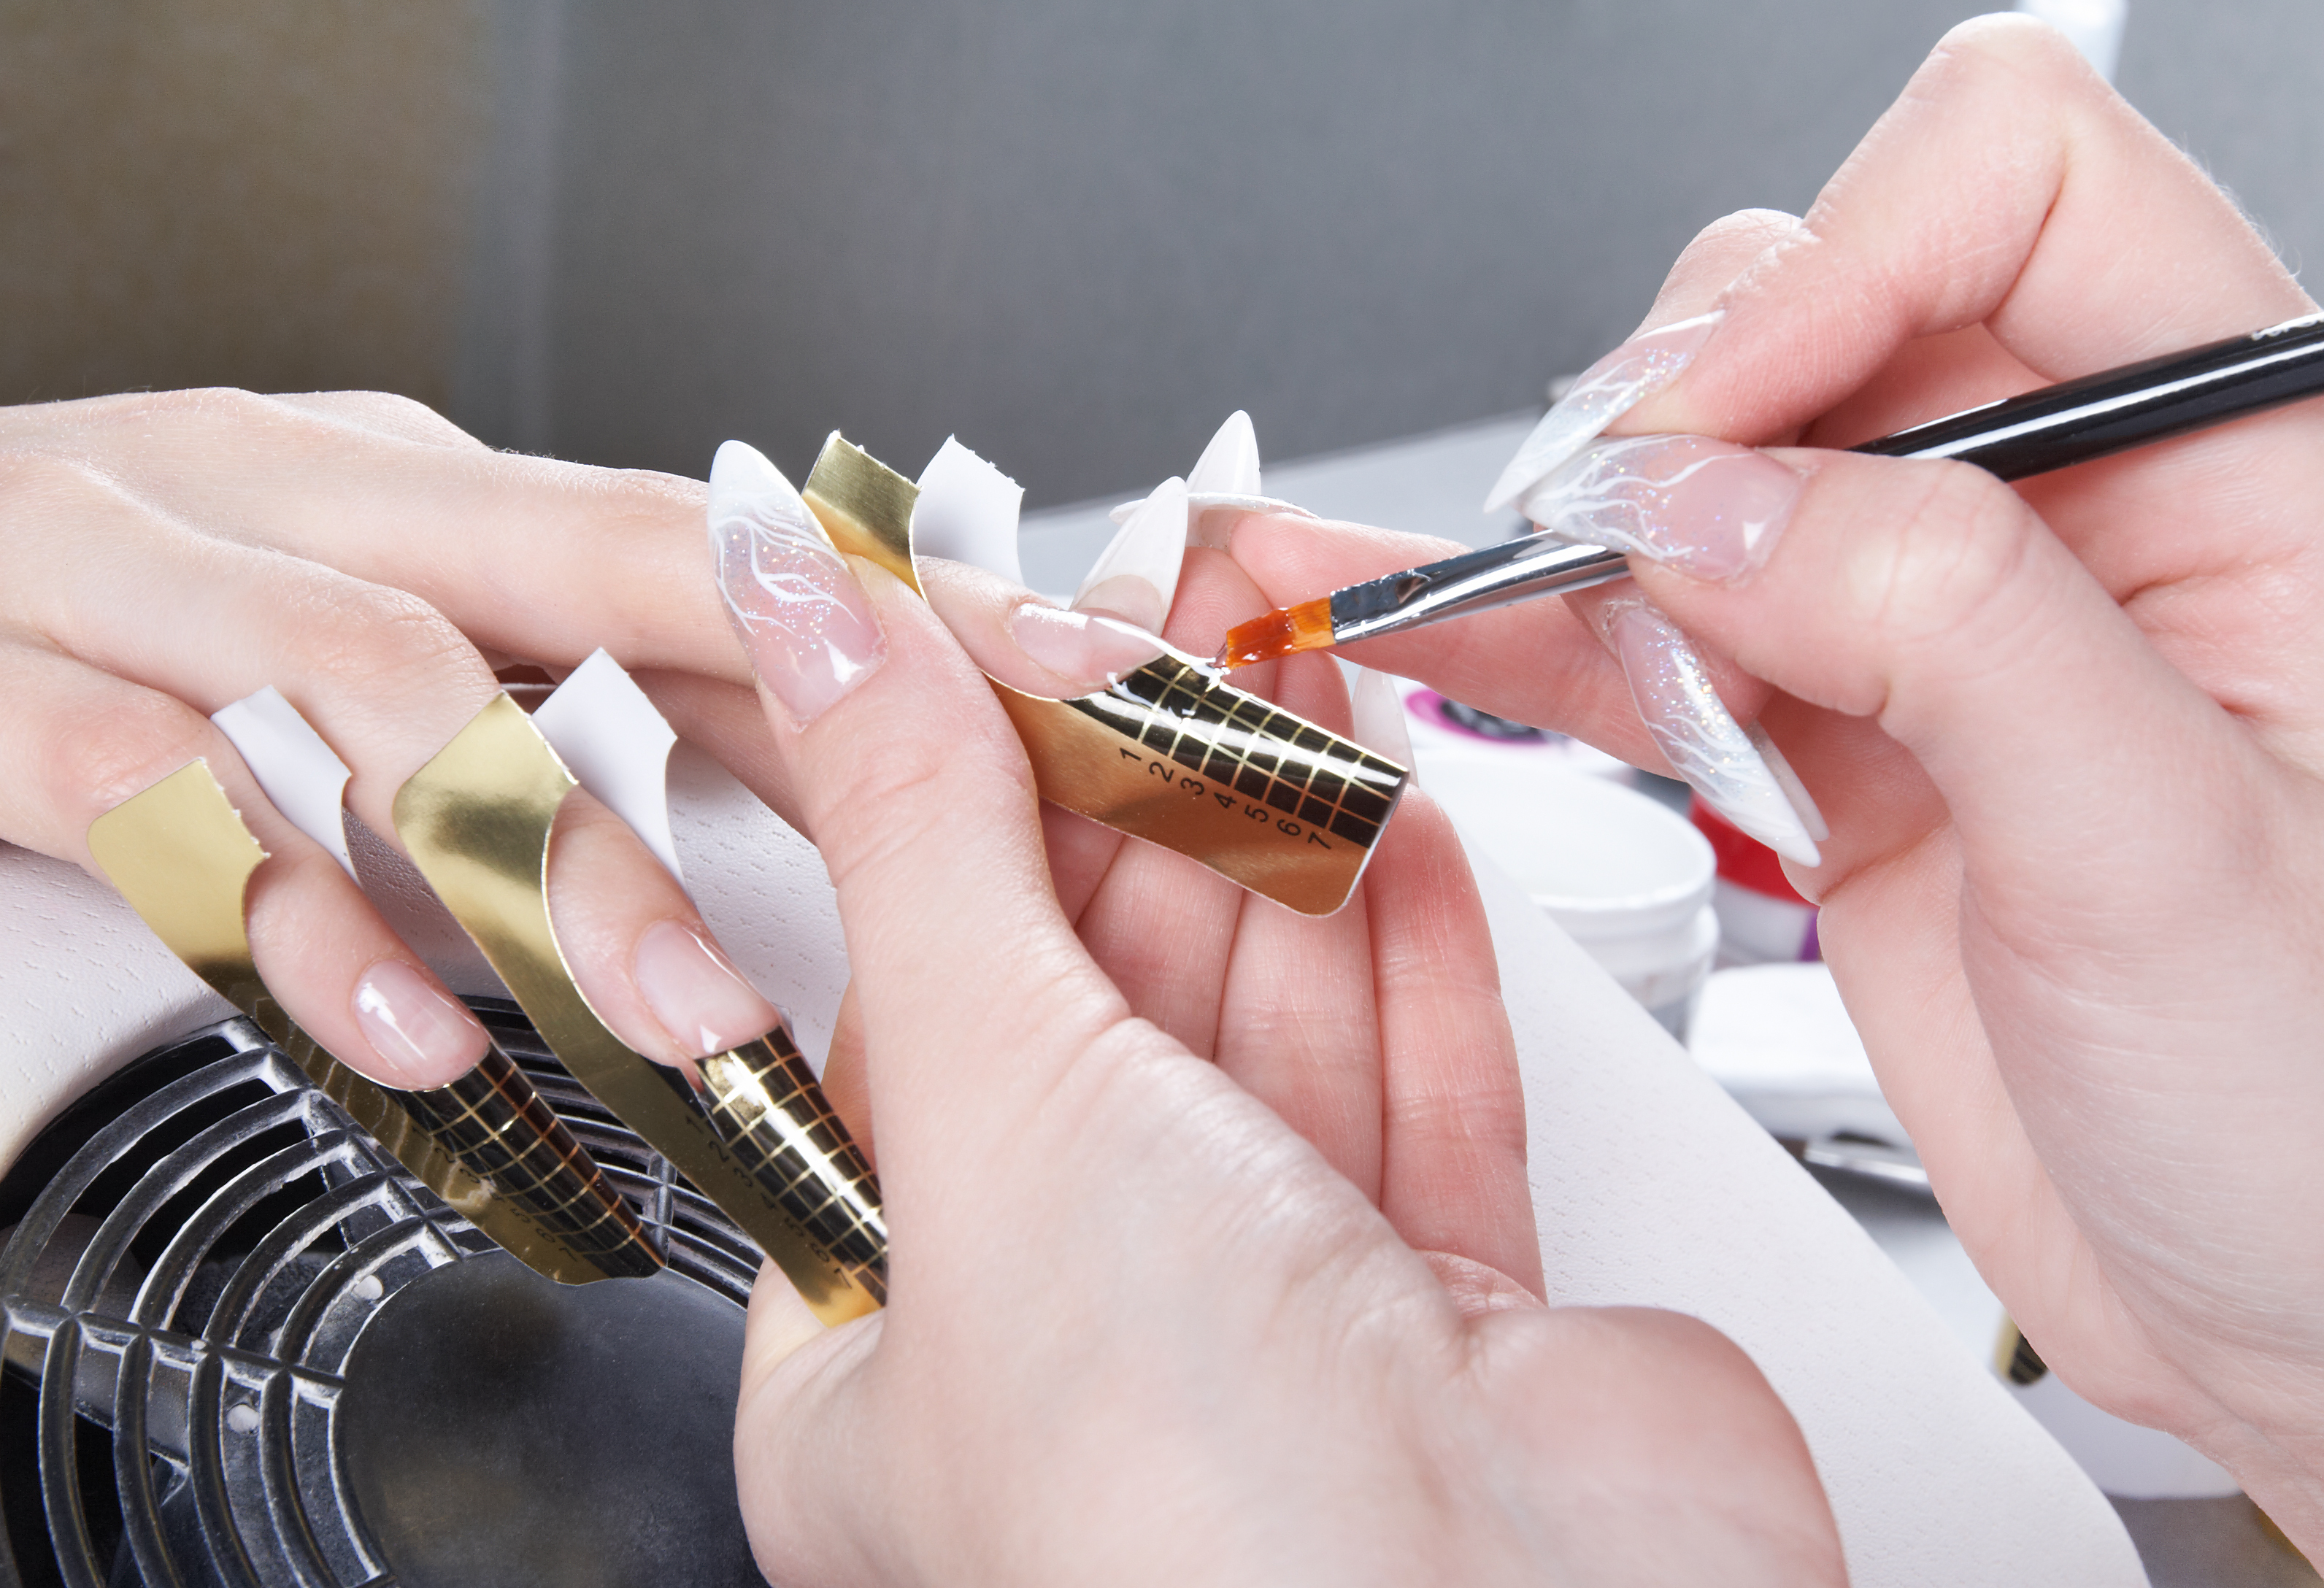
    Sculpting with acrylic is a method of creating nail extensions using โ€˜nail formsโ€™ as a platform to create the tip. This is then layered with acrylic to create a strong but tip-free extension. Traditional acrylic extension involves the use of plastic false tips & glue, overlaid with acrylic on top to give the extension strength. The sculpting technique can be kinder to natural nails as there is no glue, no tip is needed with a sculpted enhancement.

    How long do sculpted nails last?

    2-3 Weeks

    Benefits of Sculpting

    • No adhesive to break down over time.
    • Can be thinner than with tips as you donโ€™t have the bulk of the tip under the product.
    • Once mastered, sculpting is generally faster to apply than a properly applied and blended tip.
    • Generally better for nail biters because the moisture in the nails of biters can break down the adhesive and also the thick skin on the edge of a nail biters fingers will often push the tip off the nail or create a โ€œski jumpโ€ look to the nail.

    What is an E-File?

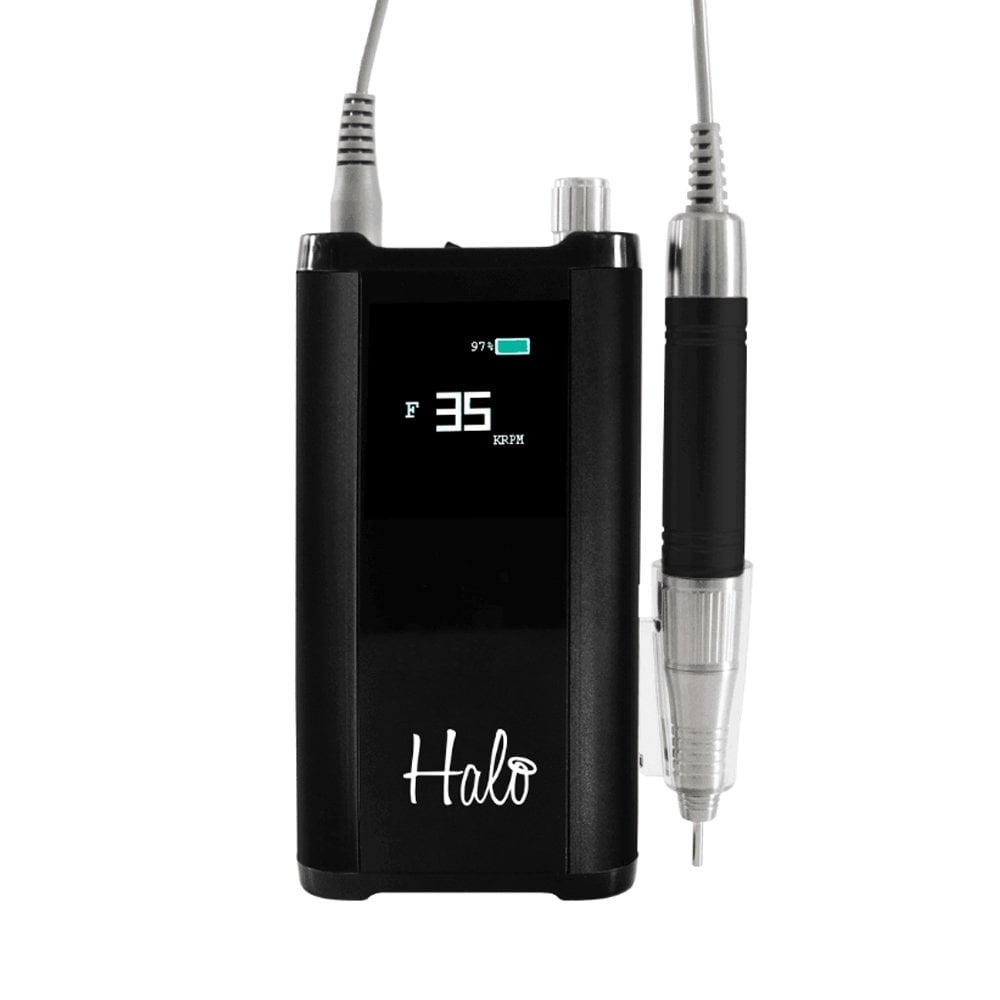
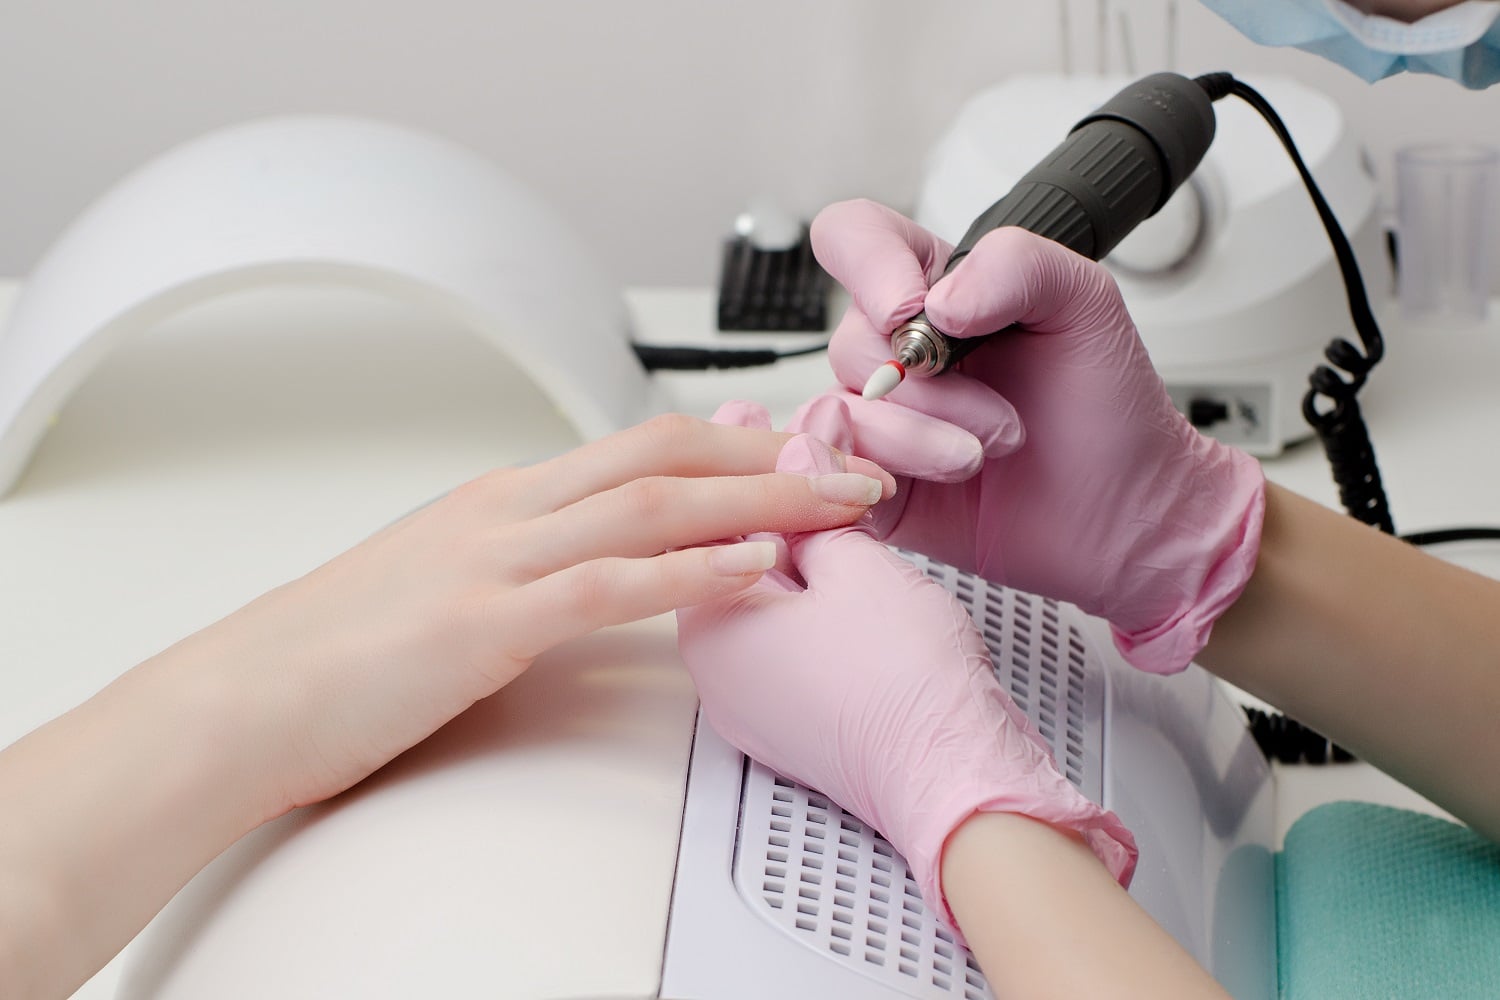
    An electric file (formerly called a โ€œdrillโ€) is a tool used by nail technicians to speed up, streamline, or make easier some nail services. The electric file allows nail technicians to file or finish areas of the nail that are hard to reach (for example, under the free edge of a newly created sculpted nail)

    Are electric nail files safe?

    As long as itโ€™s done properly and with the right tools, an electric file on the natural nail can be just as safe as a regular nail file. They can be used to gently push back the cuticle, exposing any dead excess skin which can be more comfortable than use of cuticle pushers.

    Itโ€™s the tech, not the tool.

    E-files often get a bad rep. When we see pictures of rings of fire, nail plate burns, and injured skin we assume itโ€™s the evil e-file at work. In truth, an e-file really canโ€™t do any damage without a nail tech wielding it. The big question is how can nail techs learn to use an e-file properly? Well, itโ€™s much like learning to drive a car. It takes proper instruction through an accredited course and careful practice. Youโ€™re going to have an accident here and there, especially in the beginning, but the goal is to learn and improve.

    Benefits of E-Filing

    • Reduces risk of Repetitive Strain Injury (RSI) for the technician as takes the hard work out of filing
    • Saves time so technicians can fit more clients in and clients can have quicker, more convenient appointments
    • Boosts earning potential as more clients in your working hours equals more money

    Interested to complete an Accredited Training Course in Sculpting & E-Filing? See below recommended courses. Many of our packages include training in Acrylic if youโ€™re a beginner so you can get the best value on your training!

  • The Magic of E-Filing

    The Magic of E-Filing

    Once nail salons are able to reopen (hopefully in August), we’re certain you wonderful nail techs will be packed out with clients wanting to restore their nails to former glory. We can imagine some of the nail extension horrors you may encounter and clever client scheduling will be key to fitting everyone in. But what else can you do to speed up your nail treatments to maximise your earning potential while additional safety measures are in place? Our blog this week looks at E-Filing…

    What is E-Filing?

    It is surprising to hear how many nail techs are not fully aware of e-filing and how it works. E-Filing is use of an electric nail file to speed up the time taken working on nail extensions. It can be used on both acrylic and UV Gel nail extensions to help finish and refine the product, to help with speeding up a maintenance or removal treatment such as to reduce the length of the extensions, take our excess bulk when rebalancing and to help with product removal (usually alongside use of acetone soaking). Experienced nail techs may also use an electrical file on natural nail plates (often called a Russian manicure), although specialist advanced training is required for this and not all insurers will cover this.

    E-Filing helps to reduce the amount of manual filing required to speed up your treatments, give more even finish for better quality nail results and can help to reduce the risk to the nail technician long term of an RSI (repetitive strain injury) or aggravating of conditions like Carpal tunnel or arthritis. Quicker treatments allows you to fit in more clients so boost profitability but is also great for time pressured clients, who often want a quick and effective treatment.

    Can anyone train to use an E-File?

    We offer courses in E-Filing which can be completed through our Online Student Portal and are accredited by IPHM. The course teaches you to utilise an electric nail file when working on acrylic or hard gel nail extensions. We do not cover use on a natural nails as most clients prefer use of manual files on natural nails for a safer, more comfortable treatment. We will also soon be launching a Classroom based training option. The E-Filing courses are suitable for anyone who has completed a recognised training course in Acrylic or UV Gel Nail Extensions and ideally also within Manicure & Pedicure. If you are looking to train within these skills also, you may wish to look at our Online Nail Training course packages, Virtual Academy Nail Courses or Classroom based training. The courses are suitable for those recently qualified or who have been working within nails for some time.

    The Main Perks

    Incorporating E-Filing into your nail skills will be invaluable, especially once rushed off your feet post-lockdown. You will be able to;

    • Offer quicker nail extension treatments including for maintenance and removal.
    • Fit in more clients each day to maximise your earnings
    • Offer better results in your nail services than with manual filing alone
    • Reduce the strain on your precious hands and wrists from less manual filing
    • Reduce the amount of nail files within your kit, great for mobile therapists
    • Metal E-file drill bits can be easily and more thoroughly sterilised, offering a much more hygienic service
    • E-Files can be picked up affordably and are usually guaranteed for at least 12 months making a great investment

    Still have questions? Why not contact our friendly team for more advice on the best training option for you?