The Beauty Academy

  • Become a Beauty Tutor

    Become a Beauty Tutor

    Are you currently a salon business owner? Or renting a room somewhere? Looking at new treatments to add to your menu but feeling overwhelmed and at a loose end? Why not try something different and become a tutor! Gain a qualification in teaching, get your courses accredited, and be insured as a teacher. Start teaching the subjects you love, to inspire the next generation of Beauty Therapists.

    There are many benefits to becoming a Beauty Tutor, these benefits include: a better work-life balance, improved IT and marketing skills and setting your own schedule. This option is also less physically demanding on the body, if you are a therapist looking to reduce your treatments. There is always a huge demand for these training courses within the beauty industry. You can start your own training business, design your accredited courses and move completely online!

  • The Right Tool for the Job – Best Brushes for Acrylic, Poly Gel & UV Gel

    The Right Tool for the Job – Best Brushes for Acrylic, Poly Gel & UV Gel

    This article was first published on 18th May 2016 & was updated on 17th February 2022

    When it comes to creating the perfect nail extension, there is more to consider than simply your technique. Good technique is essential but the right tools will help you to create better results, more easily and more quickly.

    Generally speaking, as you begin to practice you will usually be using the brush that came included within the starter kit you may have purchased. We always recommend using a brush that is from within the same brand or range as the acrylic or gel products you intend to use as these have been designed and tested for best results using those specific products. However as you become more experienced and knowledgeable, you may have a preference for a different brush which works best for you and your way of working.

    Brushes for UV Gel (builder gel) Application

    No.5 flat uv gel brushTransparent Compact Size 4 Gel Brush

    UV Gel will usually require the use of a standard size 4 or 5 flat brush (for the creation of nail extensions). These are often designed for use specifically with UV Gel and are optimally shaped and sized for easy product pick up and application. These are often made with synthetic bristles to provide an easy to clean, long lasting and affordable brush which picks up the product without encouraging it to sink into the brush which could cause product wastage and make it harder to glide the product from brush to nail. Gel Polish is usually applied with the brush that came enclosed within the product lid and there is no need to use any alternative brush.

    Brushes for Poly Gel Application

    Poly Gel is a new system that has become hugely popular over the last 3-5 years as the products come packaged in an easy to dispense tube that can help to reduce product wastage and risk of cross-contamination. Your product will usually come supplied with a metal flat edged tool for ‘slicing’ some of the gel product from the tube ready for use. You then apply this ‘bead’ of sliced product direct to the prepped natural nail and work the product using a flat gel brush. Poly Gel products are applied very similarly to standard builder gel products (that come in tubs and jars) and so a standard gel application brush will be suitable, however you will need to ensure you use the ‘slip solution’ product supplied with your poly gel to avoid the product sticking to your brush. Rather than brushing the product on as you would with standard builder gels, you simply pat the bead applied to the nail into shape using your gel brush. It is important to clean your poly gel brush after use using a lint free wipe to remove excess product and soak in gel brush cleaner if required to remove any hardened product and help reshaping of your brush bristles. Always stand the brush in a cup to dry with bristles facing up to avoid the brush drying misshapen.

    Where it gets more tricky is when considering the best brush for use with acrylic products…

    Brushes for Acrylic Application

    ย Natural vs Synthetic Bristles

    Brush Anatomy Picture

    There are several factors that must be understood about brushes before you can begin to select a brush. Firstly it is important to understand why brushes for use with acrylic are usually made from kolinsky, sometimes called sable hair. Kolinsky is the hair gathered from a type of weasel found in the cold regions of Russia & China. Natural hair is used as it has an advantage of providing natural thickness towards the belly of the brush which allows it to hold liquid effectively (as in acrylic liquid). The strength and flexibility allows the brush to return to a point when wet. All hair has a structure known as the medulla which allows moisture to be absorbed. This acts as a reservoir to hold the acrylic liquid in nail brushes and releases in a controlled manner as pressure is applied with the brush by the nail technician. Kolinsky hair is far better in quality (sometimes known as golden sable) than the hair gathered from other weasels (sometimes known as red sable or just ‘sable’). If a brush states kolinsky, you can be sure you are buying the best quality brush bristles possible.

    With any natural hair brush, it is essential to maintain the brush with correct cleaning after every acrylic application to avoid the brush becoming stiff and damaged. You can purchase brand specific brush cleaners (designed to remove your specific acrylic product) and these often contain conditioners within them to keep the bristles smooth, flexible and keep the brush shape for longer. Natural brushes can be cleaned within acetone but this is not recommended as it can dry and damage the bristles over time.

    The Edge Brush Cleaner 100ml Acrylic Trial Pack

    With improved technology, some manufacturer’s are beginning to use synthetic bristles for acrylic brushes. This is also in response to those who want a ‘vegan’ option. Modern technology now allows many synthetic bristles to effectively mimic the properties of natural brushes to a degree. Synthetic bristle brushes are more durable as they are less effected by contact with the monomer (acrylic) liquid than natural hair. Many nail techs prefer natural hair however as synthetic brushes will struggle to hold the acrylic liquid as effectively. Synthetic bristle brushes are usually used more for nail art and gel application. Care must be taken when cleaning such brushes as they are often made with nylon or polyester which can be damaged if left to soak in acetone. Most brush cleaners are acetone free for use with UV Gel brushes.

    Choosing the Right Size

    When you first begin to practice your application of acrylic, you will usually make use of a smaller brush which could be a size 6 or 8. These brushes are great to begin with as they effectively lift a smaller bead of acrylic (powder with liquid) allowing you to master your application technique with the 3 zones. They also allow you to learn the ability to get your ratio of liquid to powder correct with more control. This smaller brush size of 6 or 8 is usually included within starter kits for this reason.

    No.6 Kolinsky RoundNo.8 Kolinsky Round

    However as you begin to advance in your experience and skills, you may find smaller brushes make your application slower and your treatment time longer. When working in the salon or as a mobile therapist where timing is key to ensure you can maximise your earnings, it is important that you can begin to reduce your treatment timings. One way to do so is to look to use a larger acrylic brush. Larger brushes allow you to effectively pick up a larger bead of product which means you can cover a larger area of the nail with less strokes. You will still be using your 3 zone process but will not require the use of up to 3 smaller beads to cover each zone, instead you may be able to achieve coverage of an entire zone in just one large bead. This does of course take much practice and good technique to ensure you are getting your ratio of powder to liquid correct to avoid flooding the nail or creating poor adhesion through too little powder/product too thin.

    When first starting out in nail extensions working with a smaller brush, there is a tendency to need to file the nails into shape at the end of application. This is because when you are applying numerous small beads, there can be a tendency for areas of the nail extension to become lumpy or too thick (of course some products self-settle better than others). This extra filing also increases your treatment timing. An advantage of using a larger brush is that you apply less beads and so there is less likelihood for areas of the nail extension to have thicker areas (where two beads/layers have overlapped) and less chance of the extension becoming too thick assuming you are confident with your product ratio. It is also said that reduced filing helps to create stronger, more stable nail extensions and the process is more comfortable for clients. With experience, a larger brush can enable you to create more professional looking nail extensions in less time.

    Due to the nature of having more bristles within a larger brush, this enables them to keep a better shape at the belly of the brush which also can make the larger brush easier to work with when laying down your bead onto the nail or tip. This can quite simply be seen by the fact that the larger the brush, the more structured the shape with a distinct pointed end rather when dry, rather than the more round or flatter shape of smaller brushes. It allows the brush to be more flexible and glide the bead more easily. Smaller brushes have a tendency to go much flatter with less pressure which can flatten the bead or trap it within the bristles making application more tricky.

    While working with a larger brush, it does not limit your ability to still pick up a smaller bead which you may use when infilling or rebalancing the nail as with experience you will learn to utilise the point of the brush for fine detail work. As you grow in confidence and more importantly, experience of creating the correct ratio of liquid to powder; you can begin to gradually increase the size of brush you are working with going from a 6-8 to a 10 then 12. You may even work up to a size 14 or 16 although many nail techs typically prefer working with a size 10 or 12 depending on the brand of products they are working with.

    Remember to stay working with a brush from within your product brand when working on nails for clients. When initially practising with a larger brush however you may wish to pick up an inexpensive artist’s supply brush from any stationery store or online (as these are often very similar in style but cheaper as they are unbranded). It is a great way to trial a brush size without a big spend but should not be used for client’s nails as you cannot guarantee good results as such brushes are not tested for best results with your brand of products.

    Once you have invested in a good brush, you may want to buy a brush case or cover (some brands come with a brush cap) to protect your bristles and also a brush cleaner that is recommended for use with your brush.

    Want to learn the art of Nail Extensions? We have Beginner and Advanced Courses available from only ยฃ199! Find more information at: https://new.thebeautyacademy.org/nail-treatment-cou…

  • A Great Success

    A Great Success

    “All of your dreams can come true, if you have the power to pursue themโ€™โ€™ โ€“ Walt Disney.

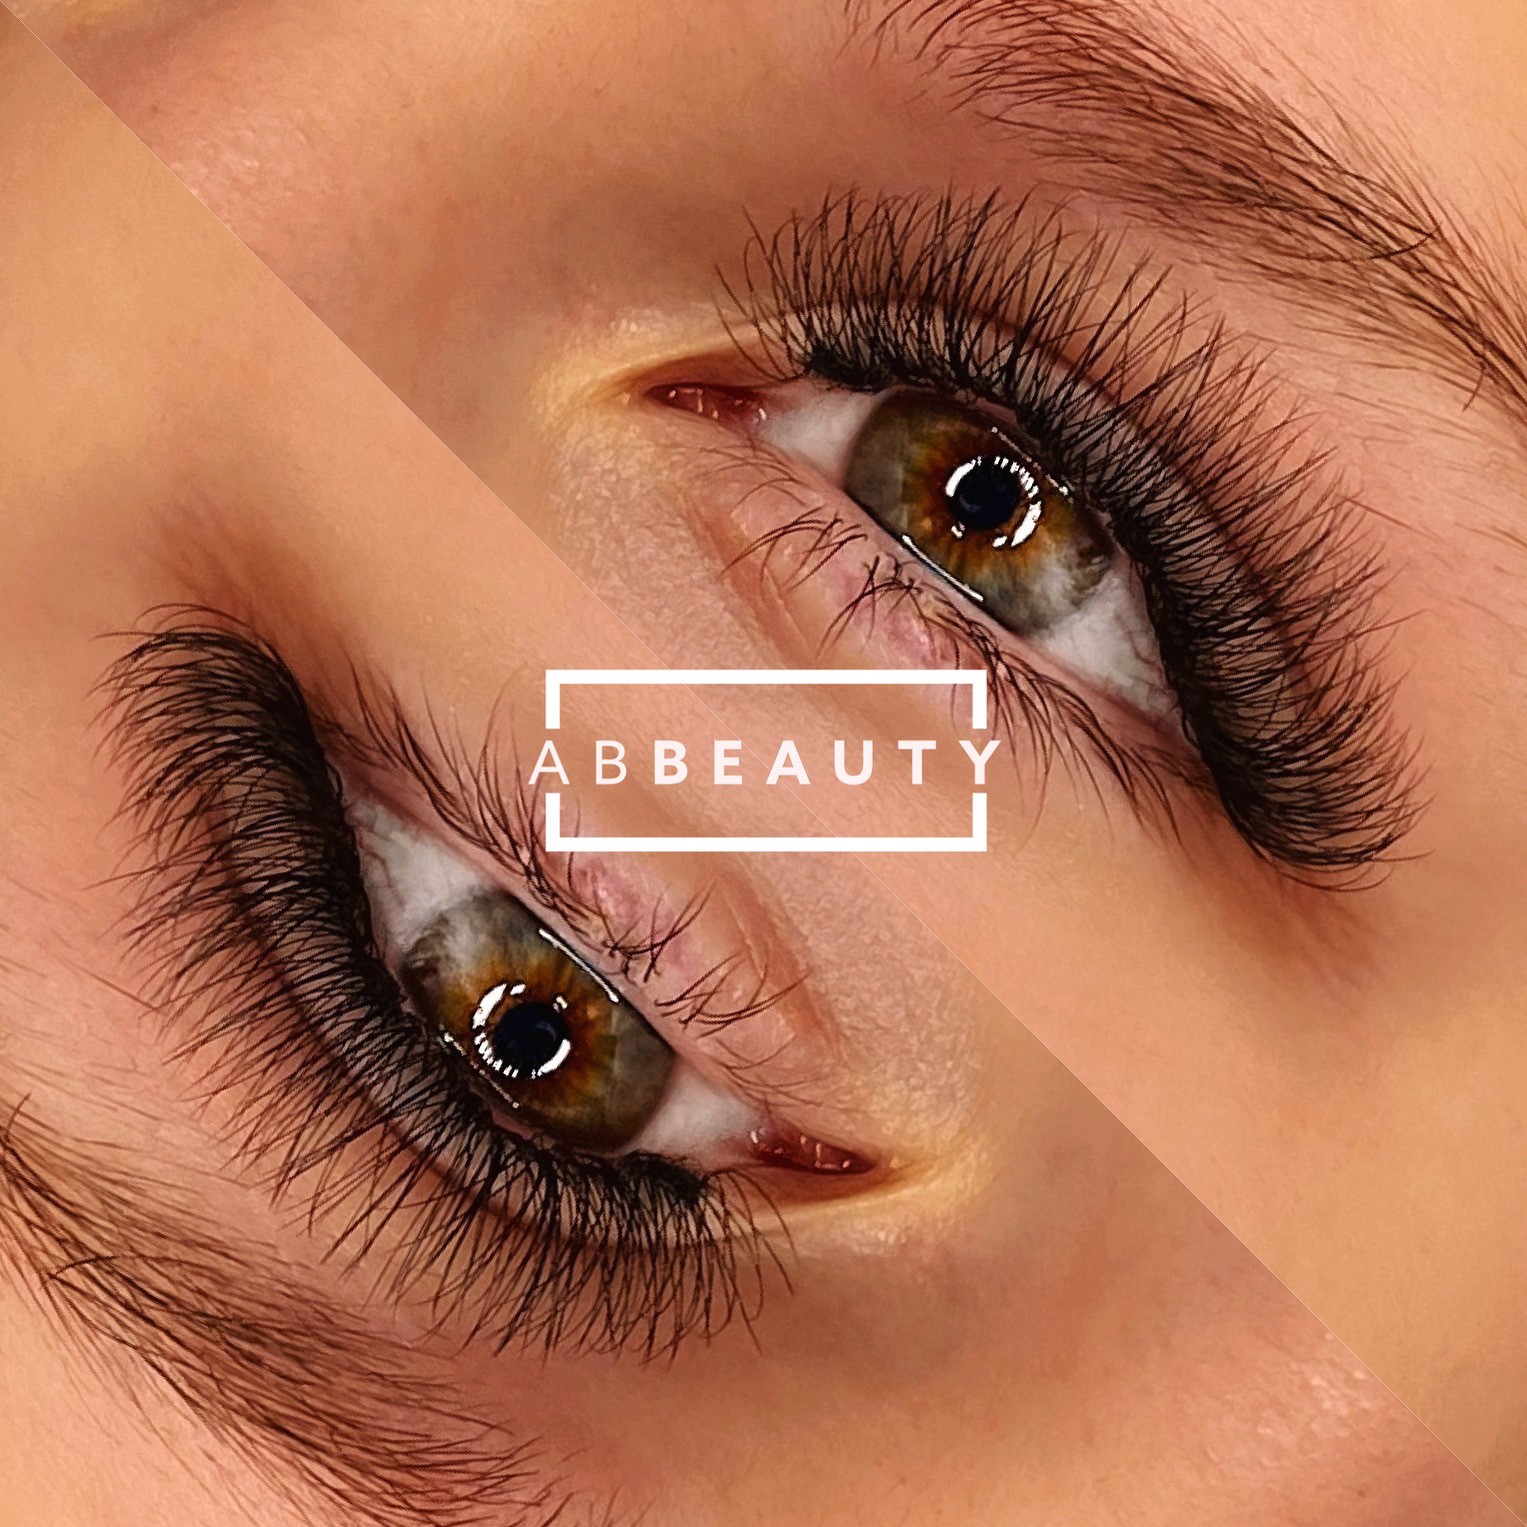
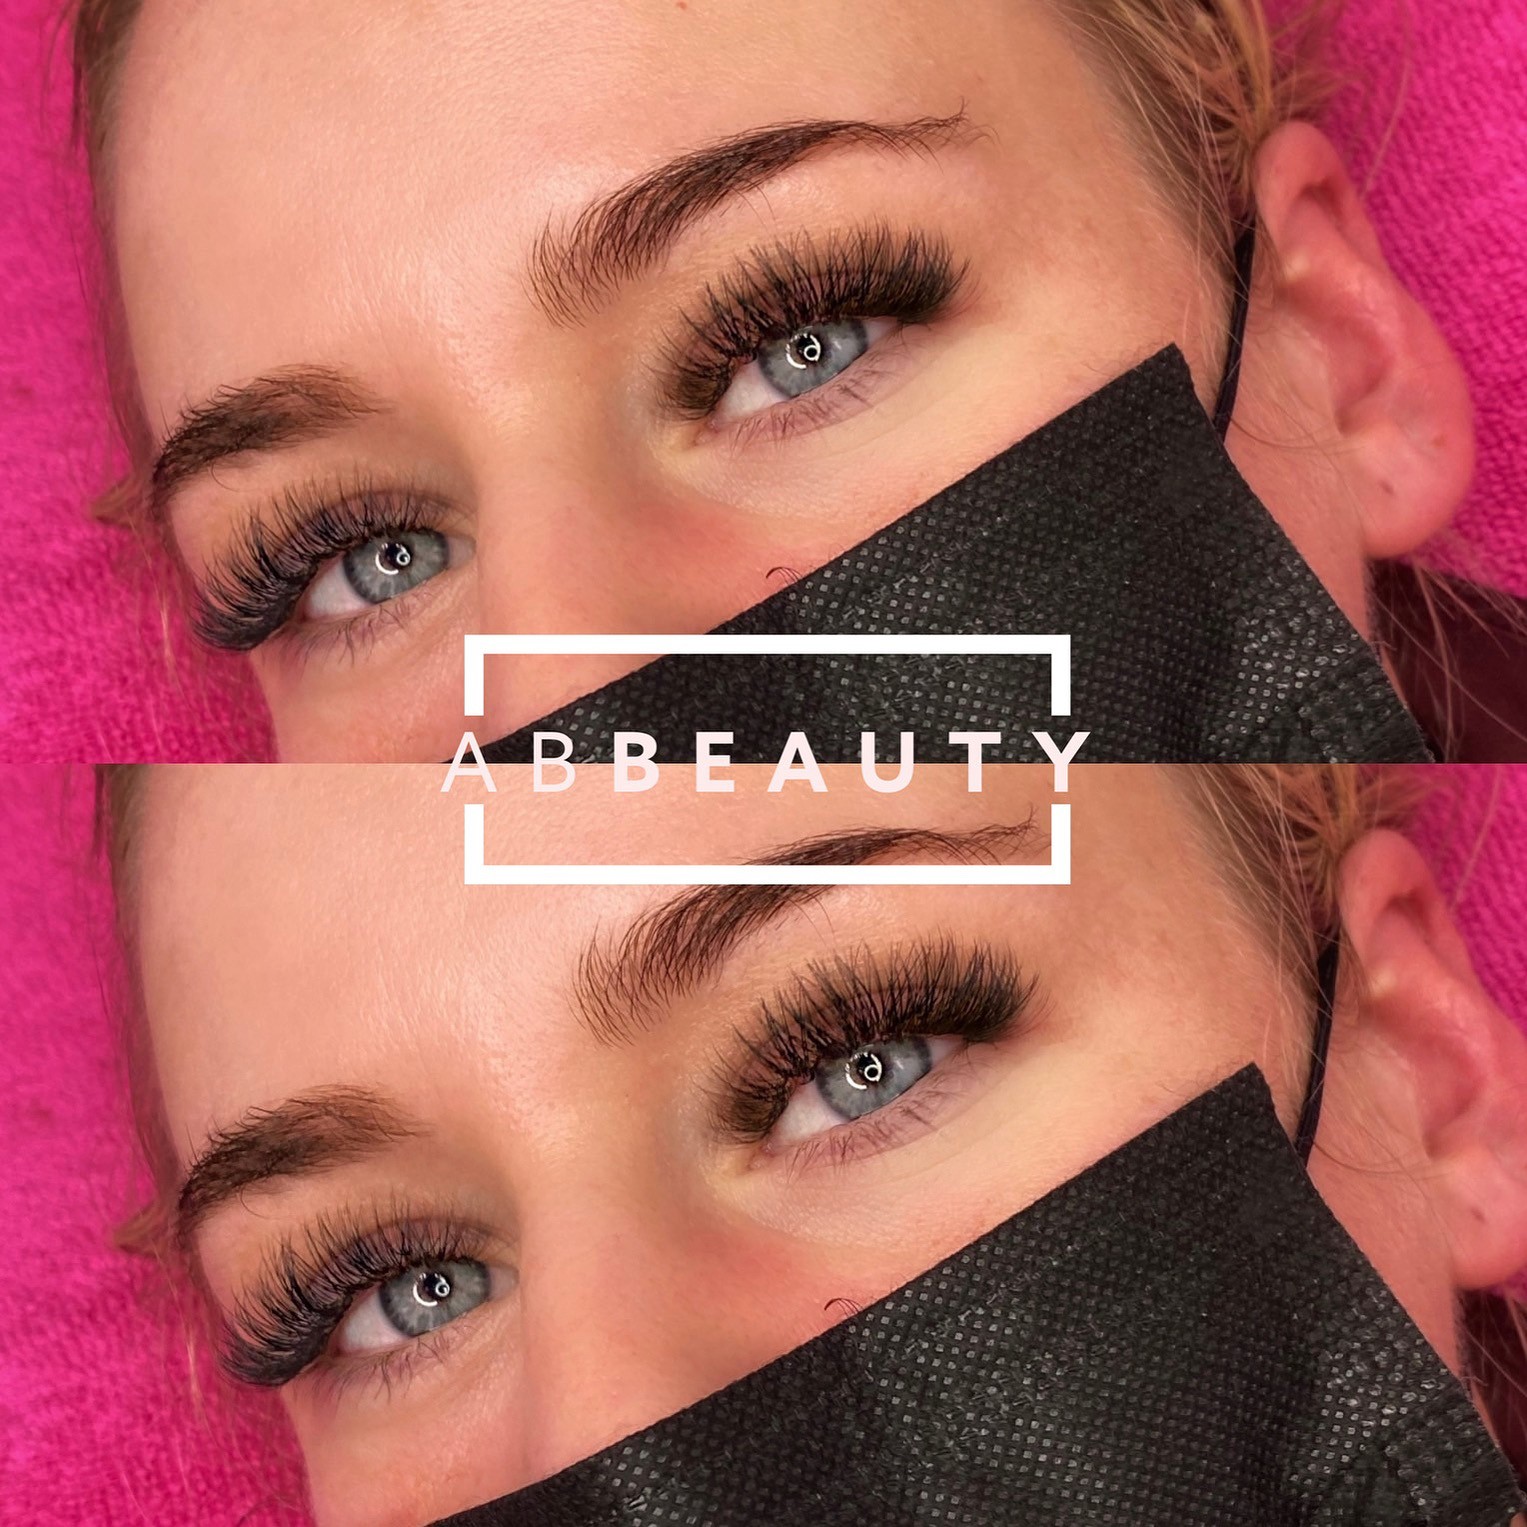
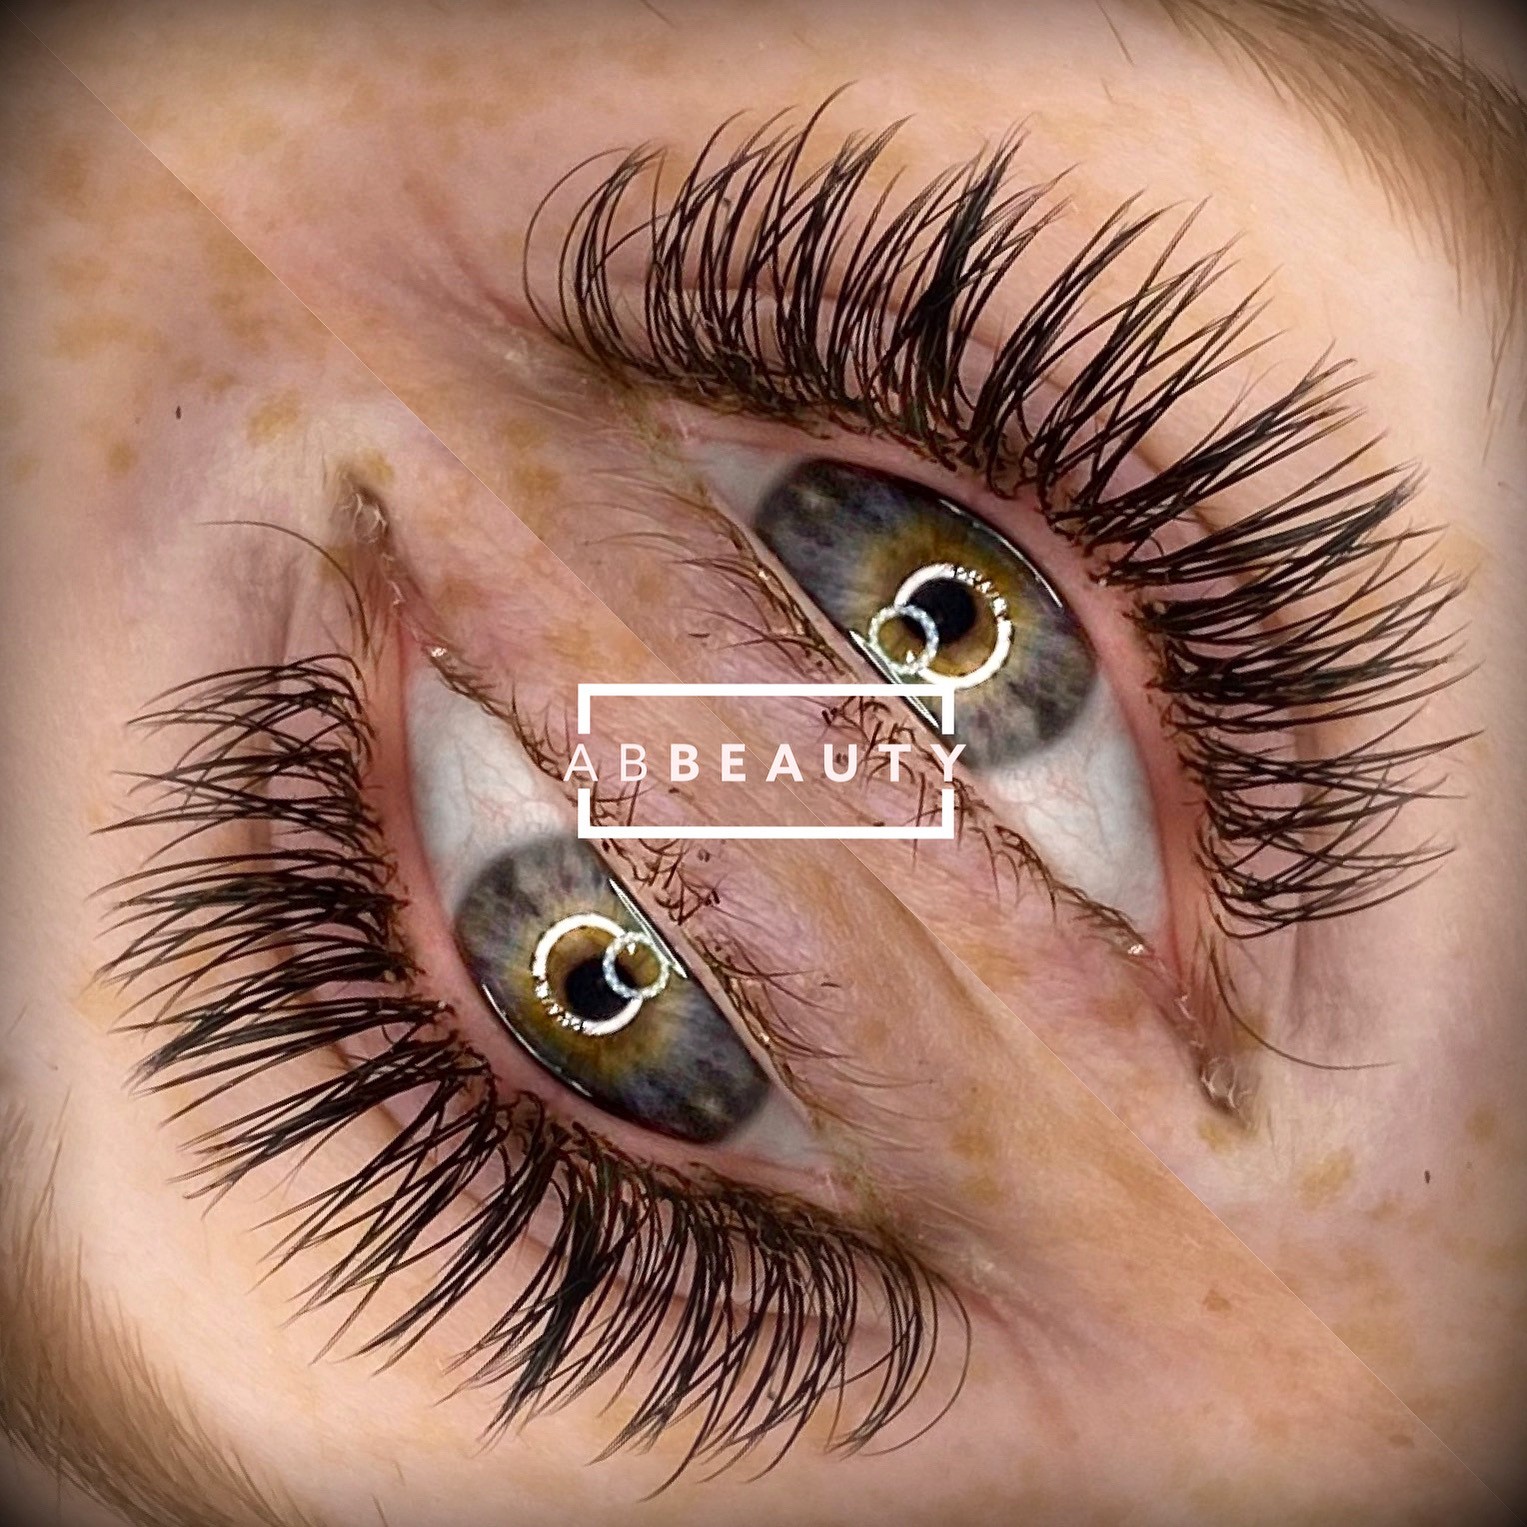
    Never has this quote been truer than in Abbie Strettonโ€™s career journey. Abbie had the courage to overcome her challenges and make the jump into the beauty sector and hasnโ€™t looked back. In the last two years Abbie has grown a successful business and received award nominations for her work.

    Abbie, a graduate of The Beauty Academy

    We first met Abbie back in 2019 when she attended her very first eyelash training course with us. Back then she was on a different path. Having graduated from University, Abbie found herself in a job that she hated and feeling depressed. She knew she wanted a change but was unsure of the path to take. Beauty had always been a passion of hers, she decided to take the leap and hasnโ€™t looked back since.

    Now busy with regular clientele, her own website and looking into creating her own lash brand.

    A huge well done to you Abbie from all of us at the Beauty Academy. Follow Abbie’s success on Instagram @abbeauty_xo

    โ€˜โ€™This course changed my perspective of myself, I had this burst of confidence. I was so intrigued by The Beauty Academy, it looked so professional from the website. I thought this is the training place for me. I’m so glad I made that decision!โ€™โ€™ โ€“ Abbie

    If you’d like to share a success story please email us at [email protected]

  • What are the Advantages of Virtual Academy Beauty Training over Classroom Courses?

    What are the Advantages of Virtual Academy Beauty Training over Classroom Courses?

    With many of us having experienced more flexible working arrangements during lockdown and the benefits of staying connected online, more of us are feeling confident in taking other aspects of our lives online. Not only does online training allow you to study safely from home without any risks of Coronavirus posed from travel or being present in person, it is also flexible to fit into your life. There is no travel cost or time to consider, no early morning rushed commutes or needing to pay for additional childcare while you are away from home. There are no physical barriers to overcome as there is no attendance needed. The costs are also reduced for the training provider in offering online training versus overheads for bricks and mortar classroom based training, which translates as more affordable training options for students. Our courses start from only ยฃ99 and are fully accredited for insurance with ABT, giving you the exact same qualification as those achieved by attending face to face classroom training. All the benefits of classroom learning, without the hassle.

    What are Virtual Academy Courses?

    The Beauty Academy Virtual Academy courses are fully interactive online training sessions, led by our expert tutors. Ask questions using the chat box facility or a headset to communicate with your tutor. Questions can be answered in real time or saved until the best moment for response, avoiding breaking the tutors flow of thought and minimising disruption for all students. Watch the recording back of the session as often as you need to help the knowledge sink in and refresh your understanding. It also takes away the need to scribe lots of notes during the session, allowing you to sit back, relax and take it all in.

    All students receive comprehensive course notes by email to keep and refer back to. Also a short online pre-course learning task is delivered through our Online Portal to cover the essential health and safety knowledge. Study this at your own pace ready for your live online training session.

    Beyond your training session you have a chance to put your skills into practice, delivering your treatments on friends/family in your bubble at home or using a nail trainer hand / mannequin training head. Build your confidence and receive individual feedback on these treatments to help you develop competent ability in delivering your treatments. Once completed, you will receive your ABT Accredited diploma ready to gain insurance and begin using your skills to start your own beauty business or add to your existing treatment offering. Work with paying clients from home or mobile. Virtual Academy offers a cost effective, time efficient and enjoyable way to learn!

    Some commonly asked questionsโ€ฆ

    The tutor will walk you through the treatment techniques and procedure with detailed video demonstrations during the live online training session. You have a recording of the session to watch back allowing you to rewind and fast forward the demonstrations while practising your treatments. You submit your photos of a case study (as a best of 3) for individual feedback and support. When ready you arrange to attend an online support and assessment session where you practice your treatments, watched live by your tutor and receive final feedback to achieve your certificate. We have had a large number of students complete our Virtual Academy courses successfully and return for further courses.

    You will achieve a diploma issued by The Beauty Academy and accredited by ABT for insurance and recognition in the beauty industry. It is the same standard you would achieve as if attending a face to face classroom based course. It gives you the same opportunities to get insured and begin earning from home or mobile.

    Our Virtual Academy courses are so flexible. We have online training sessions available in the evenings, daytime or weekends to fit into your busy schedule. Practice at home at your own pace to submit your case study and then arrange the online support and assessment session when ready, again available at convenient time slots which you can choose from.

    You simply need a device connected to the internet such as mobile phone, pc or tablets like iPad. You donโ€™t need a head set, just the inbuilt speaker and microphone of most devices is fine or if no microphone, you can type freely into the chat box during the live online training session so can fully interact. You can even use earphones if taking part while out and about to make listening in discreet and convenient.

    You will need basic products and tools to practice your skills following the online teaching session. You can purchase these from any beauty supplier or take a look at our selection of starter kits to get going more quickly.

    We have Interest Free Credit available on all courses over ยฃ99 (which includes all Virtual Academy Courses and packages). Save money by booking a Multi Buy Package or book your courses individually as you prefer. Multi Buy Packages are carefully selected combinations of courses which allow you to save money versus individual course fees and have the best beauty business start-up training package. Book securely through our website or by calling Freephone 0800 999 2277.

    How do I enrol?

    Like the sound of our Virtual Academy Courses and want to get started? Click below to explore and book your Virtual Academy Course (or take advantage of the savings offered by our Multi Buy Packages). Or if you have further questions and need more advice, get in touch with our team on one of the options below.

  • How to Troubleshoot the Most Common Problems with Nail Extensions

    How to Troubleshoot the Most Common Problems with Nail Extensions

    Issues with nail extensions lifting or coming off prematurely as usually down to a number of specific reasons linked to incorrect application or improper home care by the client following application. We discuss the most common problems nail technicians will see and how to resolve here:

    Nails are too thick when finished:

    Ensure you apply UV Gel in thin coats, using no more than 3 layers of the UV Gel.

    When applying Acrylic, ensure you follow the โ€˜3 Zone Application Techniqueโ€™ to ensure you are correctly shaping the nails, with a correctly positioned apex (stress point) and avoid applying too big a bead of acrylic with each zone as this will leave the nails too thick as the acrylic dries.

    Client reports nails are lifting from base of the nail, by the cuticles:

    This usually indicates that the prep stage of application was not thorough enough.

    It may that eponychium was left on the nail plate, nails were not dehydrated with a bonder or dehydrator product before applying Gel or Acrylic product, or that moisture was trapped in the nails when the extensions were applied (do not soak nails before applying extensions).

    Client reports nail extensions are โ€˜popping offโ€™:

    This can be caused by a number of things. Most commonly, the nail tip that has been selected and applied is too small which means the nail tip is flattened when glued to the nail and works against the natural curve of the nails. This means the tip can snap or come away when put under any kind of pressure.

    It may also be due to air bubbles then the glue was applied to the tip, which does not give a secure bond.

    Alternatively the UV Gel or Acrylic product may have been applied too thickly which limits the nails ability to flex under normal conditions and pressure.

    Also check where you have made the โ€˜curvatureโ€™ or apex point and ensure it is correctly placed to allow the extension to endure reasonable pressure. As a guide, when you press on the free edge of each nail; the nail bed area that turns white indicates where your apex should be positioned (thickest part of your product).

    Nails are just not lasting for one specific client:

    Review their consultation โ€“ check they do not have any conditions which affect hormones like pregnancy or menopause, that they are not taking anti-depressants, that they do not spend prolonged periods in hot water such as washing up or long baths, that they donโ€™t use calcium-removing or glass cleaning products at work (e.g. hospital or catering work).

    Harsh treatment of nails such as those who engage in racket sports, gardening, outdoor pursuits etc. Those who are nail biters. Using nails as tools and not jewels.

    Lifestyle, medical factors and improper following of homecare advice are the most common reasons for poor longevity of nails and lifting of extensions. If it is just particular clients having issues, this suggests one of these reasons are to blame. Review their consultation, issue home care in writing and reduce the time between treatments so they are having more regular maintenance to keep nails healthy.

    If numerous clients are having similar issues, try to identify a pattern with the products used and check your techniques, especially the preparation stage is correct.

    Client regularly experiences lifting of several nails within days of their period:

    Some clients are very sensitive to hormonal changes and these changes can cause an increase in sebum production in the skin and nails, which can cause lifting to nail extensions.

    Such clients are advised to have more regular maintenance perhaps timed around their menstrual cycle.

    It is also common in pregnancy and menopause to find nails may lift due to having softer or more oily nail plates. Using a bonder / primer during the application stage can help with retention but can dry out nails over time so daily use of cuticle oil is recommended for these clients. Also they will require shorter maintenance intervals i.e., no longer than 2-3 weeks between treatments.

    Alternatively suggest overlay treatments on natural nails (no false tip) or gel polish to encourage healthy natural nail growth, rather than nail extensions to help them achieve stronger nails with results lasting longer.

    The client has entirely lost or broken a nail extension such as index finger and injured the natural nail underneath:

    This is usually caused by an extreme knock or damage to the nails.

    Ask the client if they are using the nails as โ€˜tools and not jewelsโ€™, using the nails to open things such as ring pulls on cans can cause too much pressure on the nail extension and cause breakage or lifting from the cuticle area with the tell-tale lifted natural nail plate layers from the apex area down to free edge. This is a clear sign the breakage was down to force on the nail.

    Advise the client to use the end of a spoon to open ring pulls etc., and never use the nails to pick at anything such as labels.

    Also on future treatments, suggest finishing nails to a shorter length for the client as this is most common when the nails are too long for the clientโ€™s lifestyle. Consider reducing time between maintenance appointments too to rebalance regrowth and reposition the apex as required sooner.

    It can also be a sign that the client has very weak natural nails. Acrylic is a much harder adhering system than UV Gel generally speaking, which tends to have somewhat greater flexibility and a more gentle adhesion to the natural nail (usually resulting in less damage if the client does damage a nail).

    Recommend the client have the extensions removed and natural nail services only such as nail overlay (no false tip) such as builder gel in a bottle or gel polish until the nails are healed. Do not work on any cut or bruised nails. Encourage the client to use cuticle oil daily to improve nail flexibility and skin/nail condition.

    If the client has severely injured a nail extension and the natural nail:

    If the client has fractured the extension (a split horizontally across the nail plate/extension), this may cause pain and/or unstabilise the extension risking further nail damage. It is usually caused by a severe knock or blow to the nails, such as trapping the nail in a door.

    Ensure the client returns to you ASAP to assess the damage. Advise the client to keep the wounded clean, apply some colour-less iodine if an open wound and keep covered with a sterile dressing or micropore tape, but not a plaster as these can trap moisture and encourage bacterial infections to develop. If there are any signs of bleeding, swelling or infection, do not touch the enhancement until it is healed, otherwise you could end up causing further damage or even infection. If no signs of open wound or once wound has sufficiently healed, remove all traces of the nail extension and check the natural nail underneath for any further problems. Refer them to a medical professional if you are concerned.

    A client regularly suffers breaks to the nails:

    The most common reason for the breaking or tearing of artificial nails is that the customer hits the nail too hard or puts the nail under pressure to open something. In practice, clients often say they do not know how the nail was broken. The โ€œnothing happened, I just saw the nail was goneโ€. In this situation, inspect how the nail is broken.

    If the nail has broken at the apex with a snapped free edge, the nail will have impacted directly with some form of surface. If the nail has lifted off at the cuticle or apex then the nail was placed under excessive pressure. Fortunately these problems can be easily solved; first by filing and/or soaking away the remainder of the artificial nail, and then applying a new extension to the nail.

    If this is a regular occurrence, check the health of the clientโ€™s nails. They may have soft or damaged nail plates that cannot hold a further extension and may need a โ€˜nail breakโ€™. Offer overlay (no tip) or gel polish services while nails recover. Alternatively for regular โ€˜nail breakersโ€™, provide the client with their home care in writing and begin making an appointment charge for any nail repairs, rather than a โ€˜per nailโ€™ charge which many nail techs offer. This will help deter those who fail to follow homecare.

    How to handle nail breaks:

    Some nail technicians will offer the first repair free of charge and just charge for any subsequent repairs โ€˜per nailโ€™ (which should be a rare occurrence) until the next maintenance treatment.

    Other nail technicians might charge per nail to be repaired but then offset this repair charge as a discount against their next maintenance treatment which ensures they continue to rebook with you for nail services.

    If you have regular โ€˜nail breakersโ€™ you might wish to charge a minimum appointment fee, rather than fee per nail to cover your time and cosAlternatively you may just bring the clientโ€™s regular maintenance appointment forward repairing any broken nails and rebalancing all other nails at the same time to ensure they nail extensions continue to grow out at the same rate. This avoids additional repair costs for your clients.

    Provided you handle the customer experience positively by asking how they experienced the break or when they became aware of it, you can then tailor advice to help them protect against future nail breaks.

    How often should maintenance be given:

    Clients should ideally return to have the regrowth section infilled every 2-3 weeks. Some clients may be able to have a longer duration between maintenance treatments, however a greater level of maintenance will be required if clients return only every 4-6 weeks as you will need to also rebalance the stress point of the nails and infill the regrowth area. This costs you longer in time and product as a nail technician so you may wish to have two prices depending on whether an in-fill (2-3 weeks) or rebalance (3-6 weeks). Clients who do not have regular maintenance risk damage to the extensions and therefore potentially damage to their natural nails.

    Clients must agree to commit to the maintenance involved with extensions and should be booked in for a maintenance appointment before the leave their first appointment to ensure this is adhered to. It is not recommended to continue to offer nail extension treatments to clients who cannot commit to the time or cost of regular appointments.

    Those who simply want occasional or less frequent appointments may be recommended to natural nail treatments. Gel Polish will still grow out after 2-3 weeks however is unlikely to damage nails if left for longer durations than extensions and may be a suitable alternative provided it is removed correctly. You could consider retailing a home removal kit for Gel Polish for such clients.

    Looking to Qualify as an Accredited Nail Technician?

    We offer both ABT Accredited Classroom Courses available on a fast track basis across our 10 training centres nationwide. Courses from Only ยฃ199!

    Alternatively you can study conveniently from home and flexibly around other commitments with our IPHM Accredited Online Courses from Only ยฃ99!

    First published 10th March 2016. Updated 3rd August 2023.