nail technician

  • The Right Tool for the Job – Best Brushes for Acrylic, Poly Gel & UV Gel

    The Right Tool for the Job – Best Brushes for Acrylic, Poly Gel & UV Gel

    This article was first published on 18th May 2016 & was updated on 17th February 2022

    When it comes to creating the perfect nail extension, there is more to consider than simply your technique. Good technique is essential but the right tools will help you to create better results, more easily and more quickly.

    Generally speaking, as you begin to practice you will usually be using the brush that came included within the starter kit you may have purchased. We always recommend using a brush that is from within the same brand or range as the acrylic or gel products you intend to use as these have been designed and tested for best results using those specific products. However as you become more experienced and knowledgeable, you may have a preference for a different brush which works best for you and your way of working.

    Brushes for UV Gel (builder gel) Application

    No.5 flat uv gel brushTransparent Compact Size 4 Gel Brush

    UV Gel will usually require the use of a standard size 4 or 5 flat brush (for the creation of nail extensions). These are often designed for use specifically with UV Gel and are optimally shaped and sized for easy product pick up and application. These are often made with synthetic bristles to provide an easy to clean, long lasting and affordable brush which picks up the product without encouraging it to sink into the brush which could cause product wastage and make it harder to glide the product from brush to nail. Gel Polish is usually applied with the brush that came enclosed within the product lid and there is no need to use any alternative brush.

    Brushes for Poly Gel Application

    Poly Gel is a new system that has become hugely popular over the last 3-5 years as the products come packaged in an easy to dispense tube that can help to reduce product wastage and risk of cross-contamination. Your product will usually come supplied with a metal flat edged tool for ‘slicing’ some of the gel product from the tube ready for use. You then apply this ‘bead’ of sliced product direct to the prepped natural nail and work the product using a flat gel brush. Poly Gel products are applied very similarly to standard builder gel products (that come in tubs and jars) and so a standard gel application brush will be suitable, however you will need to ensure you use the ‘slip solution’ product supplied with your poly gel to avoid the product sticking to your brush. Rather than brushing the product on as you would with standard builder gels, you simply pat the bead applied to the nail into shape using your gel brush. It is important to clean your poly gel brush after use using a lint free wipe to remove excess product and soak in gel brush cleaner if required to remove any hardened product and help reshaping of your brush bristles. Always stand the brush in a cup to dry with bristles facing up to avoid the brush drying misshapen.

    Where it gets more tricky is when considering the best brush for use with acrylic products…

    Brushes for Acrylic Application

    ย Natural vs Synthetic Bristles

    Brush Anatomy Picture

    There are several factors that must be understood about brushes before you can begin to select a brush. Firstly it is important to understand why brushes for use with acrylic are usually made from kolinsky, sometimes called sable hair. Kolinsky is the hair gathered from a type of weasel found in the cold regions of Russia & China. Natural hair is used as it has an advantage of providing natural thickness towards the belly of the brush which allows it to hold liquid effectively (as in acrylic liquid). The strength and flexibility allows the brush to return to a point when wet. All hair has a structure known as the medulla which allows moisture to be absorbed. This acts as a reservoir to hold the acrylic liquid in nail brushes and releases in a controlled manner as pressure is applied with the brush by the nail technician. Kolinsky hair is far better in quality (sometimes known as golden sable) than the hair gathered from other weasels (sometimes known as red sable or just ‘sable’). If a brush states kolinsky, you can be sure you are buying the best quality brush bristles possible.

    With any natural hair brush, it is essential to maintain the brush with correct cleaning after every acrylic application to avoid the brush becoming stiff and damaged. You can purchase brand specific brush cleaners (designed to remove your specific acrylic product) and these often contain conditioners within them to keep the bristles smooth, flexible and keep the brush shape for longer. Natural brushes can be cleaned within acetone but this is not recommended as it can dry and damage the bristles over time.

    The Edge Brush Cleaner 100ml Acrylic Trial Pack

    With improved technology, some manufacturer’s are beginning to use synthetic bristles for acrylic brushes. This is also in response to those who want a ‘vegan’ option. Modern technology now allows many synthetic bristles to effectively mimic the properties of natural brushes to a degree. Synthetic bristle brushes are more durable as they are less effected by contact with the monomer (acrylic) liquid than natural hair. Many nail techs prefer natural hair however as synthetic brushes will struggle to hold the acrylic liquid as effectively. Synthetic bristle brushes are usually used more for nail art and gel application. Care must be taken when cleaning such brushes as they are often made with nylon or polyester which can be damaged if left to soak in acetone. Most brush cleaners are acetone free for use with UV Gel brushes.

    Choosing the Right Size

    When you first begin to practice your application of acrylic, you will usually make use of a smaller brush which could be a size 6 or 8. These brushes are great to begin with as they effectively lift a smaller bead of acrylic (powder with liquid) allowing you to master your application technique with the 3 zones. They also allow you to learn the ability to get your ratio of liquid to powder correct with more control. This smaller brush size of 6 or 8 is usually included within starter kits for this reason.

    No.6 Kolinsky RoundNo.8 Kolinsky Round

    However as you begin to advance in your experience and skills, you may find smaller brushes make your application slower and your treatment time longer. When working in the salon or as a mobile therapist where timing is key to ensure you can maximise your earnings, it is important that you can begin to reduce your treatment timings. One way to do so is to look to use a larger acrylic brush. Larger brushes allow you to effectively pick up a larger bead of product which means you can cover a larger area of the nail with less strokes. You will still be using your 3 zone process but will not require the use of up to 3 smaller beads to cover each zone, instead you may be able to achieve coverage of an entire zone in just one large bead. This does of course take much practice and good technique to ensure you are getting your ratio of powder to liquid correct to avoid flooding the nail or creating poor adhesion through too little powder/product too thin.

    When first starting out in nail extensions working with a smaller brush, there is a tendency to need to file the nails into shape at the end of application. This is because when you are applying numerous small beads, there can be a tendency for areas of the nail extension to become lumpy or too thick (of course some products self-settle better than others). This extra filing also increases your treatment timing. An advantage of using a larger brush is that you apply less beads and so there is less likelihood for areas of the nail extension to have thicker areas (where two beads/layers have overlapped) and less chance of the extension becoming too thick assuming you are confident with your product ratio. It is also said that reduced filing helps to create stronger, more stable nail extensions and the process is more comfortable for clients. With experience, a larger brush can enable you to create more professional looking nail extensions in less time.

    Due to the nature of having more bristles within a larger brush, this enables them to keep a better shape at the belly of the brush which also can make the larger brush easier to work with when laying down your bead onto the nail or tip. This can quite simply be seen by the fact that the larger the brush, the more structured the shape with a distinct pointed end rather when dry, rather than the more round or flatter shape of smaller brushes. It allows the brush to be more flexible and glide the bead more easily. Smaller brushes have a tendency to go much flatter with less pressure which can flatten the bead or trap it within the bristles making application more tricky.

    While working with a larger brush, it does not limit your ability to still pick up a smaller bead which you may use when infilling or rebalancing the nail as with experience you will learn to utilise the point of the brush for fine detail work. As you grow in confidence and more importantly, experience of creating the correct ratio of liquid to powder; you can begin to gradually increase the size of brush you are working with going from a 6-8 to a 10 then 12. You may even work up to a size 14 or 16 although many nail techs typically prefer working with a size 10 or 12 depending on the brand of products they are working with.

    Remember to stay working with a brush from within your product brand when working on nails for clients. When initially practising with a larger brush however you may wish to pick up an inexpensive artist’s supply brush from any stationery store or online (as these are often very similar in style but cheaper as they are unbranded). It is a great way to trial a brush size without a big spend but should not be used for client’s nails as you cannot guarantee good results as such brushes are not tested for best results with your brand of products.

    Once you have invested in a good brush, you may want to buy a brush case or cover (some brands come with a brush cap) to protect your bristles and also a brush cleaner that is recommended for use with your brush.

    Want to learn the art of Nail Extensions? We have Beginner and Advanced Courses available from only ยฃ199! Find more information at: https://new.thebeautyacademy.org/nail-treatment-cou…

  • Top Nail Trends for 2021

    Top Nail Trends for 2021

    The catwalks may have been digital this autumn, but the trends for spring 2021 are out including all the latest predictions for top nail trends for next year. Get ahead with practising your nail art skills and updating the polish shades within your kit, ready to promote your nail services as one step ahead of other nail techs and set your work apart from the competition. Eye catching nail polish shades and distinctive nail art can be real conversation starters and get word of mouth out about your work so don’t miss out…

    Nail Shapes

    • Short, natural nails โ€“ there has been a shift following lockdown towards more natural, lower maintenance nail lengths and we expect to see this continue into 2021.
    • For those nail extension fans, fashion is moving away from the almond and pointy shapes of 2020 towards stronger, squarer styles. Think squared off ballerina nails, squoval or straight up square for a more modern look.

    Nail Colours & Nail Art

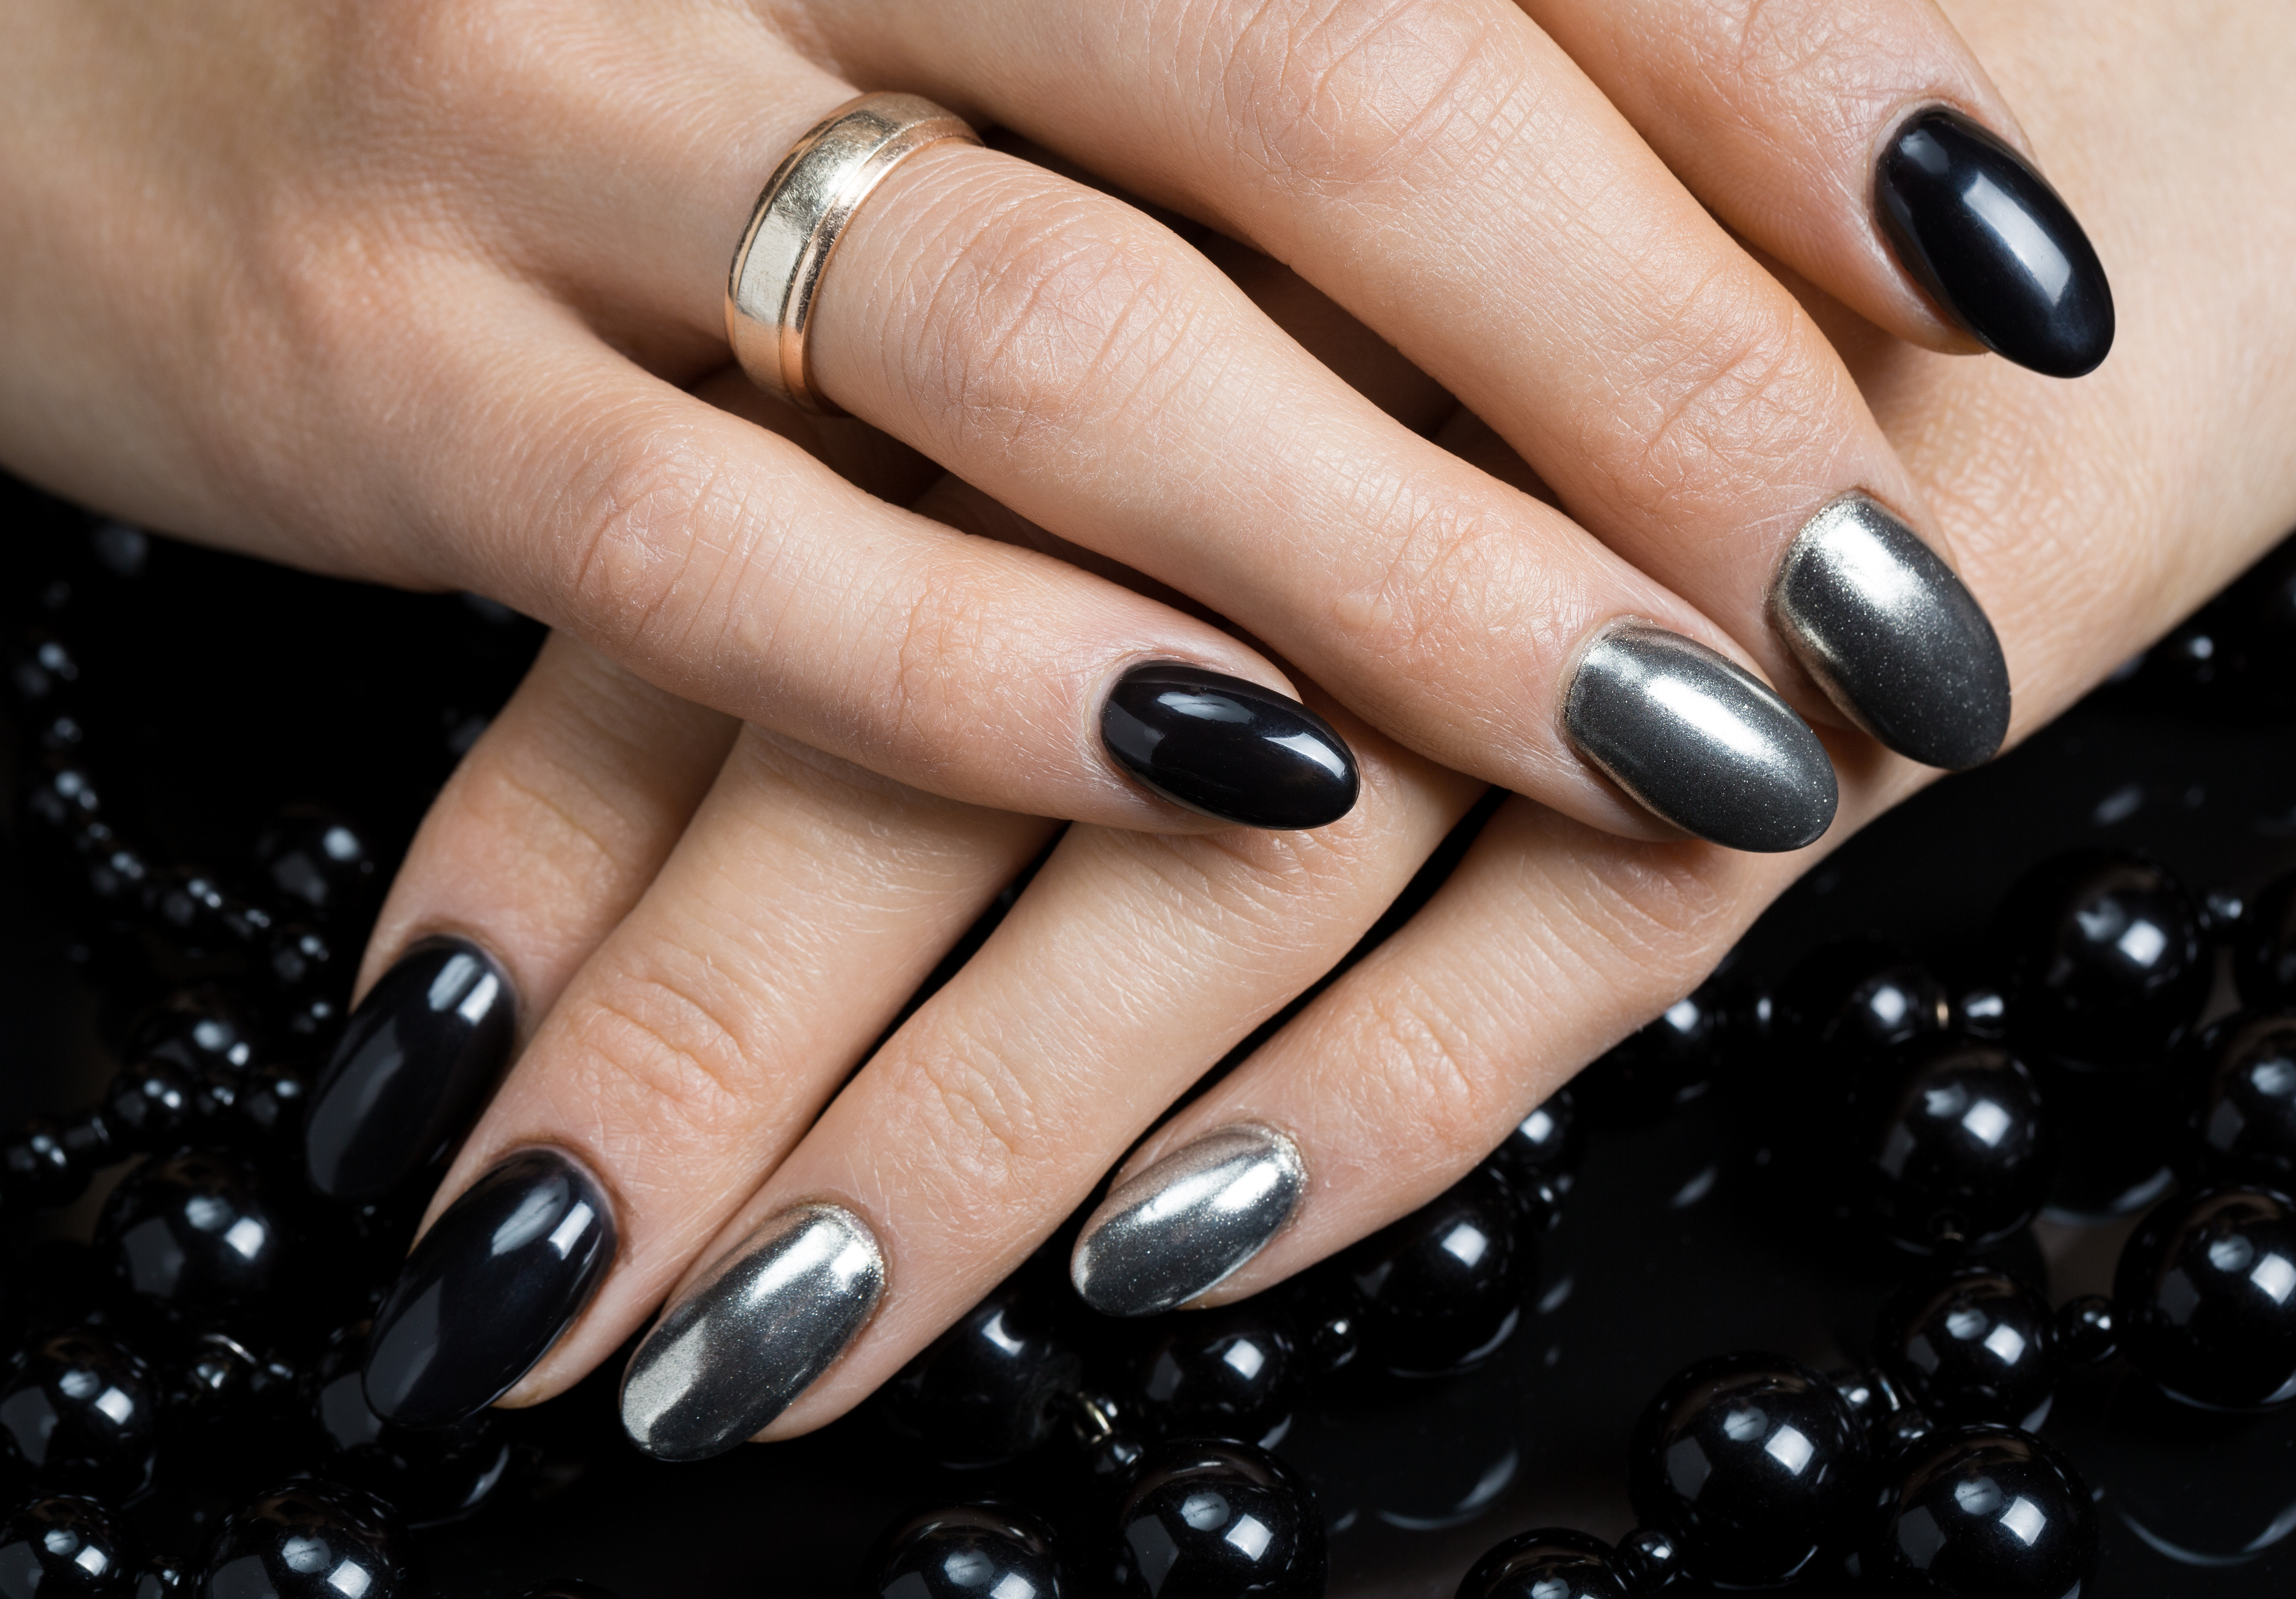
    • The metallic trend remains strong with silver nails created using matte finish polishes, quick dip and glitter infused acrylic powders and pressed glitters for everything from shimmer to high shine chrome finishes that will certainly be popular into the festive period and beyond.
    • Bubblegum pink is set to be HUGE in 2021, better yet if matched to pink lipstick of a co-ordinating bold statement.
    • Emerald green, especially when combined with graduated glitter or contrasting metallics like copper or rose gold will be everywhere in spring.
    • Vibrant shades of blue from royal blue to pastel blues.
    • Matching your nail shade to your face mask has also been an emerging trend that may continue into early 2021.
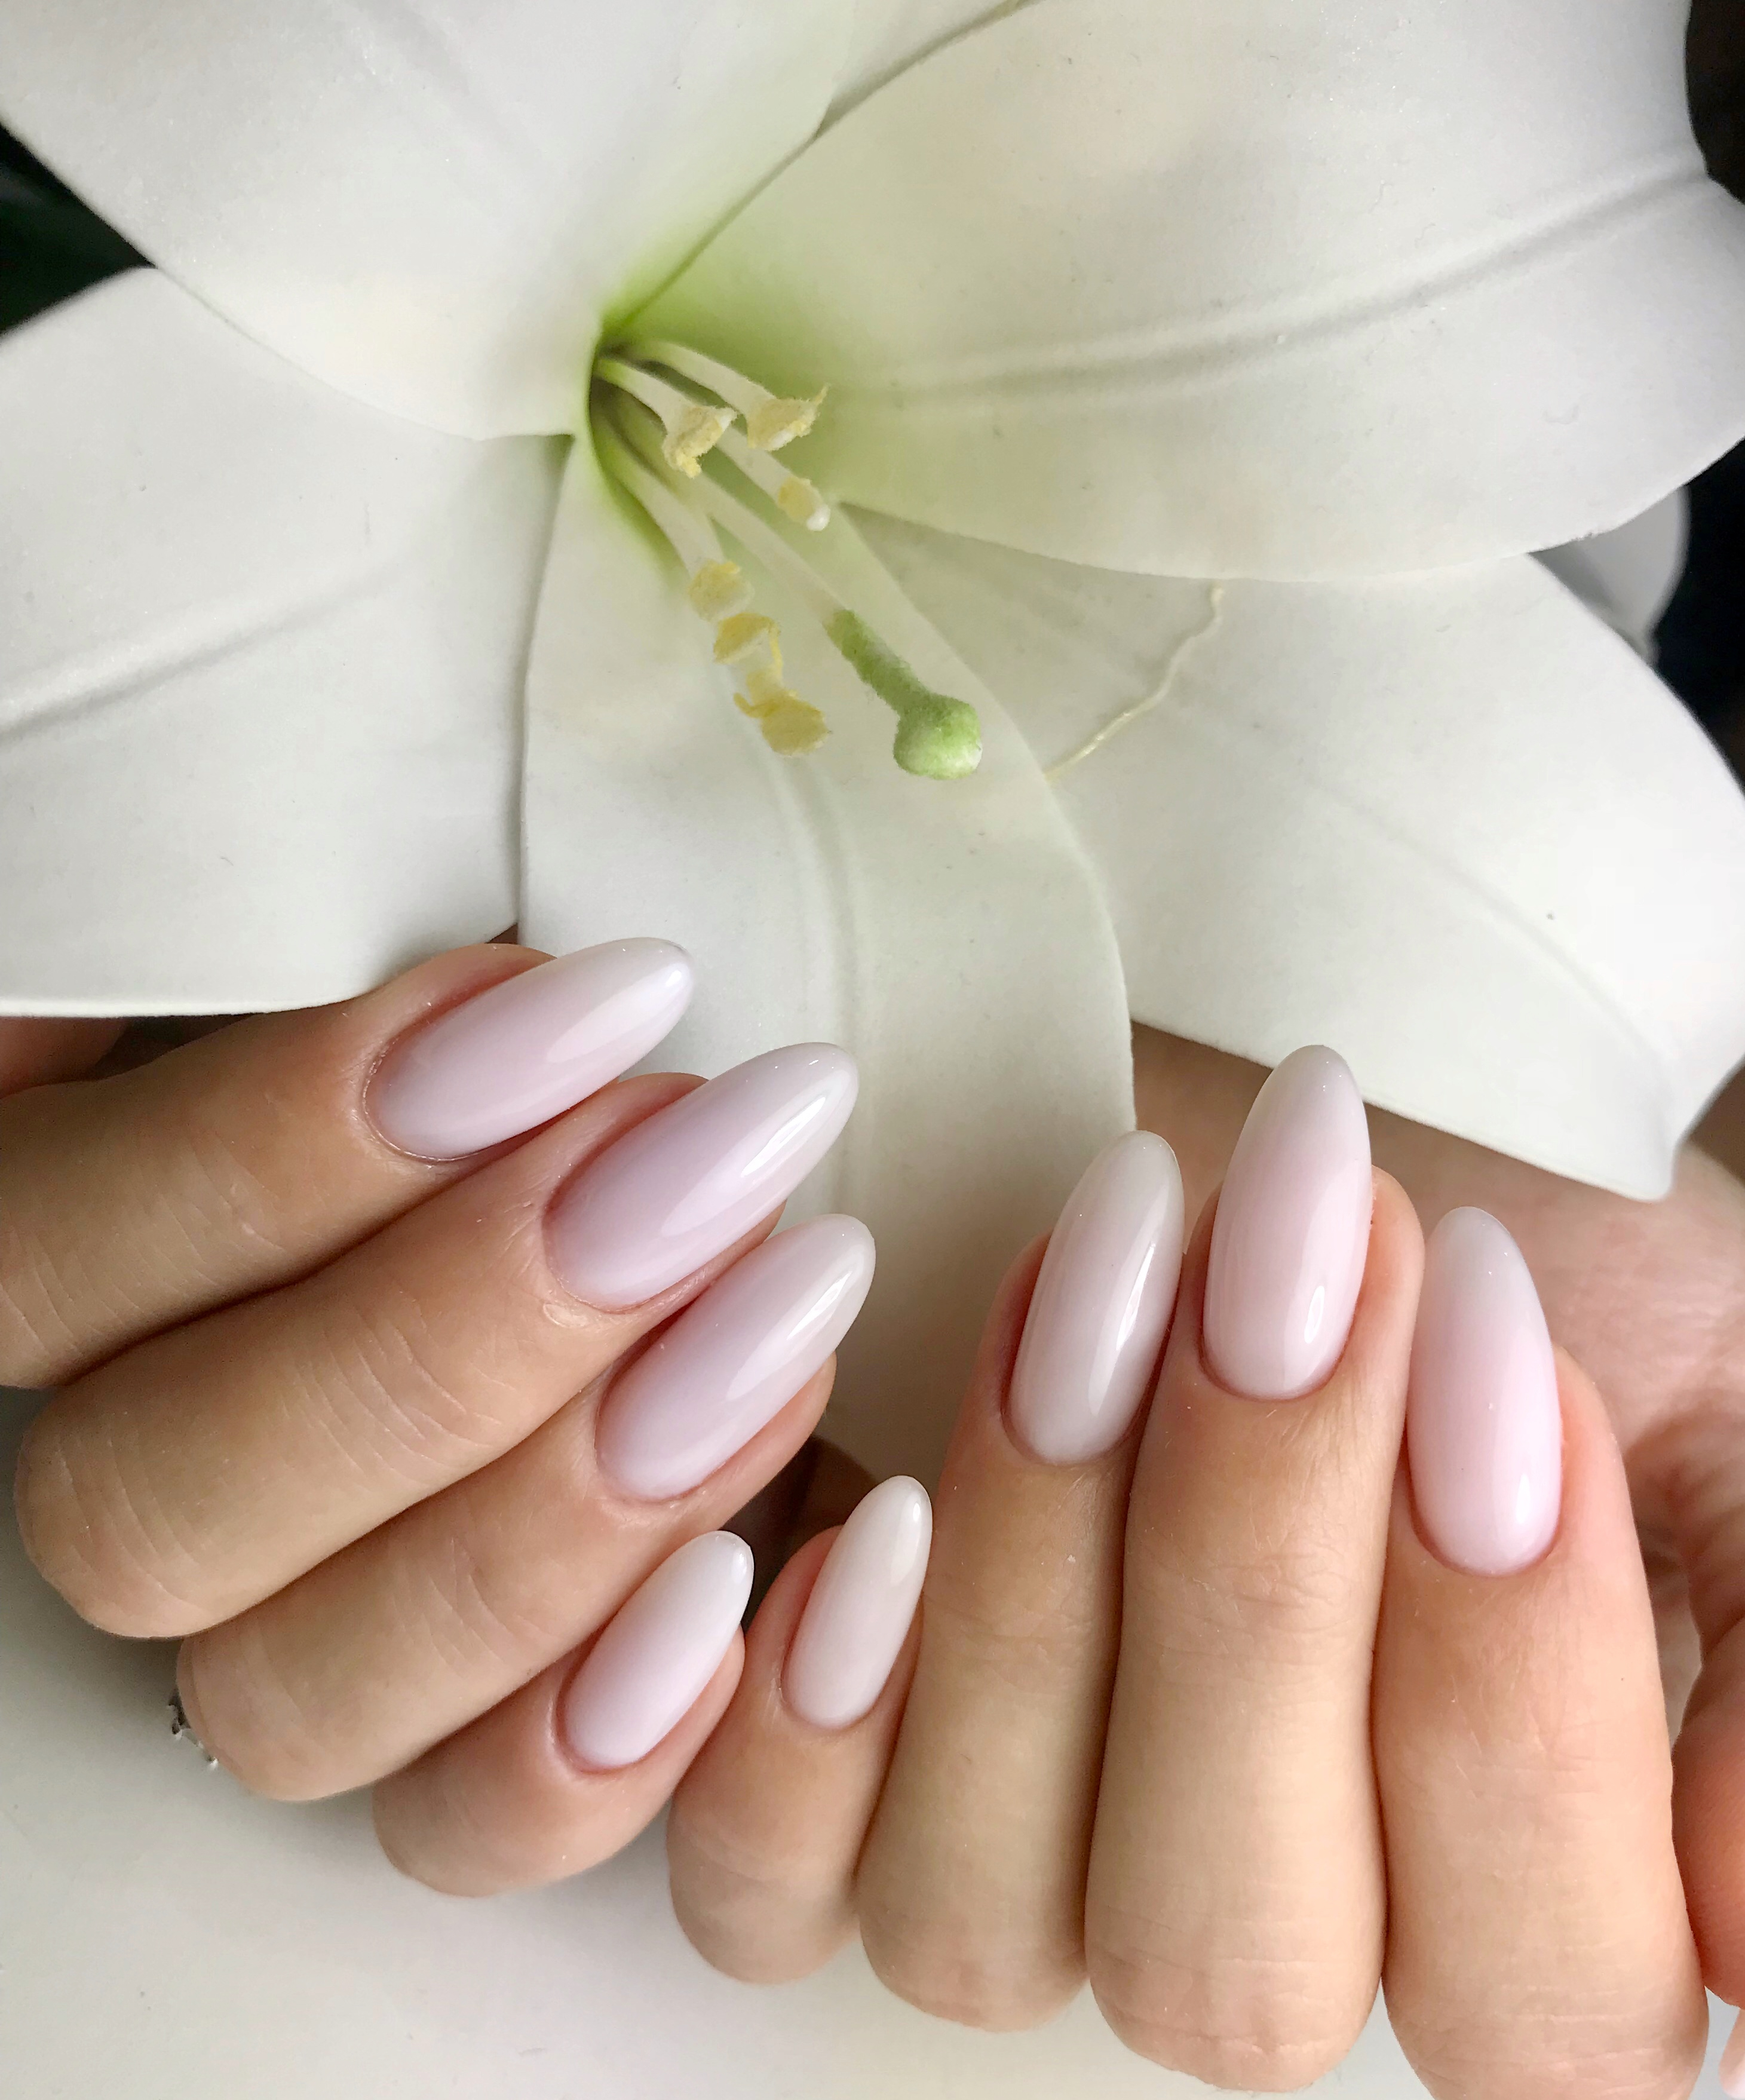
    • Natural nudes from beige to barely there pinks. The classic french tip over clear polish is also another more natural look growing in popularity. Negative space florals over nude shades or clear polish will also be another big look for Spring 2021.
    • Dark brown shades, especially when combined with tortoiseshell or cow print nail art will be a popular look for Autumn/Winter 2020 and into next year. Animal print in general will also be making a return to favour with leopard prints being a strong contender on nails.
    • Punk inspired looks from dark black and purple hues will be appearing towards Christmas and into the New Year. Overlaid with chunky crystal embellishments or gold leaf foil over a dark polish will be a key look. Monochrome will also do well over the next 6 months with black and white, nudes and silver touches expected to be in demand.
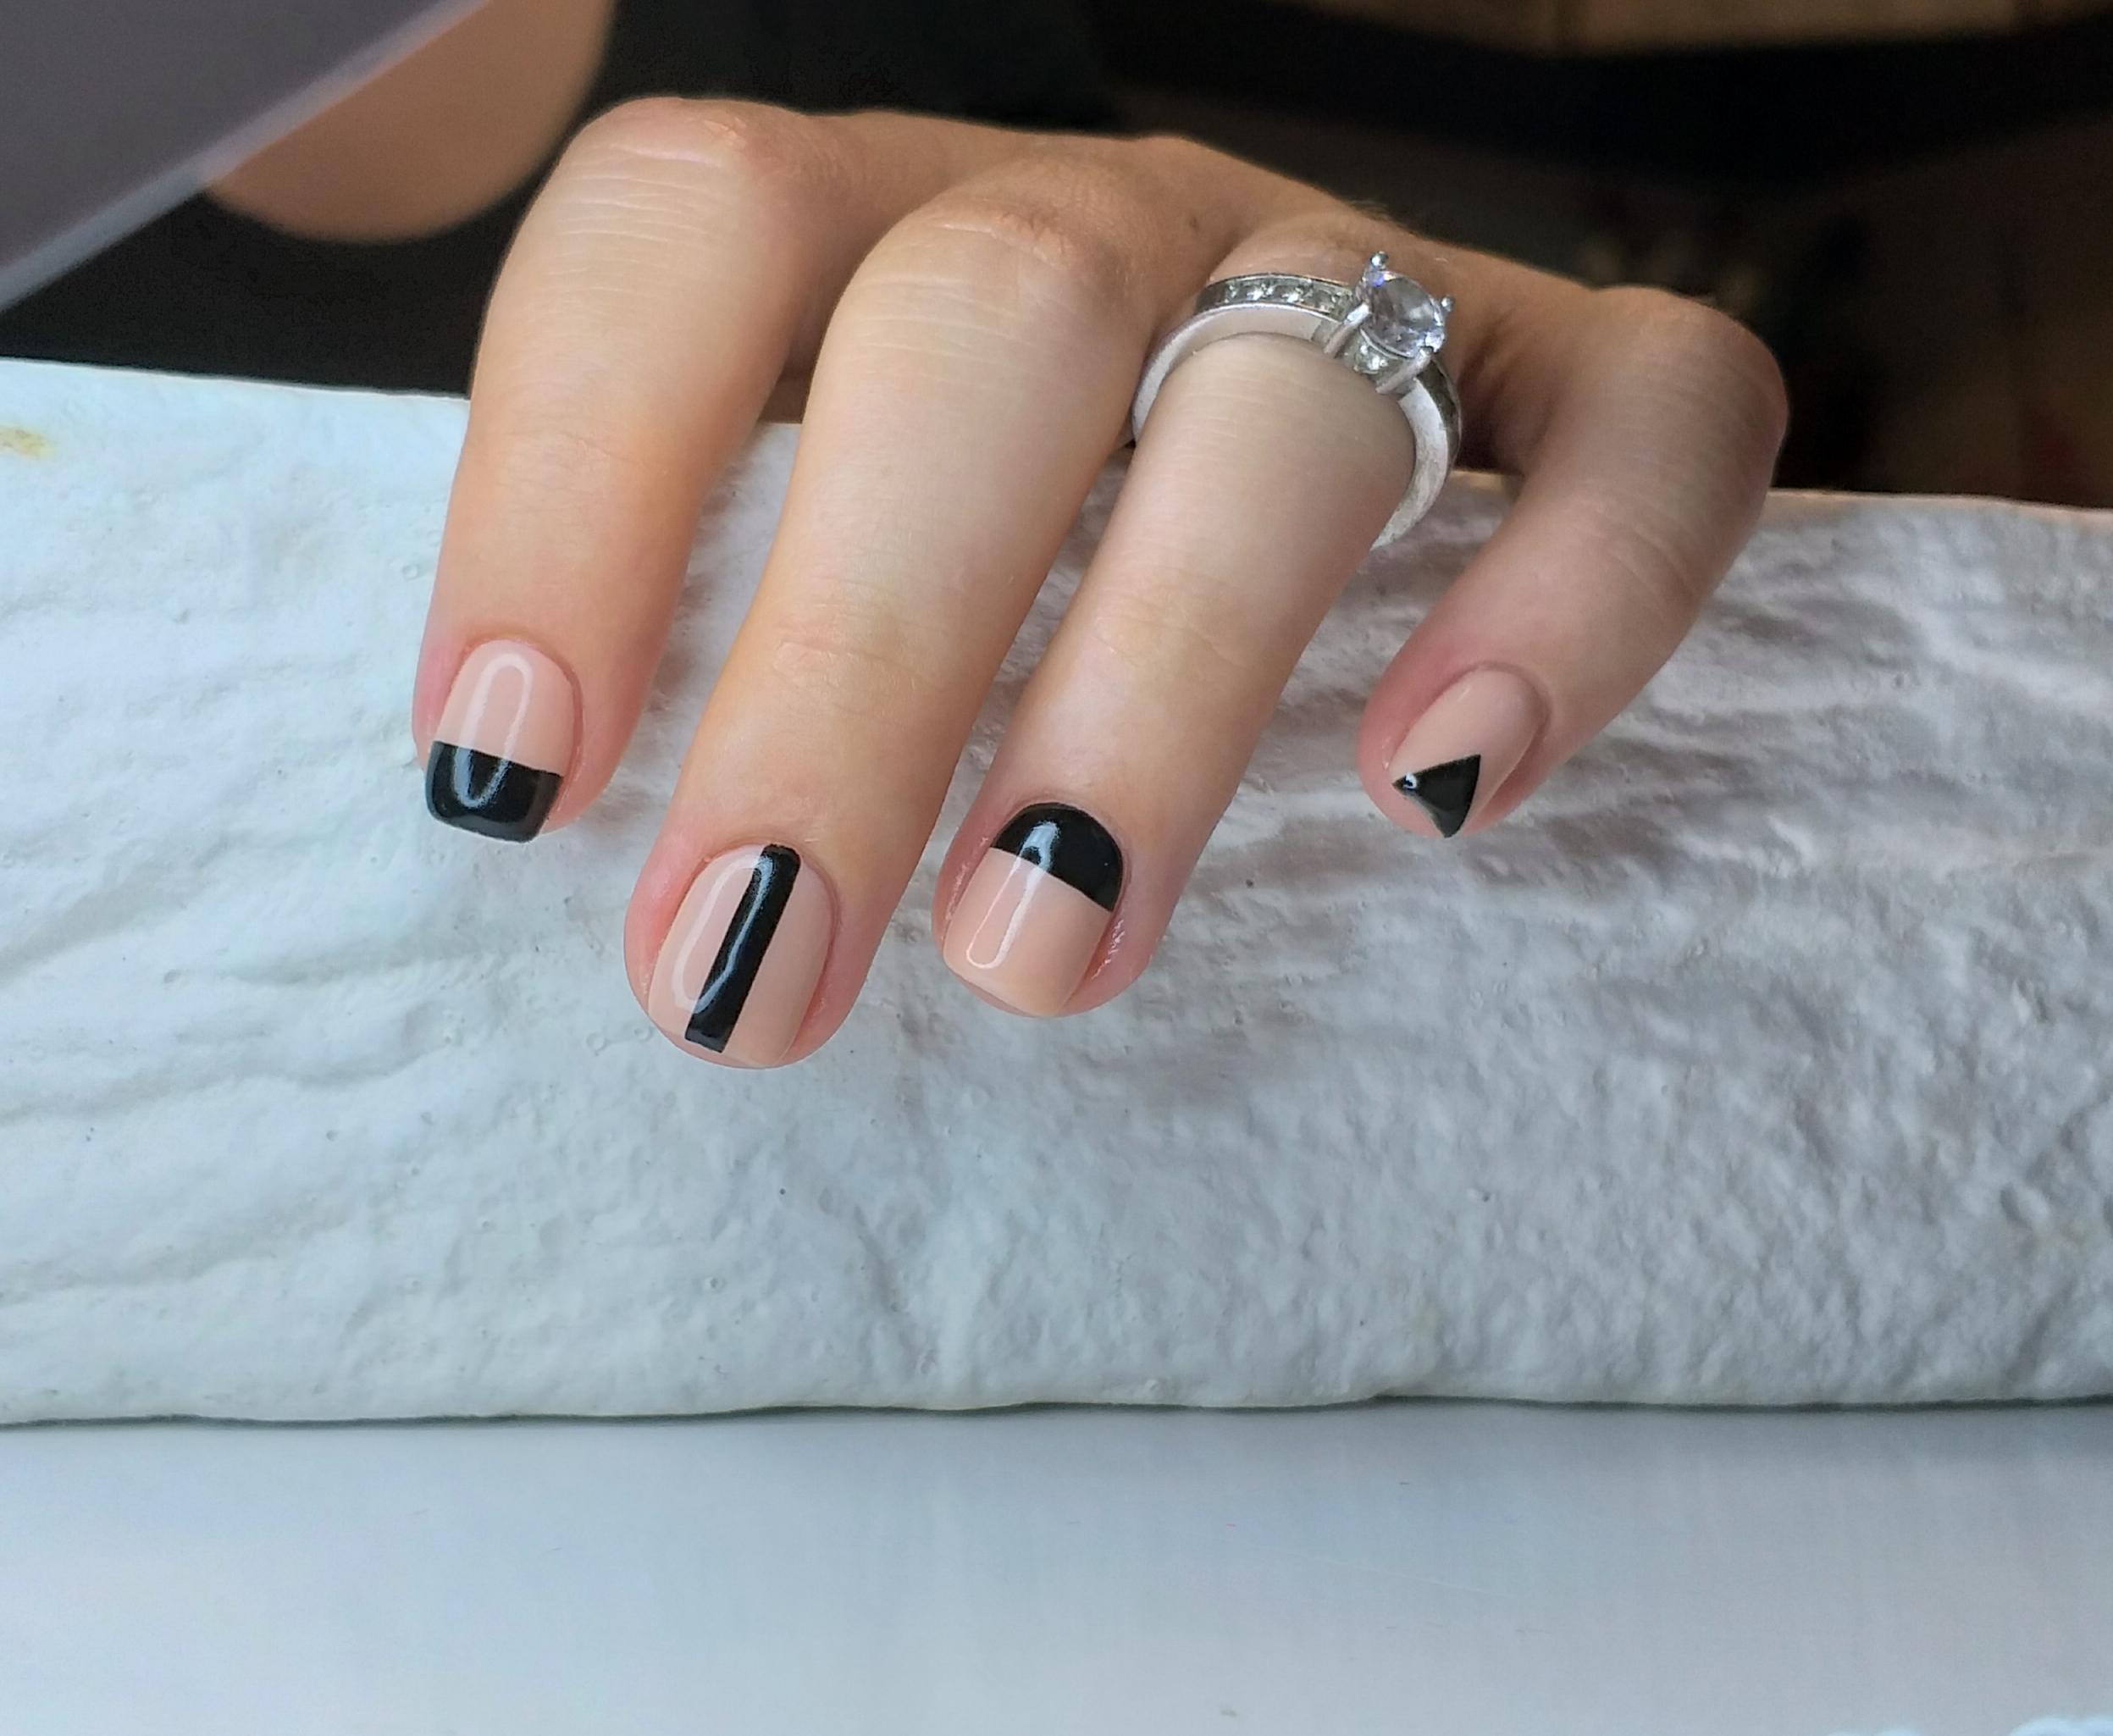
    • Geometric nail art continues to be a popular style with everything from patterns on just the tips to a โ€˜featureโ€™ ring finger alongside neutral shades. Think linear designs in bold colours against softer, muted or pastel shades.
    • Quirky takes on classic French from a rainbow collection of pastel shades on nail tips only to glitter fades from free edge to centre of the nails. French will be back in a big way so now is a great time to start revisiting your skills in creating crisp smile lines.

    Instagram inspired Nail Art for the braveโ€ฆ

    • Seashell nails as inspired by LA based nail artist Bana have been a huge hit on Insta. The look appears complicated but is actually very simple to create and certainly a talking point design for more open minded clients.
    • Rainbow nails with a plethora of colour or โ€˜anything goesโ€™ nail art that is different on every nail will be very popular with celebrities into the Summer 2021.
    • Inspired by famous nail artist Unistella, instagram is on fire with crochet nails โ€“ crocheted designs from flowers to stars are adhered to the nail for an โ€˜out thereโ€™ nail look that is not for the faint hearted.

    Products emergingโ€ฆ

    • Quick nail systems like quick dip powders and gel polish will be huge in 2021 as more clients seek faster appointments that are easier to wear and care for than traditional nail extensions.
    • 17-Free products will also become much more readily available and sought after as more clients become conscious of the products they are using on their nails and seek healthier options.
    • Vegan friendly products will also grow in popularity in 2021 as more clients seek more ethical and conscious product choices.

    Need to update your nail skills? Explore our Accredited Classroom based & Online Courses to get savvy and all set to take 2021 by stormโ€ฆ

  • Sculpting your Dreams

    Sculpting your Dreams

    Once you’ve mastered the basics of working with acrylic to create tip and overlay nail extensions, you will soon want to progress your skills to ensure you are offering the best possible nail service to your clients. Not only will it ensure your clients are dazzled by the results you achieve and bring new clients in through word of mouth, but you will save yourself time and stand miles ahead of the competition. All simply though learning to sculpt and use an electric nail file. We give you the lowdown on what they are and why you’ll benefit…

    What is Sculpting?

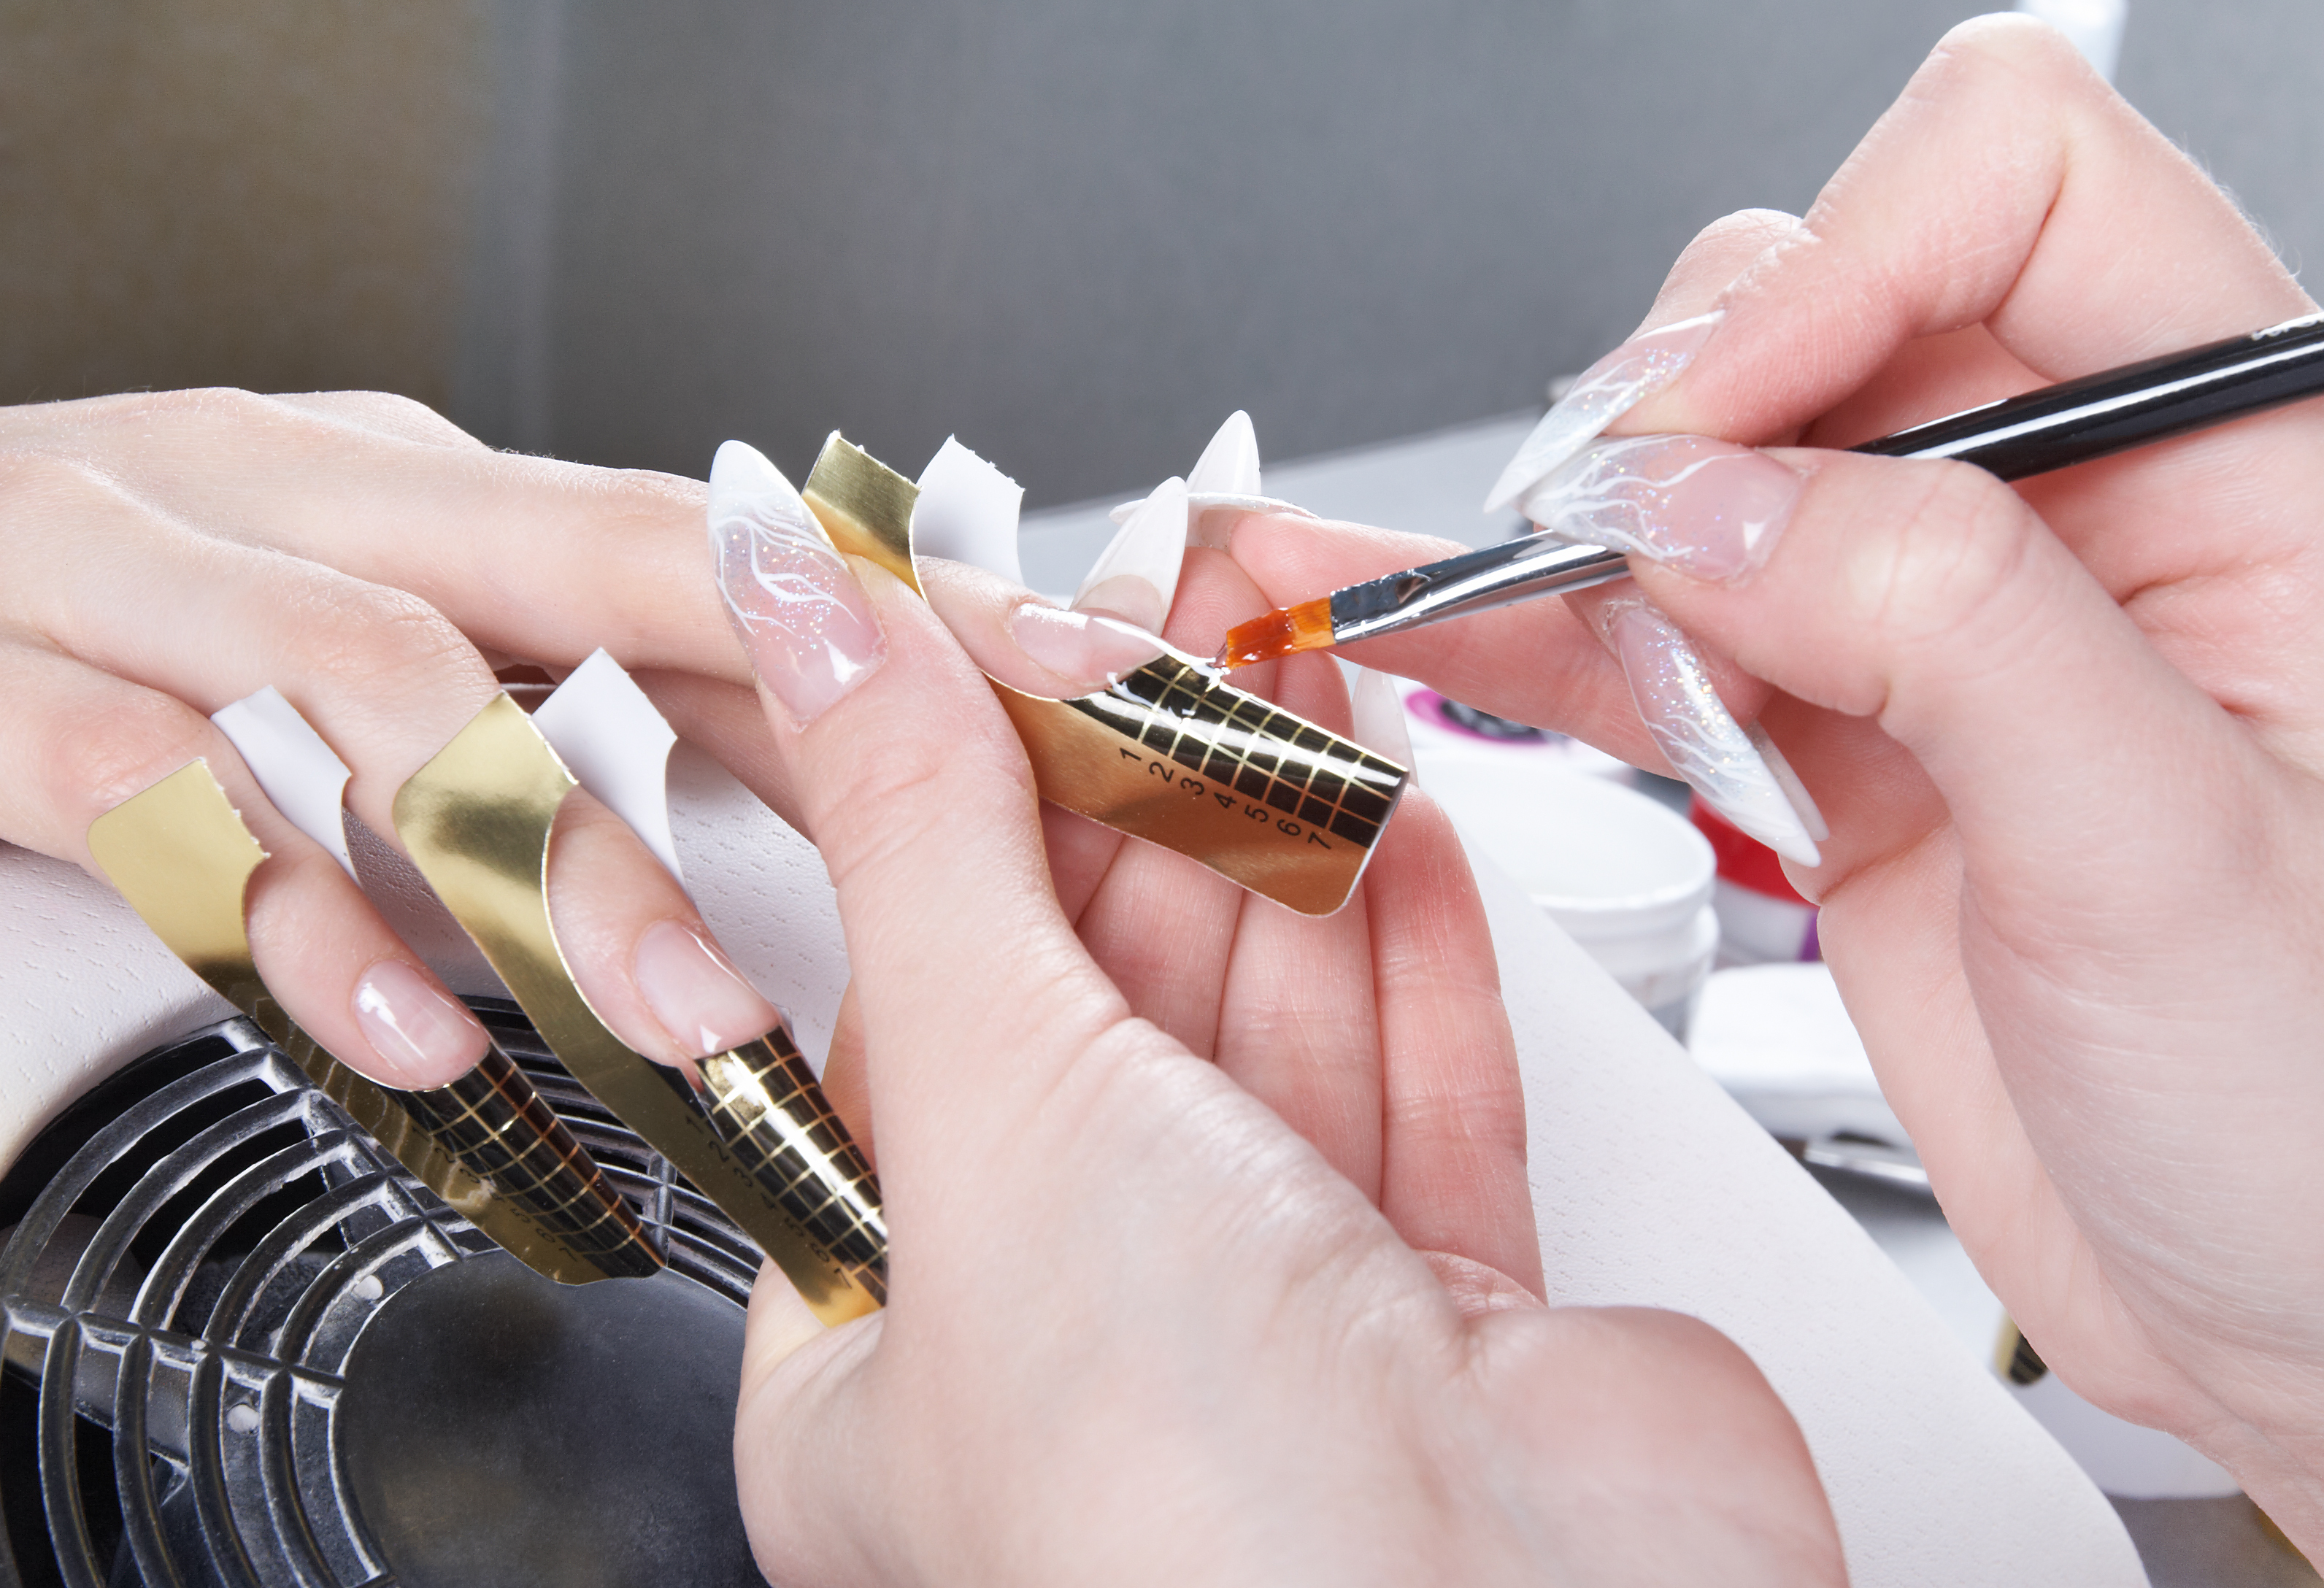
    Sculpting with acrylic is a method of creating nail extensions using โ€˜nail formsโ€™ as a platform to create the tip. This is then layered with acrylic to create a strong but tip-free extension. Traditional acrylic extension involves the use of plastic false tips & glue, overlaid with acrylic on top to give the extension strength. The sculpting technique can be kinder to natural nails as there is no glue, no tip is needed with a sculpted enhancement.

    How long do sculpted nails last?

    2-3 Weeks

    Benefits of Sculpting

    • No adhesive to break down over time.
    • Can be thinner than with tips as you donโ€™t have the bulk of the tip under the product.
    • Once mastered, sculpting is generally faster to apply than a properly applied and blended tip.
    • Generally better for nail biters because the moisture in the nails of biters can break down the adhesive and also the thick skin on the edge of a nail biters fingers will often push the tip off the nail or create a โ€œski jumpโ€ look to the nail.

    What is an E-File?

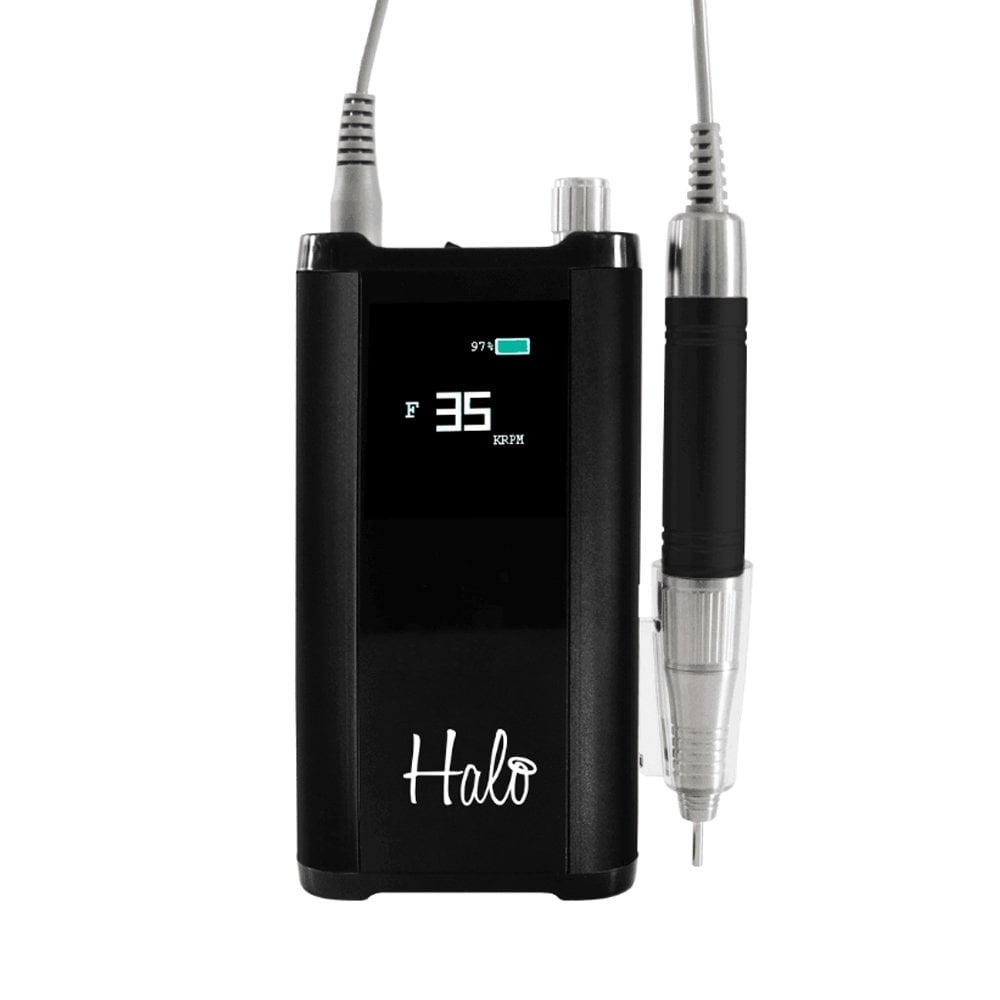
    An electric file (formerly called a โ€œdrillโ€) is a tool used by nail technicians to speed up, streamline, or make easier some nail services. The electric file allows nail technicians to file or finish areas of the nail that are hard to reach (for example, under the free edge of a newly created sculpted nail)

    Are electric nail files safe?

    As long as itโ€™s done properly and with the right tools, an electric file on the natural nail can be just as safe as a regular nail file. They can be used to gently push back the cuticle, exposing any dead excess skin which can be more comfortable than use of cuticle pushers.

    Itโ€™s the tech, not the tool.

    E-files often get a bad rep. When we see pictures of rings of fire, nail plate burns, and injured skin we assume itโ€™s the evil e-file at work. In truth, an e-file really canโ€™t do any damage without a nail tech wielding it. The big question is how can nail techs learn to use an e-file properly? Well, itโ€™s much like learning to drive a car. It takes proper instruction through an accredited course and careful practice. Youโ€™re going to have an accident here and there, especially in the beginning, but the goal is to learn and improve.

    Benefits of E-Filing

    • Reduces risk of Repetitive Strain Injury (RSI) for the technician as takes the hard work out of filing
    • Saves time so technicians can fit more clients in and clients can have quicker, more convenient appointments
    • Boosts earning potential as more clients in your working hours equals more money

    Interested to complete an Accredited Training Course in Sculpting & E-Filing? See below recommended courses. Many of our packages include training in Acrylic if youโ€™re a beginner so you can get the best value on your training!

  • 10 Things to Love About Being a Nail Technician ?

    10 Things to Love About Being a Nail Technician ?

    Nail technicians look after, shape and decorate their clients’ finger and toe nails. Youโ€™ll use a variety of techniques to provide manicures, pedicures and/or nail extensions. You may be working directly for a salon, or be self-employed. Youโ€™ll need good communication skills as youโ€™ll be dealing with a range of clients. If youโ€™re working as a self-employed nail technician, youโ€™ll need good business skills too.
    • Client Satisfaction.

    Most nail technicians value pleasing their customers above all else.

    • Meeting New People

    Whether itโ€™s new clients, co-workers or other nail technicians at tradeshows; nail technicians appreciate the opportunity to meet and make new friends.

    • Financial Rewards

    As a nail technician, we are told you get out of your job what you put into it. If you are dedicated and hardworking, this will show in your earnings.

    • Flexible Schedule

    How many clients you want to service in a given day is ultimately up to you.

    • Challenging Work

    No matter how experienced a nail technician you are, every day brings new challenges.

    • Personal Satisfaction

    For many people, job fulfilment is one of the most important reasons for sticking to their career.

    • Continuing Education

    Nail technicians have the opportunity to learn more and more skills and techniques every day.

    • Creativity

    When it comes to nails, you can really exercise your artistic ability and let your imagination run wild.

    • Competing

    A lot of nail technicians say competing is one of the best extra-curricular activities of doing nails and seeing what your competition is, in the area you live in.

    • Just Doing Nails

    The bottom line for most professionals is that they simply love doing nails.

    Interested in training to be a Nail Technician? Not sure where to start? We have classroom and distance learning (online) options covering all aspects of nail services. Why not take a look at some of our many Classroom Based Nail Courses or Home Study Nail Courses. You can Chat LIVE with our Advisors as you browse to help you find the right course for you. Or why not give our friendly Advisors a call on Freephone 0800 999 2277? All courses are ACCREDITED and FULLY INSURABLE allowing you to begin earning offering your treatments upon completion!

  • Know Your Nails

    Know Your Nails

    With so many nail treatments to learn, it can be really confusing as to what to offer and why. Our blog breaks down the best nail treatments and the benefits; to help you decide which to learn and to promote them to your clients…

    The Staple Manicureโ€ฆ

    Everyone loves a manicure, fresh and smooth natural nails and skin. All great nail extensions start with proper care of the natural nails so manicures are also great for use following removal of or when on a break from nail extensions. Manicures are great for those trying to grow their natural nails, in the winter months when extreme weather can dry and dull the skin and nails or indeed before a special occasion or holiday. Using basic products and a traditional air-drying polish, you can achieve incredible results although it can take time and repeated treatments to achieve the best results if nails are damaged or particularly dry / brittle. Recommended to be carried out every 3-4 weeks (or more often if traditional polish is applied, which can chip with time and wear).

    Main Benefits

    + Suitable for all clients, both male and female and of all ages

    + Less contra-indications to a manicure versus nail extensions and the benefits of improving nail health and growing own nails can outweigh quick fixes with extensions

    + Less cost and upkeep to maintain results versus nail extensions

    + A wide range of traditional, low cost polishes on the market and offer the option to retail for home use

    + Popular all year round, can be enhanced further in winter with luxury aspects such as warm paraffin or heated mitts and mask

    The Perfect Pedicureโ€ฆ

    A great additional service to provide alongside manicures, caring for the skin and nails of the feet. So many clients have work or hobbies that keeps them on their feet, so it is a popular treatment to offer all year round but especially around holiday season (who doesnโ€™t love fresh polish on toes for the beach) or for weddings and proms. A great treatment to add into your packages, even for those who usually have nail extensions on fingers. Treatments typically take around an hour and are recommended every 3-6 weeks to maintain results.

    Main Benefits

    + Suitable for all clients, both male and female and of all ages

    + A great add on nail service for any nail tech to offer as part of packages or as a standalone treatment

    + A great treatment for holistic therapists to offer alongside massage treatments

    + A great way of retailing home use products to maintain the results

    + Popular all year round, can be enhanced further in winter with luxury aspects such as warm paraffin or heated booties and mask

    Good Olโ€™ Acrylicโ€ฆ

    It has been around for decades and is one of the most popular nail extension systems in use. Using a powder and liquid applied in combination as a small bead applied to the nail surface, to overlay a false tip to give instant additional nail length and an enhanced look. A full set usually takes around an hour to apply with practice and can last 2-3 weeks before requiring maintenance (infilling the regrown natural nail area and rebalancing the nail shape).

    Main Benefits

    + Quick, cheap system to work with. No lamps required to set the nails so great for mobile technicians.

    + Durable, hard-wearing system good for those who want nail extensions but have previous damage to nails such as reformed nail biters, those who do a lot with their hands (horse riders, sports players etc).

    + Lots of acrylic powder colours available allowing the system to be used for creative results or just a classic French look

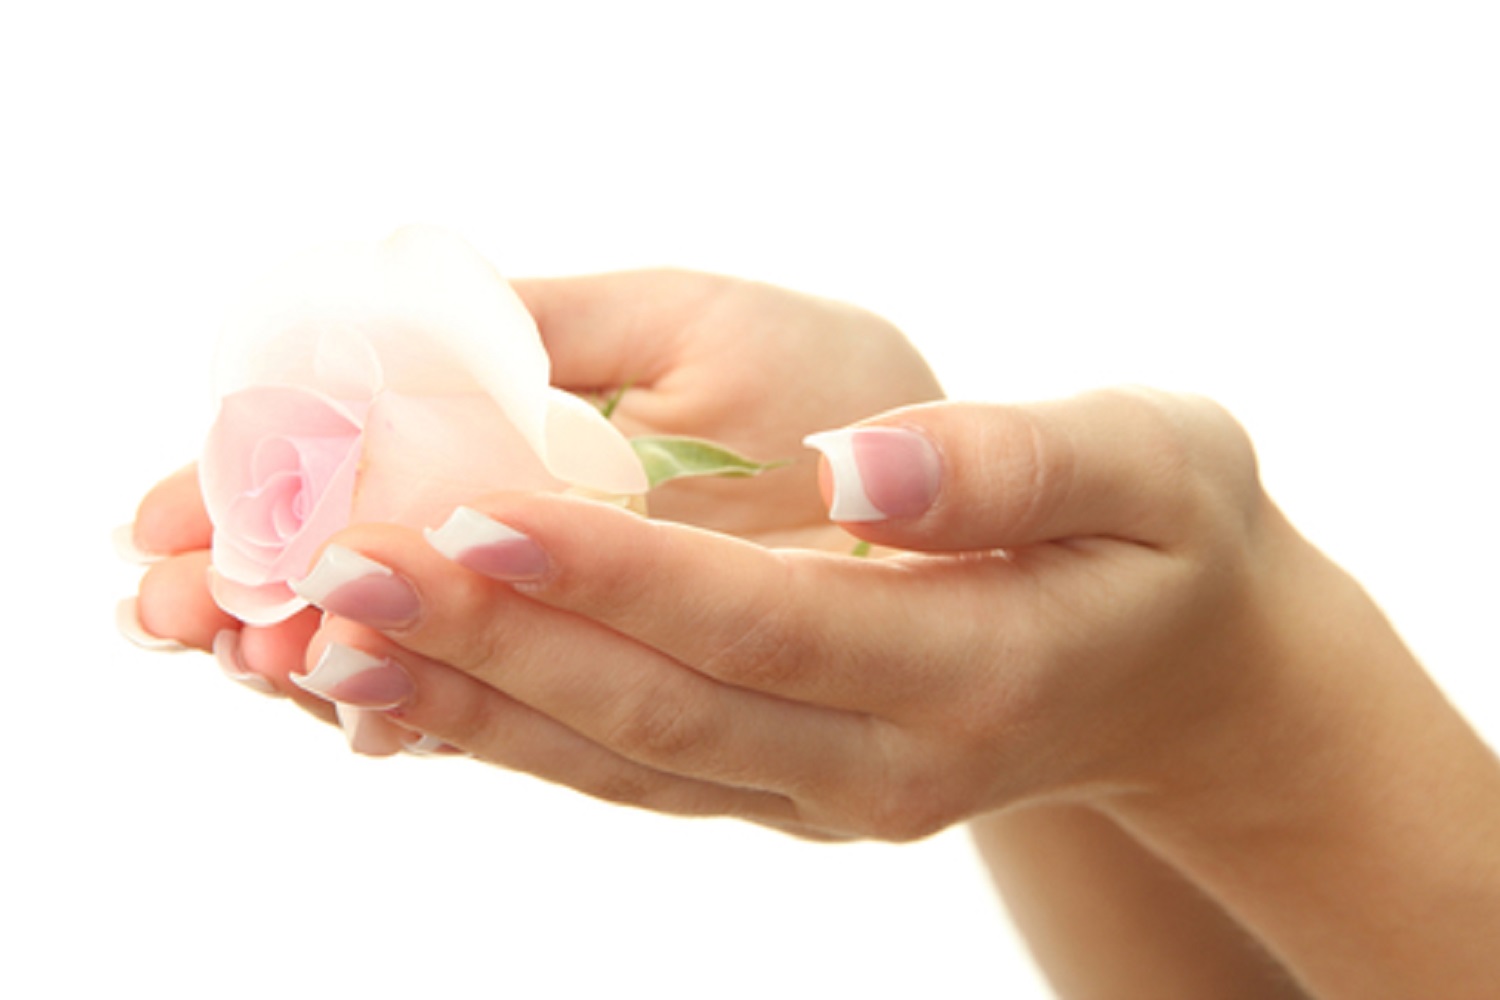
    Beautiful woman hands with rose, isolated on white

    Trusty UV / LED Gelโ€ฆ

    A newer system than Acrylic, it has become popular as it offers a more natural looking nail extension system that is also easier to work with (doesnโ€™t air dry, but only sets when youโ€™re ready, when you cure under a UV or LED lamp). Also without the vapour of Acrylic due to light curing so better for those who work in less well-ventilated work areas or mobile within clientโ€™s homes. Can be applied over tips to extend natural nails or indeed over natural nails alone to give greater enhanced strength to the nails than say, a gel polish. Typically lasts 2-3 weeks before requiring infill to the regrowth area of the natural nail and rebalancing of the nail shape.

    Main Benefits

    + Low odour unlike acrylic so great for mobile use or where ventilation may not be optimal

    + Flexible, natural-looking system that is great for those wanting extensions for special occasions such as weddings

    + Easy to master as system only sets once light-cured allowing you to tweak nails until you are happy with the finish

    + Product is ready mixed in pots so easy to store and transport, less risk of spilling as with acrylic liquid for example. No need to master product ratios unlike with acrylic.

    Versatile Gel Polishโ€ฆ

    Gel Polish has been around for a while now and is well established, despite being one of the newest nail treatments available. It is quick and easy to learn to apply, with a wide range of brands now available to suit all budgets and in a huge range of colours to suit every client. Gel polish is quick to apply, typically taking only 30-45 minutes to apply to fingers and/or toes and provides a chip-free finish for up to 2-3 weeks. Products go a long way and are dry and ready to go once the topcoat has been cured meaning little wastage making it a profitable treatment. Gel polish should be completely removed around 2-3 weeks after application and either a manicure to refresh the nails or reapplication can be immediate.

    Main Benefits

    + Quick, easy to apply

    + Profitable service suitable for a wide range of clients

    + Great for those who want to grow their natural nails and donโ€™t want the hassle of nail extensions

    + Suitable for those who want a more natural look but still a polished finish

    + Long lasting, chip free polish and high shine finish. Allow you to be creative and offer nail art within the gel easily too.

    + Products available for all budgets and price points

    + UV and LED lamps have come a long way, now much smaller so easily portable for mobile nail techs

    So there you have it, a brief run down of the most popular nail services available. Itโ€™s easy to see how starting with the basics of manicure and pedicure can then lead on to offering either one or both nail extension systems or indeed simply sticking with gel polish. Itโ€™s worth noting that gel polish can also be applied over both UV and acrylic nail extensions allowing for a really top class nail finish and extra revenue for nail techs. You can also see how the maintenance required to upkeep nail treatments easily allows you to build a loyal, regular client base. With 1 day accredited nail training courses starting from only ยฃ199 and online, insurable training courses from only ยฃ99; become a fully qualified nail technician is much easier and more affordable than you may think. Remember most nail technicians typically earn around ยฃ15-ยฃ30 an hour with uncapped earning potential; itโ€™s easy to see why freelance nail technicians are now becoming one of the most popular careers in beauty therapy!

    Call us today on freephone 0800 999 2277 or browse the nail course pages below to find the best training option for you!

  • How to Care for your Nail Products

    How to Care for your Nail Products

    As every good nail technician knows, you can only ever be as good as your tools allow. Once training is completed, the next biggest cost and one which will be ongoing throughout your career is the cost of your nail products and tools. To be successful in business you must reduce costs where possible by correctly using, storing and cleaning your products and tools. Our blog this week focuses on the essential know-how to do just that!

    Your nail brushes whether gel or acrylic are like your magic wands for creating beautiful nails. Finding the right brush for you can take many attempts and so when you find a favourite, it is vital you keep it in tip top condition to get the most from it, for as long as possible.

    Top tip: Never use the same brush for different products / nail systems. Not only will you not get best results but may contaminate your products which could be hazardous or increase the risk of allergic reactions for clients. It will also reduce the shelf life of your products.

    • For acrylic brushes, you will typically be using a natural hair brush and so the best thing to clean it with is your monomer liquid. Allow the brush to soak in a small amount of monomer within a glass dappen dish while finishing off the clients nails to avoid product setting hard into bristles. Brush cleaners typically use acetone as a main ingredient which will dry out natural brushes and may cause them to close their tight shape but are best used only to remove hardened acrylic. Follow this with use of little soap, rinse then soak for 2 hours in monomer to help the brush reset into shape.
    • For gel brushes, these are typically from synthetic, nylon fibres. Wipe excess gel product off using a lint free wipe and store out of direct sunlight to avoid the product setting hard on the brush. Ideally seek out brushes with an incorporated cap to protect the bristles and prevent exposure to sunlight during storage. Wipe any sticky residue from the handle using the gel cleanser product (inhibition layer remover) but never use this on bristles to avoid drying them out.

    Top tip: Always store brushes in a suitable case to avoid contamination with nail dust or other products but donโ€™t put brushes away until they have fully dried. Reshape brush bristles while still damp.

    Storing your products safely and hygienically is hugely important to not only ensure you are working to professional standards and getting the best from your products, without risking infection for your clients but to also avoid wastage and ensure you are considering COSHH at all times. COSHH stands for control of substances hazardous to health. This includes all nail products such as UV Gel, monomer, acetone, nail prep and dehydrator products and any cleaning products such as brush cleaners, surface sanitisers and chemicals like barbicide.

    • It is important that any chemicals that may be hazardous to health if misused or from accidental contact, or otherwise flammable, are stored in labelled packaging in a locked metal cabinet; with access only by those suitably trained to use.
    • You should also consider the risks of incorrect disposal e.g. never putting chemicals like acetone down the drain. Excess acetone for example should be soaked up using couch roll and then disposed immediately in a sealed bin bag placed directly into a metal bin with lid and placed into suitable salon waste disposal (usually general waste) as soon as possible.
    • Ensure you decant only a small amount of products to be used at a time such as monomer liquid and powders, using a dappen dish to avoid cross-contamination. Never work directly from the product tub. Decanting a small amount also reduces the vapours present from the product when working to avoid breathing issues and/or headaches etc.
    • Return the lids to all products immediately once no longer in use to avoid risk of dust contaminating your products and avoid spillage.
    • Keep all UV activated products such as gel polish away from direct sunlight and always away from your UV lamp when working as exposure will begin the curing process, setting the product hard or at least reducing its efficacy and shelf life.

    Top tip: always use a clean lint free wipe dampened with a very small amount of acetone to clean around the top of UV Gel polish or builder gel bottles / tubs before replacing the lids to keep these airtight, prevent these from setting stuck tight and allowing you to work cleanly from these on next use.

    Key Points…

    • Replace product lids/caps once no longer required
    • Decant only a small amount of product at a time as applicable e.g. never work directly from acrylic powder tubs
    • Always clean brushes once finished using
    • Avoid use of brush cleaners, use monomer for acrylic or gel cleanser for UV Gel before product sets hard
    • Use acetone only to remove hardened product but seek to avoid this where possible with prompt cleaning
    • Store brushes away from nail dust in a case or drawer away from exposure to nail dust / daylight
    • Select the right tools – natural hair brush for acrylic, nylon bristles for UV Gel
    • Reshape bristles while damp and don’t put away until they are dry from cleaning

    Upgrade your Nail Tech skills with our Recognised Online Training Courses, Accredited Fast Track Training or even consider an Internationally Approved VTCT Qualification. Learn more by clicking belowโ€ฆ

  • How to Troubleshoot the Most Common Problems with Nail Extensions

    How to Troubleshoot the Most Common Problems with Nail Extensions

    Issues with nail extensions lifting or coming off prematurely as usually down to a number of specific reasons linked to incorrect application or improper home care by the client following application. We discuss the most common problems nail technicians will see and how to resolve here:

    Nails are too thick when finished:

    Ensure you apply UV Gel in thin coats, using no more than 3 layers of the UV Gel.

    When applying Acrylic, ensure you follow the โ€˜3 Zone Application Techniqueโ€™ to ensure you are correctly shaping the nails, with a correctly positioned apex (stress point) and avoid applying too big a bead of acrylic with each zone as this will leave the nails too thick as the acrylic dries.

    Client reports nails are lifting from base of the nail, by the cuticles:

    This usually indicates that the prep stage of application was not thorough enough.

    It may that eponychium was left on the nail plate, nails were not dehydrated with a bonder or dehydrator product before applying Gel or Acrylic product, or that moisture was trapped in the nails when the extensions were applied (do not soak nails before applying extensions).

    Client reports nail extensions are โ€˜popping offโ€™:

    This can be caused by a number of things. Most commonly, the nail tip that has been selected and applied is too small which means the nail tip is flattened when glued to the nail and works against the natural curve of the nails. This means the tip can snap or come away when put under any kind of pressure.

    It may also be due to air bubbles then the glue was applied to the tip, which does not give a secure bond.

    Alternatively the UV Gel or Acrylic product may have been applied too thickly which limits the nails ability to flex under normal conditions and pressure.

    Also check where you have made the โ€˜curvatureโ€™ or apex point and ensure it is correctly placed to allow the extension to endure reasonable pressure. As a guide, when you press on the free edge of each nail; the nail bed area that turns white indicates where your apex should be positioned (thickest part of your product).

    Nails are just not lasting for one specific client:

    Review their consultation โ€“ check they do not have any conditions which affect hormones like pregnancy or menopause, that they are not taking anti-depressants, that they do not spend prolonged periods in hot water such as washing up or long baths, that they donโ€™t use calcium-removing or glass cleaning products at work (e.g. hospital or catering work).

    Harsh treatment of nails such as those who engage in racket sports, gardening, outdoor pursuits etc. Those who are nail biters. Using nails as tools and not jewels.

    Lifestyle, medical factors and improper following of homecare advice are the most common reasons for poor longevity of nails and lifting of extensions. If it is just particular clients having issues, this suggests one of these reasons are to blame. Review their consultation, issue home care in writing and reduce the time between treatments so they are having more regular maintenance to keep nails healthy.

    If numerous clients are having similar issues, try to identify a pattern with the products used and check your techniques, especially the preparation stage is correct.

    Client regularly experiences lifting of several nails within days of their period:

    Some clients are very sensitive to hormonal changes and these changes can cause an increase in sebum production in the skin and nails, which can cause lifting to nail extensions.

    Such clients are advised to have more regular maintenance perhaps timed around their menstrual cycle.

    It is also common in pregnancy and menopause to find nails may lift due to having softer or more oily nail plates. Using a bonder / primer during the application stage can help with retention but can dry out nails over time so daily use of cuticle oil is recommended for these clients. Also they will require shorter maintenance intervals i.e., no longer than 2-3 weeks between treatments.

    Alternatively suggest overlay treatments on natural nails (no false tip) or gel polish to encourage healthy natural nail growth, rather than nail extensions to help them achieve stronger nails with results lasting longer.

    The client has entirely lost or broken a nail extension such as index finger and injured the natural nail underneath:

    This is usually caused by an extreme knock or damage to the nails.

    Ask the client if they are using the nails as โ€˜tools and not jewelsโ€™, using the nails to open things such as ring pulls on cans can cause too much pressure on the nail extension and cause breakage or lifting from the cuticle area with the tell-tale lifted natural nail plate layers from the apex area down to free edge. This is a clear sign the breakage was down to force on the nail.

    Advise the client to use the end of a spoon to open ring pulls etc., and never use the nails to pick at anything such as labels.

    Also on future treatments, suggest finishing nails to a shorter length for the client as this is most common when the nails are too long for the clientโ€™s lifestyle. Consider reducing time between maintenance appointments too to rebalance regrowth and reposition the apex as required sooner.

    It can also be a sign that the client has very weak natural nails. Acrylic is a much harder adhering system than UV Gel generally speaking, which tends to have somewhat greater flexibility and a more gentle adhesion to the natural nail (usually resulting in less damage if the client does damage a nail).

    Recommend the client have the extensions removed and natural nail services only such as nail overlay (no false tip) such as builder gel in a bottle or gel polish until the nails are healed. Do not work on any cut or bruised nails. Encourage the client to use cuticle oil daily to improve nail flexibility and skin/nail condition.

    If the client has severely injured a nail extension and the natural nail:

    If the client has fractured the extension (a split horizontally across the nail plate/extension), this may cause pain and/or unstabilise the extension risking further nail damage. It is usually caused by a severe knock or blow to the nails, such as trapping the nail in a door.

    Ensure the client returns to you ASAP to assess the damage. Advise the client to keep the wounded clean, apply some colour-less iodine if an open wound and keep covered with a sterile dressing or micropore tape, but not a plaster as these can trap moisture and encourage bacterial infections to develop. If there are any signs of bleeding, swelling or infection, do not touch the enhancement until it is healed, otherwise you could end up causing further damage or even infection. If no signs of open wound or once wound has sufficiently healed, remove all traces of the nail extension and check the natural nail underneath for any further problems. Refer them to a medical professional if you are concerned.

    A client regularly suffers breaks to the nails:

    The most common reason for the breaking or tearing of artificial nails is that the customer hits the nail too hard or puts the nail under pressure to open something. In practice, clients often say they do not know how the nail was broken. The โ€œnothing happened, I just saw the nail was goneโ€. In this situation, inspect how the nail is broken.

    If the nail has broken at the apex with a snapped free edge, the nail will have impacted directly with some form of surface. If the nail has lifted off at the cuticle or apex then the nail was placed under excessive pressure. Fortunately these problems can be easily solved; first by filing and/or soaking away the remainder of the artificial nail, and then applying a new extension to the nail.

    If this is a regular occurrence, check the health of the clientโ€™s nails. They may have soft or damaged nail plates that cannot hold a further extension and may need a โ€˜nail breakโ€™. Offer overlay (no tip) or gel polish services while nails recover. Alternatively for regular โ€˜nail breakersโ€™, provide the client with their home care in writing and begin making an appointment charge for any nail repairs, rather than a โ€˜per nailโ€™ charge which many nail techs offer. This will help deter those who fail to follow homecare.

    How to handle nail breaks:

    Some nail technicians will offer the first repair free of charge and just charge for any subsequent repairs โ€˜per nailโ€™ (which should be a rare occurrence) until the next maintenance treatment.

    Other nail technicians might charge per nail to be repaired but then offset this repair charge as a discount against their next maintenance treatment which ensures they continue to rebook with you for nail services.

    If you have regular โ€˜nail breakersโ€™ you might wish to charge a minimum appointment fee, rather than fee per nail to cover your time and cosAlternatively you may just bring the clientโ€™s regular maintenance appointment forward repairing any broken nails and rebalancing all other nails at the same time to ensure they nail extensions continue to grow out at the same rate. This avoids additional repair costs for your clients.

    Provided you handle the customer experience positively by asking how they experienced the break or when they became aware of it, you can then tailor advice to help them protect against future nail breaks.

    How often should maintenance be given:

    Clients should ideally return to have the regrowth section infilled every 2-3 weeks. Some clients may be able to have a longer duration between maintenance treatments, however a greater level of maintenance will be required if clients return only every 4-6 weeks as you will need to also rebalance the stress point of the nails and infill the regrowth area. This costs you longer in time and product as a nail technician so you may wish to have two prices depending on whether an in-fill (2-3 weeks) or rebalance (3-6 weeks). Clients who do not have regular maintenance risk damage to the extensions and therefore potentially damage to their natural nails.

    Clients must agree to commit to the maintenance involved with extensions and should be booked in for a maintenance appointment before the leave their first appointment to ensure this is adhered to. It is not recommended to continue to offer nail extension treatments to clients who cannot commit to the time or cost of regular appointments.

    Those who simply want occasional or less frequent appointments may be recommended to natural nail treatments. Gel Polish will still grow out after 2-3 weeks however is unlikely to damage nails if left for longer durations than extensions and may be a suitable alternative provided it is removed correctly. You could consider retailing a home removal kit for Gel Polish for such clients.

    Looking to Qualify as an Accredited Nail Technician?

    We offer both ABT Accredited Classroom Courses available on a fast track basis across our 10 training centres nationwide. Courses from Only ยฃ199!

    Alternatively you can study conveniently from home and flexibly around other commitments with our IPHM Accredited Online Courses from Only ยฃ99!

    First published 10th March 2016. Updated 3rd August 2023.