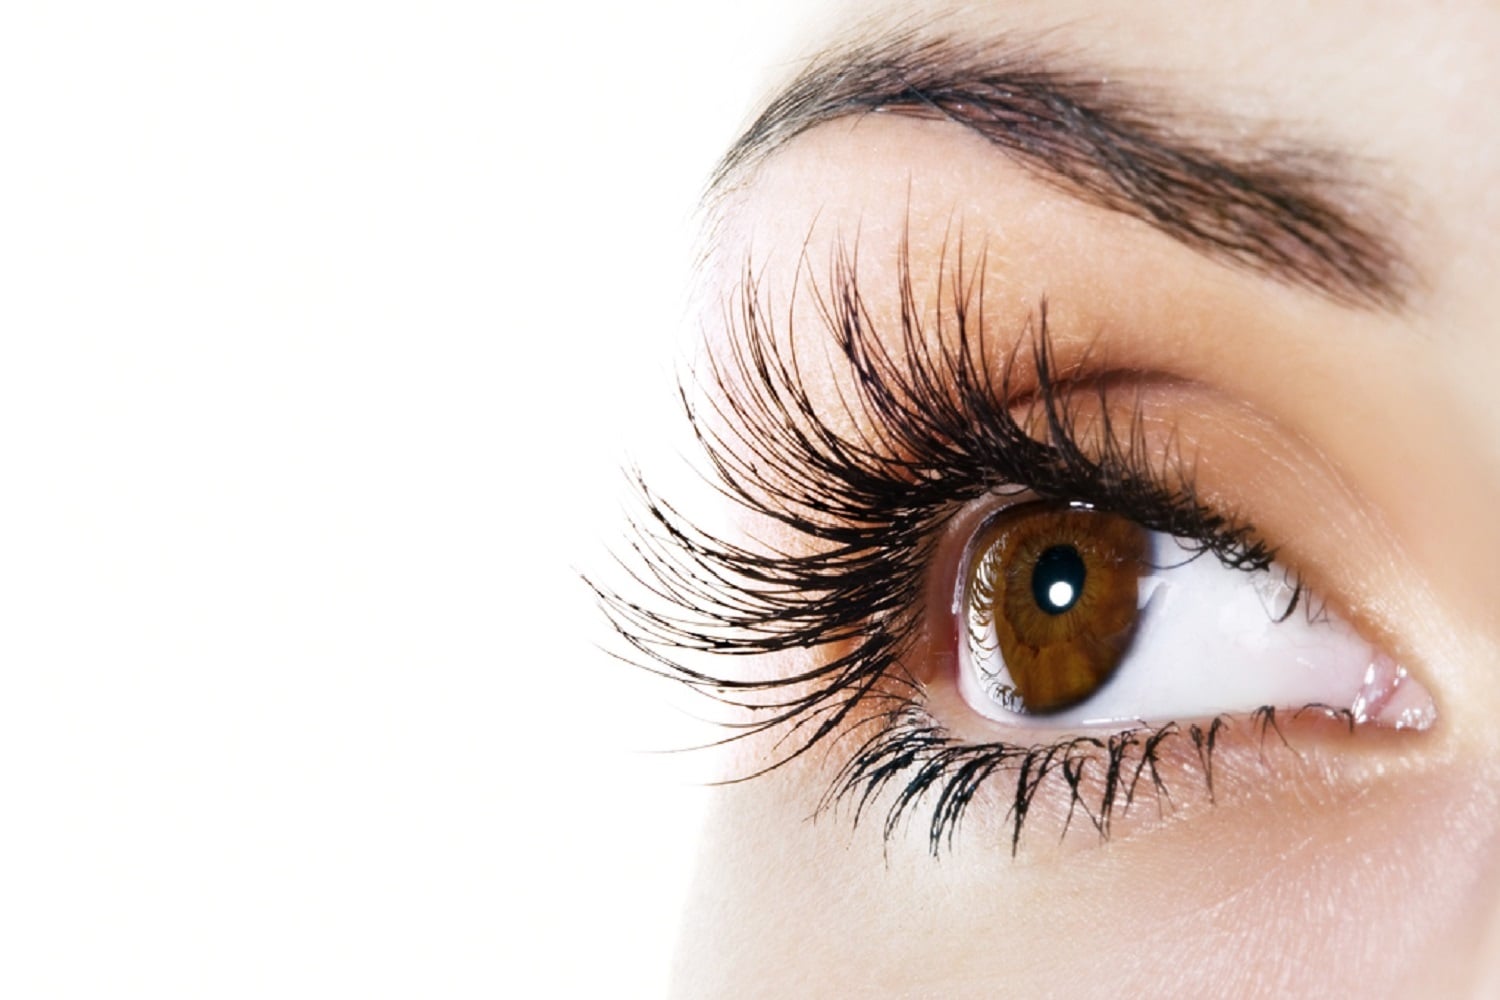
lash treatments

  • Which lash shield size should I use for Lash Lift treatments?

    Which lash shield size should I use for Lash Lift treatments?

    Lash Lift is certainly one of our most popular courses and highly lucrative earning you around ยฃ30-ยฃ45 per treatment. Many clients are moving away from the continued maintenance cost of lash extensions seeking a more natural option as the minimalism trend comes into make up and skincare this year. Lots of students complete our Accredited Courses to learn Lash Lift Skills but one tricky aspect to master is selecting the correct lash shield size and how to correctly fit the lash shield as it certainly takes time and practise to do this with confidence. Our blog covers best practice on selecting the correct size shield plus top tips for a successful lash shield application…

    Lash lifting shields are usually created from flexible silicone shields created with a special shape to sit comfortably on the upper eye lid purposely for lash lift treatments. Lash lift treatments work a llittle like the lash perming treatments of the past, except rather than creating curly, fluffy lashes; the aim is to instead lift lashes to create the illusion of greater lash length with a soft curl upwards for a youthful, open-eyed look.

    Lash shields are usually available in various sizes from small, medium up to large with some brands offering sizes in-between to give a more tailored fit for your clients.

    Selecting the correct lash shield size is essential to achieving the perfect lifted result your clients desire. Too large a shield and the lashes may not lift, too small and the lashes may become too deeply curled or the ends of lashes may be distorted in shape with a kink. Usually the smaller the shield size, to greater the lift and the more dramatic the result. That said, achieving the result is down to ensuring the clientโ€™s natural lashes sit correcty on the lash shield working with their natural lash length to help determine the most suitable shield size.

    When sizing up the shield, it helps to first apply an under eye pad and secure lower lashes down out the way. Then measure the shield up against the natural lashes before you get to applying adhesive.

    Hold the clean shield against the upper lashes and look at how far up the natural lashes will sit on the shield. Youโ€™re ideally aiming for the natural lashes to reach all the way across the shield to the top of the shield but you donโ€™t want lashes poking off the end.

    If lashes are too long for the shield, go up a size. If lashes are only sitting halfway up the shield, go down a shield size. As a general rule of thumb, most clients will use either a small or medium shield as most clients have natural lashes around 8-11mm in maximum length. Most clientโ€™s also want the most dramatic of results which are usually yielded by a smaller shield size, although you should discuss this fully with your client to ensure you understand their expectations of treatment.

    It certainly takes time and practice to perfect applying the lash shields. You want to get them as close to the lash line (it might almost feel like youโ€™re on top of the lashes but with the adhesive when you pull them up youโ€™ll get used to seeing the gentle pull lifting them up and over the shield so lashes wonโ€™t be trapped). It can take up to 10-20 sets before you feel totally confident with the application of the shields, feeling all fingers and thumbs at first.

    A good tip is to curl your hands and gently nudge your client at the temples using your gathered knuckles each time you โ€˜go onโ€™ to work on your clients eyes so they donโ€™t jump everytime you come on and off as they will have their eyes closed throughout and it can help application of the shields if they are a little nervous.

    Often clients are nervous on their first treatment also and youโ€™ll find it much easier to apply on their follow up treatments as they start to feel more relaxed as they get familiar with the treatment process. It is worth practising application of shields just on friends and family (without necessarily then doing the full treatment), just to get the hang of it.

    Common issues when lash liftingโ€ฆ

    The lashes have a kink of the ends of the lashes

    You have used too small a lash shield. Next time size up to the next shield size or if you want a tighter lift still, donโ€™t apply the product all the way to the ends of the lashes although this wonโ€™t allow the lashes to curl back inwards to give a more natural lash shape, so bear that in mind for those clients with larger, more prominent eyes where the ends of lashes are more naturally more apparent and on show.

    The lashes have gone frizzy or too deeply curled

    This could suggest the lashes are overprocessed. This can occur when not all of the lash lift product has been removed so essentially the lashes continue to process lifting somewhat beyond the initial treatment (usually up until the client fully washes their face or until all product has processed). it can also occur when the development time was too long either in error or for the clientโ€™s lashes due to poor lash condition or having a previous lash lift/perm treatment too recently. It can also occur if you use too small a shield giving too tight a curl for the result the client expressed they desired. Some clientโ€™s want a more natural looking lift (more like a J curl if you think in terms of false lash shapes) so may be better with a medium or large shield depending on their natural lash length. Size up to the next lash shield size next time.

    The lashes havenโ€™t lifted

    This can occur for several reasons. It may be that if you removed eye make up before the treatment, that lashes were too wet and so the product could not work correctly to break down the bonds holding the natural lash shape. It may be that you removed the products too soon stopping them from processing correctly or it may be that the lash shield size selected was too large, size down next time.

    The lash shield lifts up at the corners

    You may need to trim the lash shield at the outer corner side to achieve a better fit for your client. You might also like to consider use of a small amount of micro-pore tape to help hold the shield down better but ensuring none of the lashes are trapped in the tape, of course!

    The shield is slipping

    You might like to consider using a small strip of micro-pore tape along the lash line on the upper lid as the shield adheres much better to the tape rather than skin for some clients. It is makes it much easier to clean up following treatment as you donโ€™t need to worry about removing lash adhesive from the clientโ€™s upper eye lid skin, it will come away simply when you remove the small strip of tape. You can also use two small strips of micro-pore tape applied vertically to help โ€˜liftโ€™ and hold any looser skin on the eye lid such as for mature clients making it much easier to get the shield positioned on the lash line.

    The client doesnโ€™t like the result

    Communication is the key both before and after the treatment. Most disatisfaction comes from clientโ€™s not understanding the realistic treatment outcome for their own lashes so always take time to have a thorough consultation and to visually and manually assess your clientโ€™s natural lashes prior to treatment. You must manage a clientโ€™s expectations of the treatment and how long results will last. Ensure they are well versed in the correct homecare before they leave you to avoid lash mishaps after treatment or short longevity to the results.

    If the lift is too strong, unfortunately clients just have to wait for this to drop naturally although allowing lashes to get wet earlier than the recommended so for the client to take a shower after the treatment. This may help restore the original keratin bonds of the lash hairs to reverse or reduce the treatment result, although this is not guaranteed. Lash results that are too strong are usually due to issues of overprocessing of lashes or too small a lash shield used, all things you can note on their record card and ensure you consider for any future treatment.

    Use of lash serums or castor oil are great to help nourish the lashes, maintain results, help restore natural keratin bonds s the result drops more naturally and improve the lash condition ahead of any future treatments also.

    First published 7th January 2021. Updated 3rd August 2023.

  • Keeping your Kit Tip Top – Storing Lash & Brow Tools…

    Keeping your Kit Tip Top – Storing Lash & Brow Tools…

    As any amazing lash and brow tech knows, youโ€™re only as good as your products and tools will allow you to be. Not storing these correctly, not only shortens the lifespan of these causing wastage and extra costs but also limiting the results you can achieve. Here we discuss how you should be storing your kitโ€ฆ

    Wax Pot

    It goes without saying that your wax pot should be wiped over after each use to remove any stray wax. There is nothing worse than going for a treatment and seeing a gunky looking wax pot and wondering just where your wax will be dribbled. Where possible use wax pots with an insert to allow you to remove the wax from the heater and reseal with the tub lid, but the wax heater lid should be on when not in use at the very least. If working mobile, ensure the wax heater remains upright if wax is to be left inside the heater to avoid spillage. Allow wax to cool down sufficiently before moving the heater so for mobile therapists, turn off the heater as soon as it is no longer required. Wax is typically good for 6-12 months from date of opening โ€“ check your product for the specific use by.

    Tint & Oxidant

    Always used and disposed of in line with COSHH, you should only mix your tint once ready for use and never before your client arrives as it will not be effective by the time it is used. Always replace the lids tightly immediately once decant particularly as products will react with the air on contact and overexposure will reduce its efficacy.

    Lash Adhesive

    Only ever decant as much as you need to avoid wastage. Replace lids tightly once decanted to avoid the adhesive reacting with the air and setting hard. Keep adhesive stored upright at stable room temperature. Some adhesive brands suggest storing in the fridge but this can cause moisture to develop inside the product bottle causing it to be ineffective. You can purchase vacuum storage bags or jars which help to prolong the life of your lash adhesive once opened and also protect them from falling over and spilling in transit for those who work mobile. If products must be stored in a cooler or hotter area than where you are working, allowing up to an hour for the product to return to ambient temperature before using for best results. Working environment temperature will affect the current viscosity (thickness) of your product so consider this when deciding where to offer your treatments, for

    Tweezers

    Always ensure tweezers are thoroughly wiped after use to remove any stray hair or wax/lash adhesive residue before sterilising. Avoid leaving tools standing in barbicide continuously as this will corrode tools over time. Sterilise for the recommended time then remove. Store in a sealed plastic case or bag taking care to protect the tweezer tips, never store points down in a jar. Then simply place back in sterilising fluid prior to use once setting up for your client. Take care never to drop your tweezers as this could blunt the points. Replace tweezers roughly every 3-6 months depending on how often used. Keep lash tweezers separate from those used for brow treatments to avoid misusing these and always keep a spare pair handy just in case.

    best results. Also ambient environmental humidity will affect the drying times of your adhesive. Lash adhesive is usually good for 3-6 months dependent on the brand once opened (usually for up to 12 months prior to opening) but check product packaging to confirm as it does vary depending on the formulation.

    Brow Powder Compacts

    Always store these where they will be safe from knocks or dropping to avoid gut wrenching moments where your palette crumbles. Ensure you decant powder onto a spatula using a make up scraper or only ever use a clean applicator / brush (never double dipping) or use a special make sanitiser spray for powder compacts between each client to keep products hygienic. Many brands now offer refills for powder palettes to allow you to replace the shade you use up quickest, rather than having to replace the entire palette so it is worth considering this when buying your products to avoid having to have multiple part used palettes or powders at any one time.

    By following the above advice, you will ensure you are not only working safely and hygienically but also reducing your costs (boosting your profits) and getting the very best results from your products and tools for the longest time possible.

    Discover our optional starter kits todayโ€ฆ

  • Know your lashes, know your options…

    Know your lashes, know your options…

    With so many lash treatment options now pinging up in the beauty sector, it’s hard to keep up with what the differences are. But having a good understanding will ensure you can give the best advice to your clients and maximise your treatment sales…

    The six main lash enhancement treatments are…

    • Classic Lash Extensions
    • Russian Volume Lash Extensions
    • Hybrid Lashes
    • Lash Lift & Tinting
    • Strip or Flare Lashes
    • Express (Party) Lashes
    • Classic Lash Extensions:

    Most clients are now familiar with these โ€“ simply put youโ€™ll be applying one false lash to one natural lash to extend the lash length and give greater lash definition.

    • Russian Volume Lash Extensions:

    Many clients confuse the effects of these with strip lashes or even classics. Youโ€™ll be applying anything from 2-6 false lashes to one natural lash, applied by picking these up to form a fan of lashes. Give natural lashes more volume (thickness) and length for a more dramatic lash look.

    • Hybrid Lashes:

    A way of combining both the classic and Russian volume techniques to achieve a dramatic but structured and defined look to the lashes. You will set up a framework to work within which to extend the natural lashes by applying the classic individual extension technique to every 3-4 natural lashes along the lash line. You then apply fans of Russian volume lashes between these individual lashes to boost volume.

    • Lash Lift & Tinting:

    Working on the natural lashes only, with no false lashes applied. A way of lifting and opening the eye area by straightening and lifting the natural lashes to give the appearance of greater natural length. Tinting darkens the lashes from root to tip giving further enhancement in the appearance of lash length. Also gives superb definition but without the commitment of having to maintain false lashes i.e. infills. Also great for those unsuitable for lash extensions e.g. those allergic to lash adhesive, who swim regularly etc.

    • Strip or flare lashes:

    Temporary lashes applied using a temporary lash adhesive (different to that used for lash extensions). Typically last from 1-7 days and are easy to remove. Applied either as small bunches of false lashes attached to a bulb (flare) or as a full or part strip of false lashes. Great for those who want to enhance the benefits of a make up treatment for example, for special occasions and canโ€™t or donโ€™t want to commit to long term care or cost of lash extensions. Another good option also for those with more sensitive eyes.

    • Express or โ€˜partyโ€™ lashes

    Often confused with Russian volume lashes, these give a quick but effective lash extension treatment but are applied using pre-made lash fans rather than using individual lashes applied as a fan which the lash tech must form. Speeds up the treatment allowing you to charge less and fit in more clients, shorter time on the treatment bed needed for clients and no infills (simply remove and apply a new full set each time). Great for those who want a dramatic lash look without the cost of a premium lash service such as Russian volume or hybrid lashes.

    The Beauty Academy are excited to offer training options within all of these in-demand lash treatments ranging from accredited fast track 1 day courses up to recognised online courses allowing you to learn from home, online at your own pace. Discover our courses TODAY and begin earning up to ยฃ50 an hour!

  • What’s in a brand name?

    What’s in a brand name?

    We have lots of students ask us about courses such as Eyelash Extensions, Highly Defined Brows and Lash Lift & Tinting. They are confused as they have seen courses offered by beauty suppliers, branded courses and online courses and they don’t know where to start in regards to what the key differences are. First let’s cover what the term trademark is as this is essential to understanding brand-specific courses…

    What is a trademark?

    A trademark is a way for a brand, company, producer or other legal entity to identify themselves and the products or services they produce, provide or source. It is a way for someone to recognise one entity (or brand from another) and for consumers to identify the origin of a product or service.ย  Trademarks can be registered by the trademark owner and licensed in regards to specific types of usage. By registering a trademark, it can prevent use of the relevant name, logo, phrase or other ‘mark’ to be used without authorised licence from the trademark holder. Such unauthorised use can be considered trademark infringement and can open the person using such up to legal proceedings including prosecution or claims for damages. Brand specific training courses are those offered by such registered trademark owners and they often allow you to then go on to provide treatments using their products, to buy (or resell) their products and to use their logos/brand names within your own advertising.

    The Beauty Academy Courses

    All courses offered within our training centres are non-brand specific courses which teach you the fundamental knowledge and practical skills to deliver lash extension, lash lift or brow shaping and defining treatments. We teach the generic skills of these classic and in-demand beauty treatments. You achieve our in-house diploma certificate which is accredited by ABT and allows you to gain insurance to begin offering your treatments to clients. The beauty of our courses are that they are professional courses covering the core knowledge and skills for these treatments, they are accredited but they are much more affordable (starting from only ยฃ99) than many of the brand specific courses. They do not tie you in to any specific brand or supplier before youโ€™re fully familiar and practised with the treatment. Many students find they complete brand specific training (which often require you to purchase their costly branded kits to attend the course) but once they begin offering their treatments on a regular basis and start speaking with clients, they find they prefer working with a different brand or clients are asking about other brand names. Often this requirement to purchase kits means half of the kit contents is also used up on the training day(s) themselves also leaving little product to go on to practice with. At The Beauty Academy, we provide all products and tools required to attend our courses at the centre on the day(s) at no additional cost. The only exception to this is where a patch test is required for which we keep the cost minimal.

    Branded Courses

    There are many brand names for specific treatments such as lash lift, lash extensions, and highly defined brows treatments. We donโ€™t need to list them since you will have heard of most of them along the way when searching for a training course. These courses are usually significantly more expensive but this additional cost is attributed to the fact that you will be able to advertise using their brand names, as a brand specific trained therapist. This may be advantageous for salons who benefit from large shop front window displays using the recognisable brand logos and who can command much higher treatment prices to reclaim the cost; but the additional cost is not usually viable for mobile therapists, those just starting out in beauty (and so who donโ€™t know what brand they prefer yet) or necessary for those who are already very established therapists with an existing client base.

    The pros of a non-brand specific course such as The Beauty Academy courses:

    • Much lower initial course cost (from only ยฃ99 for courses with The Beauty Academy)
    • The Beauty Academy face to face courses are all accredited with ABT & online courses recognised by Radius insurance
    • No starter kits are required to attend our training day(s) unlike most brand specific courses
    • No commitment to any specific brand, get qualified, get experienced & then decide whatโ€™s right for you once you understand the treatment and your clientโ€™s needs
    • Great, quick and affordable way to learn something new, try out a new treatment service & see if itโ€™s for you and your client base.

    The cons of a non-brand specific course:

    • You canโ€™t use any trademark protected brand names to describe or advertise your treatment services, however you can use a wide range of treatment related non-brand specific terms. If you later wish to utilise brand names, a simple conversion course can assist with this (see more about this below).
    • You might not be able to purchase branded products directly from the brand themselves, however you will be insured to use any brand of products to deliver your treatments. Similar professional (and cost effective) products can be purchased from large beauty wholesalers like Beauty Express.

    OR

    The pros of a brand specific course:

    • You can advertise your treatments using their brand name / trade mark / brand logos
    • In some areas you may be able to charge a small premium on โ€˜brandedโ€™ treatments but often applicable only to salons or established therapists. Generally treatment price ranges are reasonably fixed by treatment type and area regardless of brand of products used as you must remain competitive to attract new, and maintain regular clients.

    The cons of a brand specific course:

    • Much higher course cost with branded training providers (usually from around ยฃ399 per 1 day course)
    • Often requires commitment to purchase an expensive brand specific kit to attend the course (as they want to โ€˜tie you inโ€™ to their brand)
    • Much of the kit is used on the training day itself & when starting out, rarely are students optimally economical with product so makes initial practice costly also
    • You may begin offering branded treatments with little knowledge of your clientโ€™s needs or preferences. You may then find yourself tied to that specific brand with additional cost to retrain within an alternative brand to buy different products or indeed be insured to use other brands as many brand specific courses are not accredited.

    Conversion Courses

    Remember that once you have completed a generic, accredited training course such as those offered by The Beauty Academy and are insured within those treatments, you will be able to purchase professional products from most leading beauty wholesalers including Beauty Express (just not always direct from the specific product brand). You always have the option to complete a shorter โ€˜conversionโ€™ course with most leading branded course providers from only ยฃ99 (depending on the brand), if you later wish to become brand specific and to use their brand name as part of your advertising. These courses also help you refresh and occasionally advance your skills once you have had some time within the industry providing treatments and once youโ€™ve gained insight into the available brands and identified the one best for your budget and clientโ€™s needs through experience of the industry. Most quality branded providers offer these courses to attract your business to purchasing their products, build their community of brand qualified therapists and raise their brand profile.

    Generic Terms for Advertising Treatments

    Many successful salons and independent therapists have huge success in promoting and offering their treatment services including lash extensions, lash lift and brow treatments charging the โ€˜going rateโ€™ for their location and type of offering e.g. mobile, home based or in-salon. Anyone can describe and advertise using generic terms to promote your services (or indeed be creative with the naming of your treatments to stand out from the crowd). Just take care not to infringe upon existing registered trademarks and brand names unless you are brand trained or otherwise authorised by the brand to do so. Doing so can open you personally as a therapist or indeed your salon/business up to legal action from the trademark owner or brand which is bad for business and could be expensive. Generic terms for treatments as follows, are great ways to promote your services:

    Eyelash Extensions โ€“ Classic Lashes, Semi-Permanent Eyelash Extensions, Volume Lashes, Russian Volume Lashes, Celebrity Lashes, Volumised Lashes, Eyelash Extensions, Lash Extensions, American Lashes, American Volume Lashes, Lash Enhancement etc.

    Lash Lift & Tinting โ€“ Lash Lift, Tinting, Ultimate Lash Lift & Tint, Natural Lift Lashes etc.

    Brow Treatments โ€“ Highly Defined Brows, Defined Brows, Ultimate Brows, Enhanced Brows, Brow Shape & Tint, Brow Redefining etc.

    If you have any questions about brand names, your course or certification or how best to advertise your treatment services, please donโ€™t hesitate to contact our Support team at [email protected] and they will be happy to help!

    Discover our Training Courses: