how-to

  • Lashings of Maturity

    Lashings of Maturity

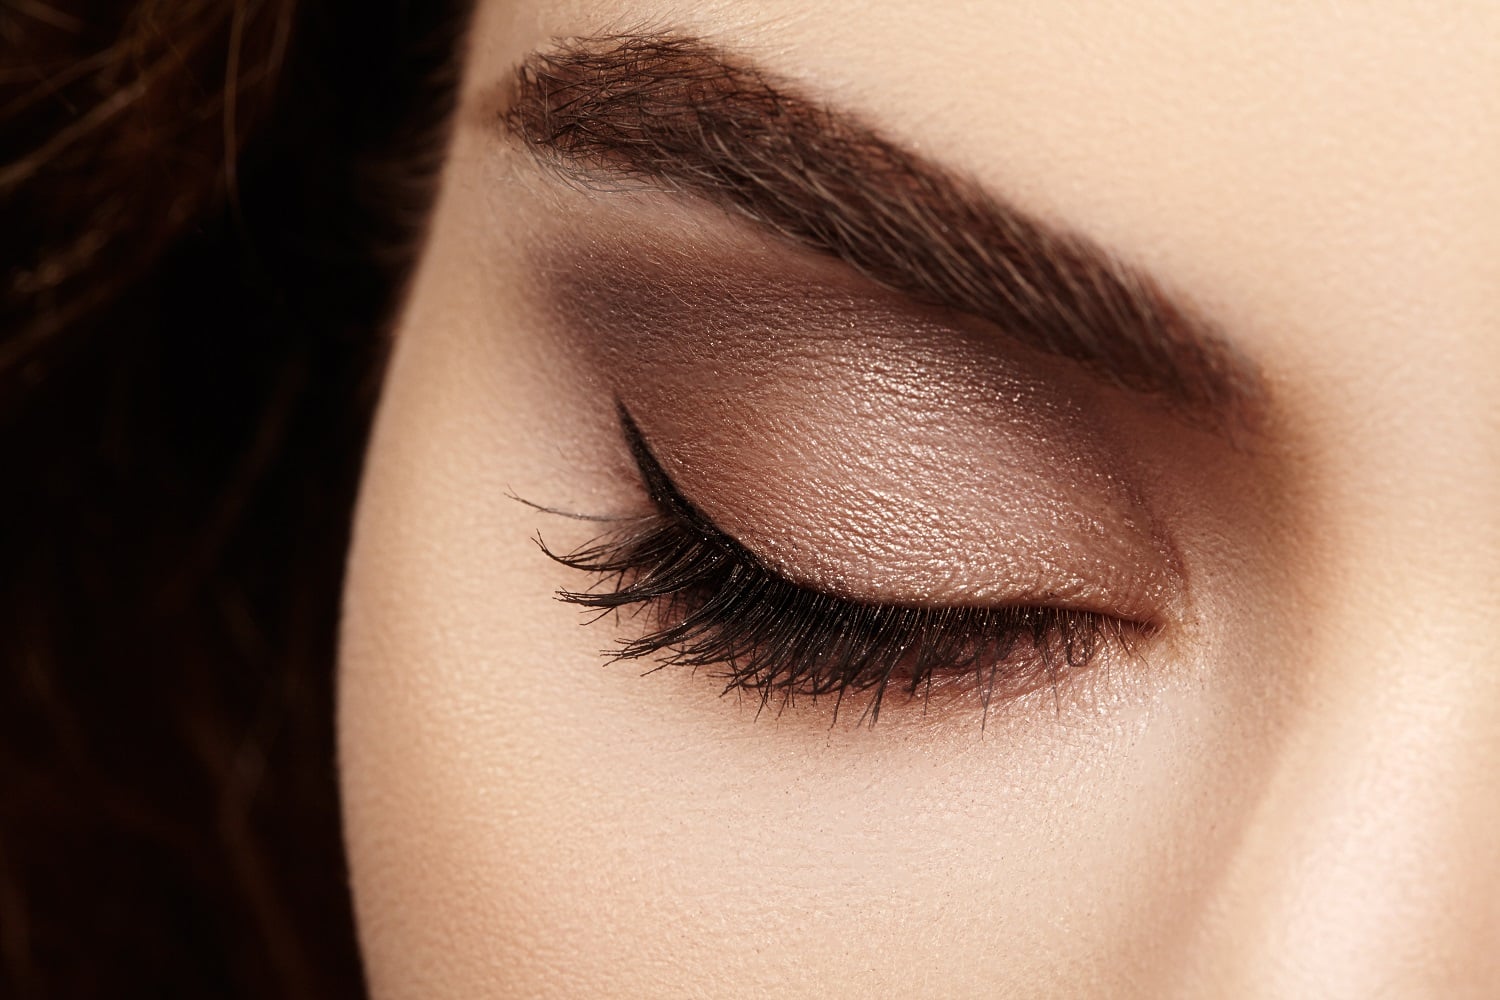
    Lash techs in the industry don’t want you to discover the benefits of working with mature clients, who typically have more disposable income and can become some of your most loyal, regular clients. Techs circulate ideas that lashing mature clients is difficult or even near impossible and yet with the right know-how it can be profitable and an enjoyable challenge.

    Mature clients can have hooded eyelids which make application of the lashes more difficult. However correct placement of your lash tape to the upper lids to help โ€˜liftโ€™ the lid to give better access to the lashes will help with application. Use two thin strips of tape applied vertically from above lash line to brow area, sitting approximately 0.5cm from the inner and outer corners of the eyes to get this lift and improve ease of lash application.

    Mature clients may have naturally more sparse or even thinning lashes due to many reasons including hormonal changes brought about by menopause. Using the Russian Volume technique can help to build the appearance of greater lash thickness and disguise any gaps in growth although care should be taken with the size of fan utilised. Stick with 3D lashes, no greater or the effect will not be optimally flattering and will look unnatural. If using pre-made, stick with short root styles or keep the base shorter if creating your own.

    Top tip: combining both the classic individual and Russian volume techniques to create a โ€˜hybridโ€™ lash look is ideal for mature clients. The individual lashes will give a framework to help give definition and open up the eye area, while fans will help give fullness and youth to the lash line.

    Avoid use of D curl lashes which give a very dramatic look, stick with C or CC curls for a flattering look which most mature clients will prefer.

    Donโ€™t be tempted to go overboard and apply too many lashes. Select shorter lash lengths to compliment the natural lashes, longer does not mean thicker and using shorter lengths will detract from spareness and avoid over-defining the lash line. Avoid long lash lengths to outer corners too which will make the eyes appear to droop, a few shorter lengths to outer corners will lift the eyes and give a more open-eyed, youthful look. The same goes for lash thickness, using thicker lashes will not create fullness but over-emphasise any gaps.

    Top tip: Using a lash that is too thick will be poorly supported by the natural lashes and lead to premature lash loss or even breakage and damage. 0.10mm lashes are usually best for mature clients

    Ensure your mature clients, in particular, are rigorous with the lash care. Suggest a lash safe serum to help improve natural lash growth and strength and ensure they return every 2-3 weeks for infills to ensure lashes remain looking their best. Lost lash extensions will only exaggerate any sparsity to lashes so it is key they upkeep their infills.

    Expand your skills today with our Fast track, Accredited Courses or benefit from our recognised Online training coursesโ€ฆ

    We highly recommend the following courses for those looking to offer lash extension treatments. If you need any advice on the best course for you, give our friendly Advisors a call on 0800 999 2277 or connect through Live Chat now.

  • How to Care for your Nail Products

    How to Care for your Nail Products

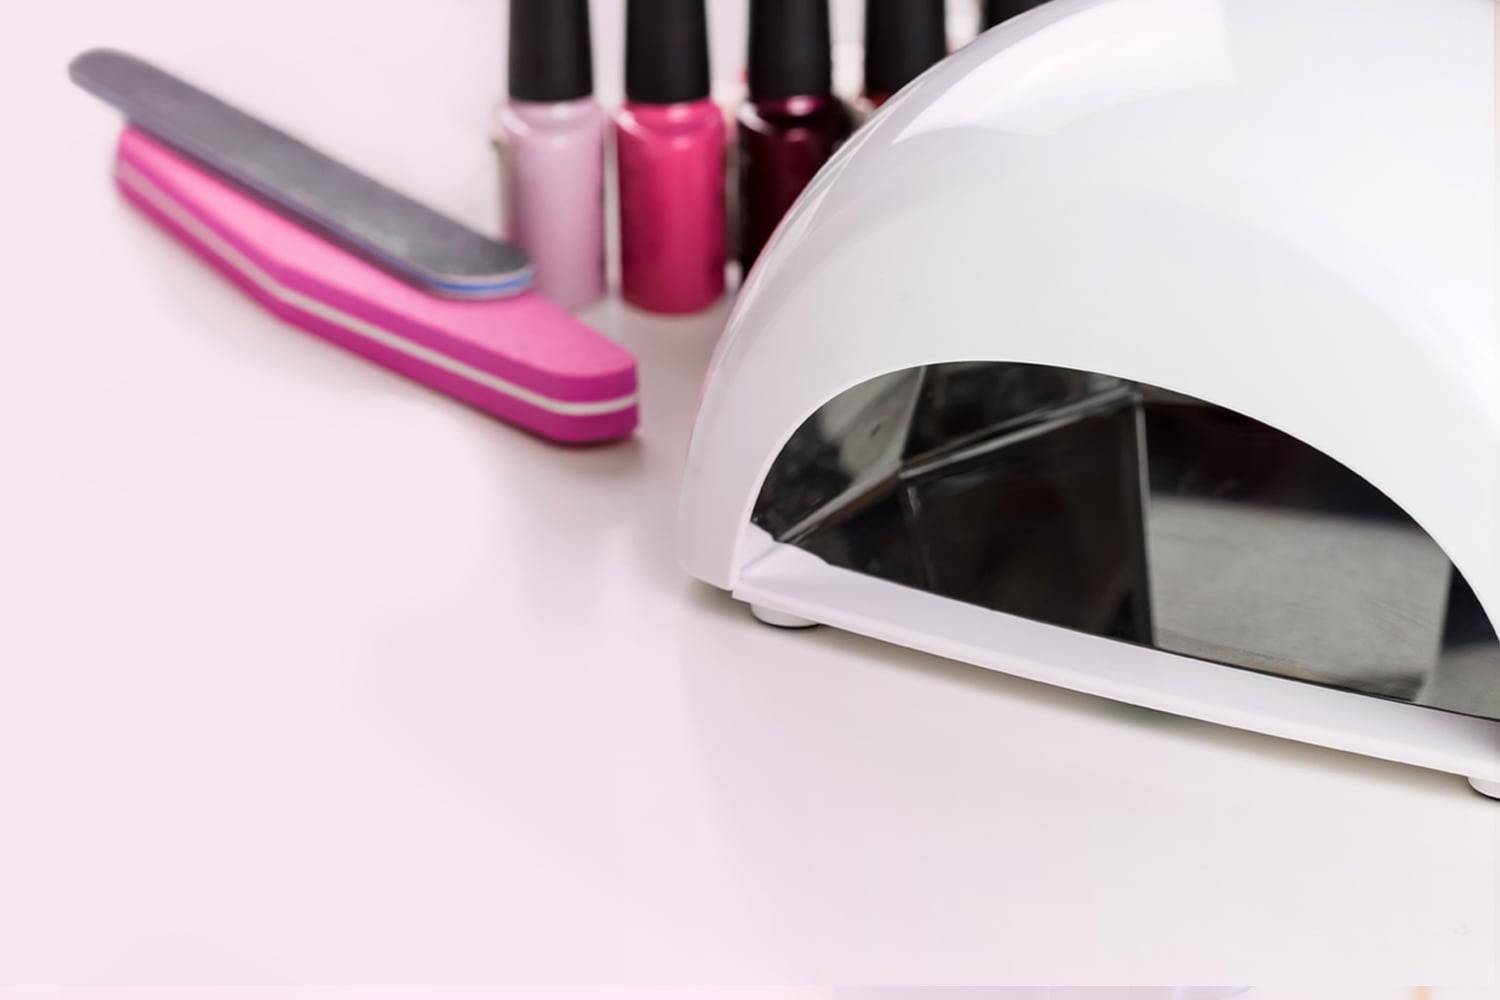
    As every good nail technician knows, you can only ever be as good as your tools allow. Once training is completed, the next biggest cost and one which will be ongoing throughout your career is the cost of your nail products and tools. To be successful in business you must reduce costs where possible by correctly using, storing and cleaning your products and tools. Our blog this week focuses on the essential know-how to do just that!

    Your nail brushes whether gel or acrylic are like your magic wands for creating beautiful nails. Finding the right brush for you can take many attempts and so when you find a favourite, it is vital you keep it in tip top condition to get the most from it, for as long as possible.

    Top tip: Never use the same brush for different products / nail systems. Not only will you not get best results but may contaminate your products which could be hazardous or increase the risk of allergic reactions for clients. It will also reduce the shelf life of your products.

    • For acrylic brushes, you will typically be using a natural hair brush and so the best thing to clean it with is your monomer liquid. Allow the brush to soak in a small amount of monomer within a glass dappen dish while finishing off the clients nails to avoid product setting hard into bristles. Brush cleaners typically use acetone as a main ingredient which will dry out natural brushes and may cause them to close their tight shape but are best used only to remove hardened acrylic. Follow this with use of little soap, rinse then soak for 2 hours in monomer to help the brush reset into shape.
    • For gel brushes, these are typically from synthetic, nylon fibres. Wipe excess gel product off using a lint free wipe and store out of direct sunlight to avoid the product setting hard on the brush. Ideally seek out brushes with an incorporated cap to protect the bristles and prevent exposure to sunlight during storage. Wipe any sticky residue from the handle using the gel cleanser product (inhibition layer remover) but never use this on bristles to avoid drying them out.

    Top tip: Always store brushes in a suitable case to avoid contamination with nail dust or other products but donโ€™t put brushes away until they have fully dried. Reshape brush bristles while still damp.

    Storing your products safely and hygienically is hugely important to not only ensure you are working to professional standards and getting the best from your products, without risking infection for your clients but to also avoid wastage and ensure you are considering COSHH at all times. COSHH stands for control of substances hazardous to health. This includes all nail products such as UV Gel, monomer, acetone, nail prep and dehydrator products and any cleaning products such as brush cleaners, surface sanitisers and chemicals like barbicide.

    • It is important that any chemicals that may be hazardous to health if misused or from accidental contact, or otherwise flammable, are stored in labelled packaging in a locked metal cabinet; with access only by those suitably trained to use.
    • You should also consider the risks of incorrect disposal e.g. never putting chemicals like acetone down the drain. Excess acetone for example should be soaked up using couch roll and then disposed immediately in a sealed bin bag placed directly into a metal bin with lid and placed into suitable salon waste disposal (usually general waste) as soon as possible.
    • Ensure you decant only a small amount of products to be used at a time such as monomer liquid and powders, using a dappen dish to avoid cross-contamination. Never work directly from the product tub. Decanting a small amount also reduces the vapours present from the product when working to avoid breathing issues and/or headaches etc.
    • Return the lids to all products immediately once no longer in use to avoid risk of dust contaminating your products and avoid spillage.
    • Keep all UV activated products such as gel polish away from direct sunlight and always away from your UV lamp when working as exposure will begin the curing process, setting the product hard or at least reducing its efficacy and shelf life.

    Top tip: always use a clean lint free wipe dampened with a very small amount of acetone to clean around the top of UV Gel polish or builder gel bottles / tubs before replacing the lids to keep these airtight, prevent these from setting stuck tight and allowing you to work cleanly from these on next use.

    Key Points…

    • Replace product lids/caps once no longer required
    • Decant only a small amount of product at a time as applicable e.g. never work directly from acrylic powder tubs
    • Always clean brushes once finished using
    • Avoid use of brush cleaners, use monomer for acrylic or gel cleanser for UV Gel before product sets hard
    • Use acetone only to remove hardened product but seek to avoid this where possible with prompt cleaning
    • Store brushes away from nail dust in a case or drawer away from exposure to nail dust / daylight
    • Select the right tools – natural hair brush for acrylic, nylon bristles for UV Gel
    • Reshape bristles while damp and don’t put away until they are dry from cleaning

    Upgrade your Nail Tech skills with our Recognised Online Training Courses, Accredited Fast Track Training or even consider an Internationally Approved VTCT Qualification. Learn more by clicking belowโ€ฆ